How to Test a Webcam: Image, Mic, Frame Rate and Lighting
Test a webcam in four checks: image, frame rate, mic and lighting. Use this step-by-step list in your system settings, a browser and a meeting app, and fix what fails.
The Folio & Current Team
November 10, 2026 · 8 min read
To test a webcam, open the camera in a preview app or a browser tester, allow access, and check four things in order: the image (sharpness, color, framing), the frame rate (motion looks smooth), the mic (the level meter moves when you speak) and the lighting (your face is evenly lit). This guide walks through each check in your system settings, in a browser and in a meeting app, and tells you what to change when one fails.
An online webcam test only shows that a picture appears. The checklist below also helps you work out why a picture looks soft, choppy, dark or muffled, and what to do when the camera does not show up at all.
Before you start: set up the test conditions
A test is only useful if the test conditions match your real calls. Sit where you normally sit, with the lights you normally use.
- Close other apps that may hold the camera, such as a meeting app, a recording tool or a second browser tab.
- Plug an external webcam straight into a USB port on the computer, not through a hub, when you can.
- Wipe the lens with a clean, dry microfiber cloth.
- Face a window or lamp, and keep bright light behind the screen rather than behind you.
- Put on the headset or speakers you use, so you can check the mic without echo.
How to test a webcam in system settings and in a browser
Pick the route that matches where you will use the camera. If it works in one place but not another, the fault is often a camera permission or another app, not the camera itself.
| Where | How to open a preview | What to check |
|---|---|---|
| System with a Camera page in the devices section of its settings | Open the built-in camera app, or the camera page in the devices section of your system settings | Picture appears, correct camera is selected, privacy toggle is on |
| System with a Camera list in the privacy section of its settings | Open a photo or video app that uses the camera, or use the camera choice in a meeting app | Picture appears, the app is switched on in the Camera list |
| Browser | Open a webcam tester page and click Allow when the address bar asks for access | Live preview, resolution and frame rate readout, mic meter |
| Meeting app | Open the video settings and look at the preview | Right camera and mic chosen, no other app using them |
Browser permission steps
- Open the tester page and select the start or test button.
- When the address bar shows a camera prompt, choose Allow.
- If you blocked it before, click the camera icon in the address bar, switch access to Allow, then reload this page.
- If you have more than one camera, choose the external one from the camera list.
Some tester pages say they process video in the browser without uploading it. Read the page's privacy note before you allow access, and close the tab when you finish.
Other desktop systems
On other desktop systems, open a camera app or a video recorder app from your software store and select the webcam as the source. If nothing appears, unplug the camera, plug it back in and try again in a browser tab.
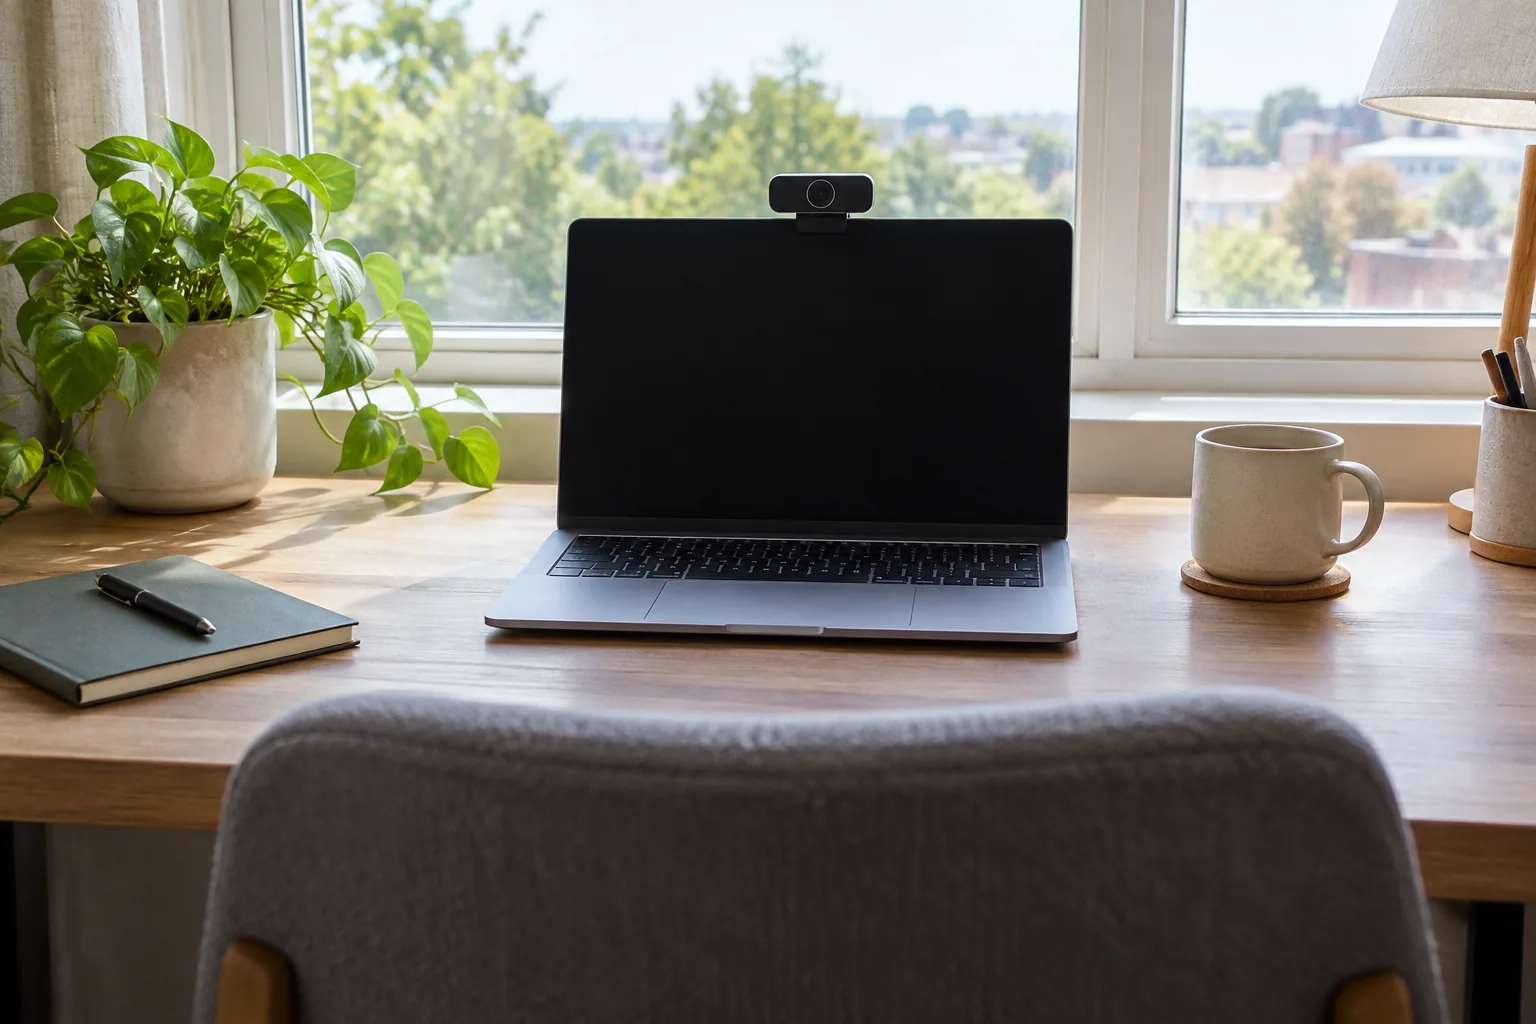
Check the image: sharpness, color and framing
Look at the preview at full size, not in a small window. Hold up a page of printed text or a book cover at the distance of your face and see if you can read it.
- Sharpness: text should have clean edges. If it is soft, wipe the lens and check whether the camera is set to a low resolution in the app.
- Color: skin tones should look natural, not orange or blue. A cast can point to the room light or the white balance setting.
- Framing: your head and shoulders should sit in the middle with a little space above your head. Tilt the camera until your eyes sit about a third of the way down the frame.
- Autofocus: lean in and back. The image should resettle without hunting back and forth.
Browser testers often show the resolution readout they receive. If it reads lower than the camera's listed resolution, the app or the USB connection may be limiting it. Try another port and set the video quality in the app to the highest option.
Check frame rate for smooth video
Frame rate is how many pictures per second the camera sends. Low numbers make motion look choppy.
Wave your hand slowly in front of the lens. If it leaves jumpy trails or skips, run a frame rate check in a tester page and compare it with the camera's listed value. Dim rooms can lower the frame rate because the camera lengthens its exposure to gather light.
| Problem | Likely cause | What to change |
|---|---|---|
| Choppy motion in a dim room | Camera slows down in low light | Add a lamp in front of you |
| Choppy in every room | Another app is using the camera or the computer is busy | Close other apps and tabs |
| Low resolution readout | USB hub, low video setting | Plug in directly, raise the quality setting |
| Black screen | Permission blocked or camera in use | Allow access, quit other apps, reconnect |
| Camera not listed | Loose cable, faulty port or driver issue | Try another cable and port, then another computer |
When the webcam is not detected at all
If no preview appears and the camera is missing from the camera list in every app, work through these steps in order.
- Open the device list in your system settings and look for the camera under cameras or imaging devices.
- Unplug the USB cable, wait a few seconds and plug it into a different port, directly on the computer.
- Try a different USB cable if you have one.
- Restart the computer with the camera plugged in.
- Plug the webcam into another computer. If it works there, the fault is in the first computer's settings or ports. If it fails there too, the camera or cable is the likely cause.
Follow the manual for any driver step your model lists. Plug-and-play webcams such as the PrismEye are meant to be detected without drivers, so a missing camera points to the cable, the port or a permission.
Check the webcam mic
Some webcams have a built-in microphone, and a tester shows a level meter. Speak at a normal volume and watch the meter move. When testing the webcam mic, repeat the steps below in the same room you use for calls.
- Open the sound settings on your computer and choose the webcam mic as the input.
- Speak and check that the input meter moves.
- Record a short clip of yourself in a voice recorder app and play it back with headphones on.
- Listen for hiss, echo, keyboard clatter or a voice that sounds distant.
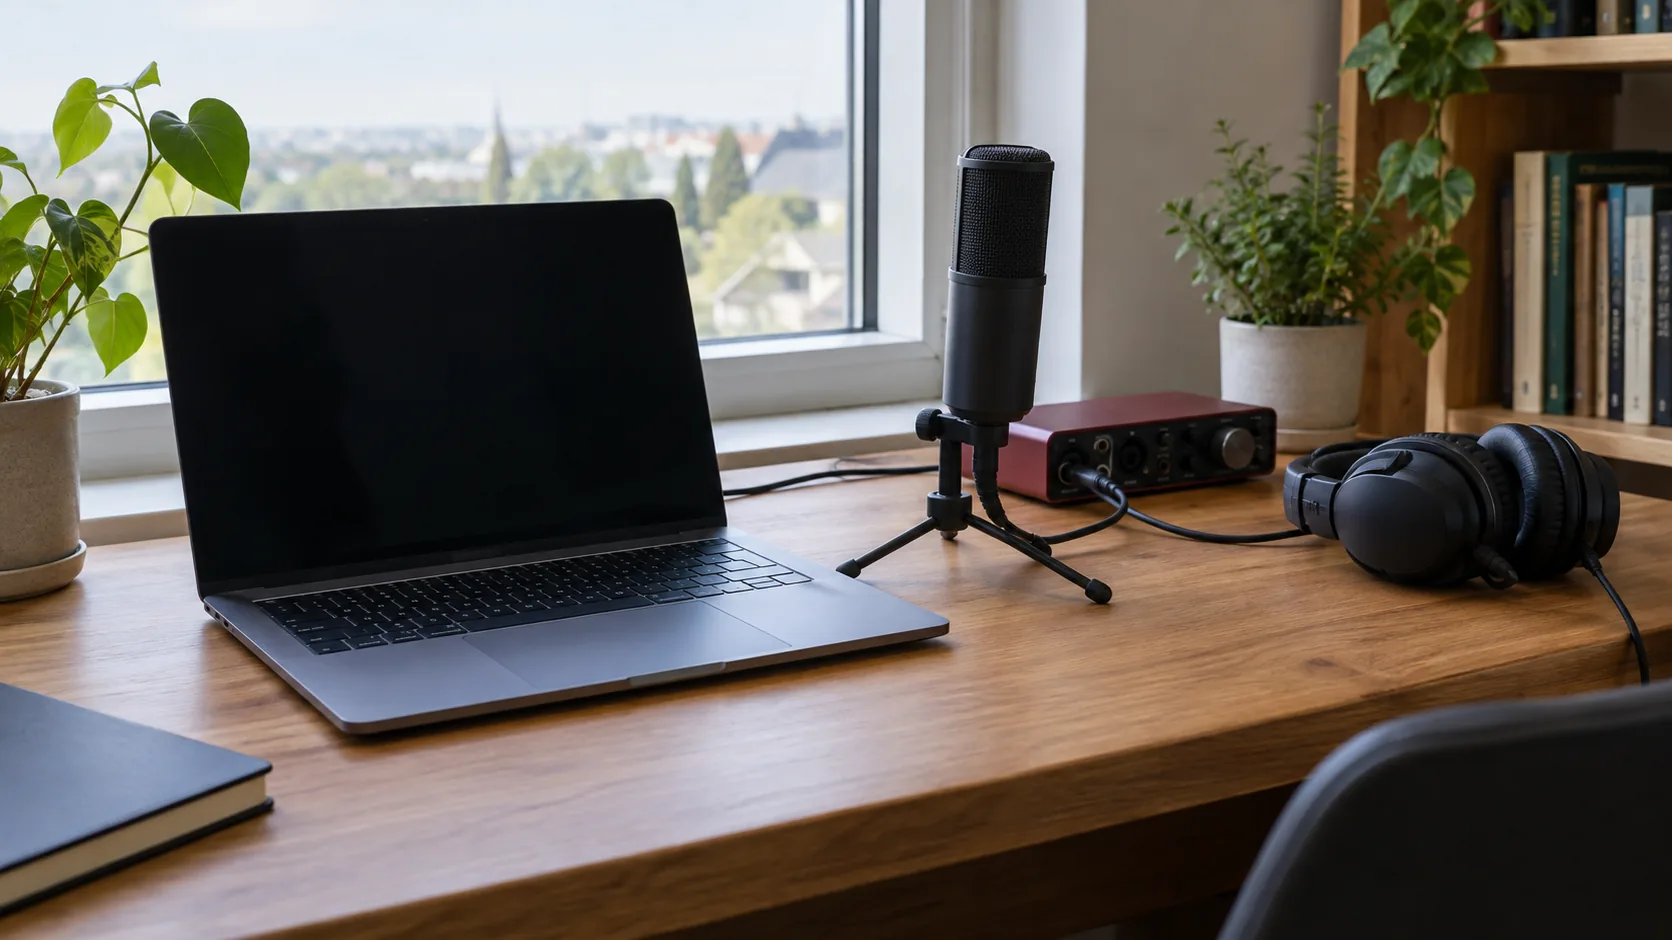
A mic built into a webcam sits farther from your mouth than a desk mic, so a distant voice is possible. A separate USB mic is one fix. The AuraWave is a USB condenser microphone with a cardioid pickup pattern that is most sensitive to sound in front of it, and an onboard gain control for setting your input level. Point the front toward your mouth, then choose it as the input in your software.
If you move around while you talk, wireless lapel microphone systems are another route, and the Streaming & Content Creation Tools collection lists more mics and creator gear.
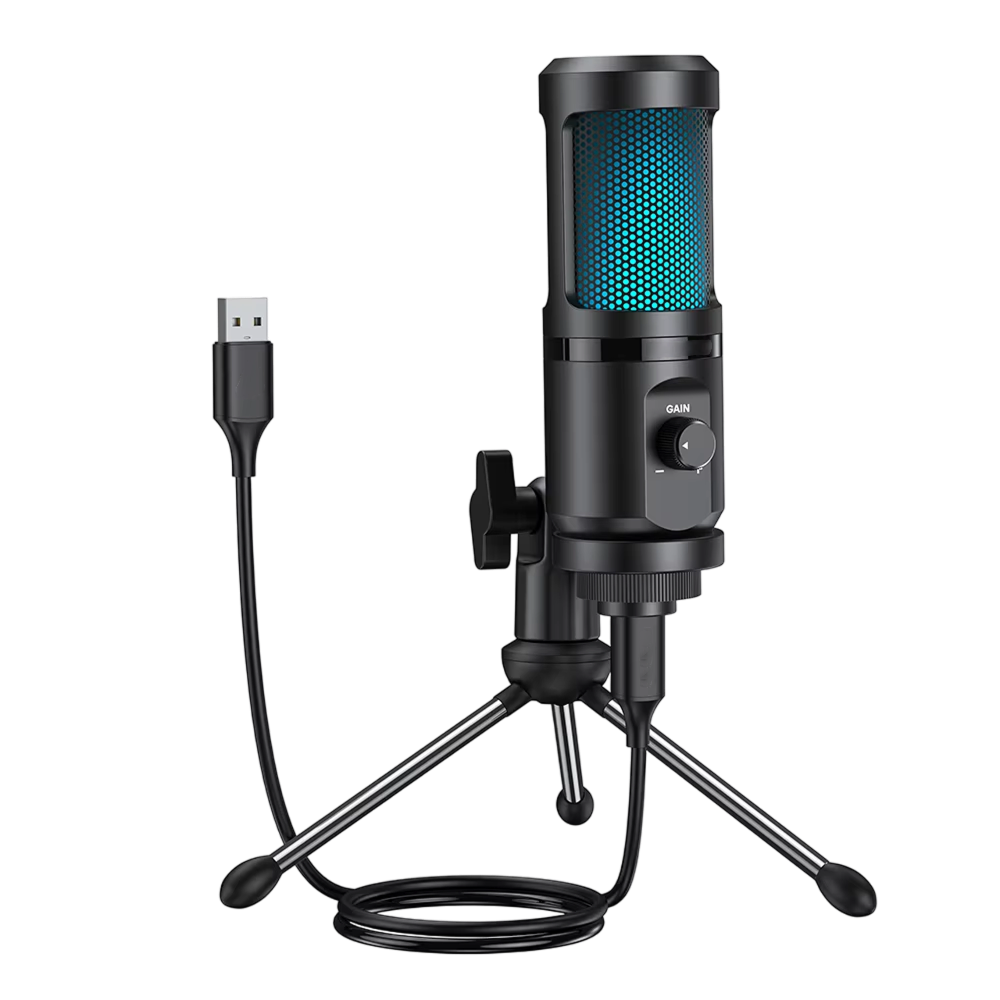 In this guideAuraWave$89.99View
Check lighting
Lighting shapes how the picture looks as much as the lens does. Test it with the same preview you used for the image check.
- Put the main light in front of you, slightly to one side, not above or behind.
- Close curtains if a window behind you turns you into a dark outline.
- Mixed bulbs (warm and cool) give uneven color. Use the same type of bulb where you can.
- Check the preview at the time of day you take calls.
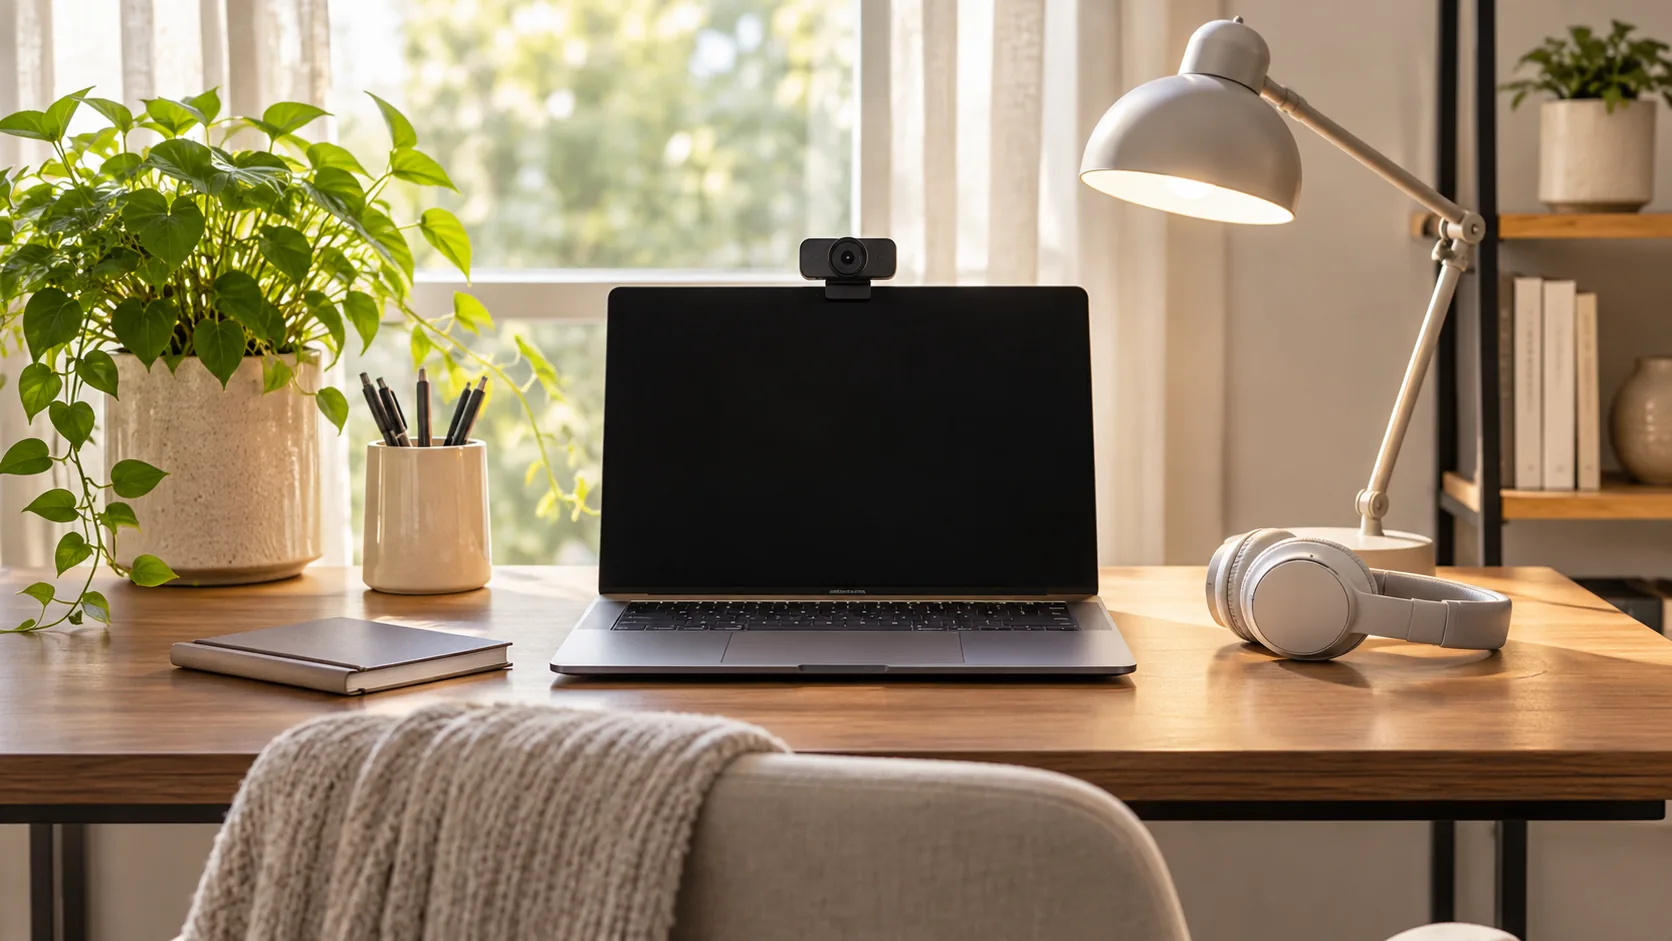
Some webcams have built-in lighting modes. The PrismEye is a 2K HD webcam that records at 2560x1440 and has three lighting modes: cool, warm and balanced. You switch between them with a single touch to match the lighting in your room. It connects by USB cable and is selected as the camera in your video app. It also has real-time tracking focus and a built-in microphone with noise reduction.
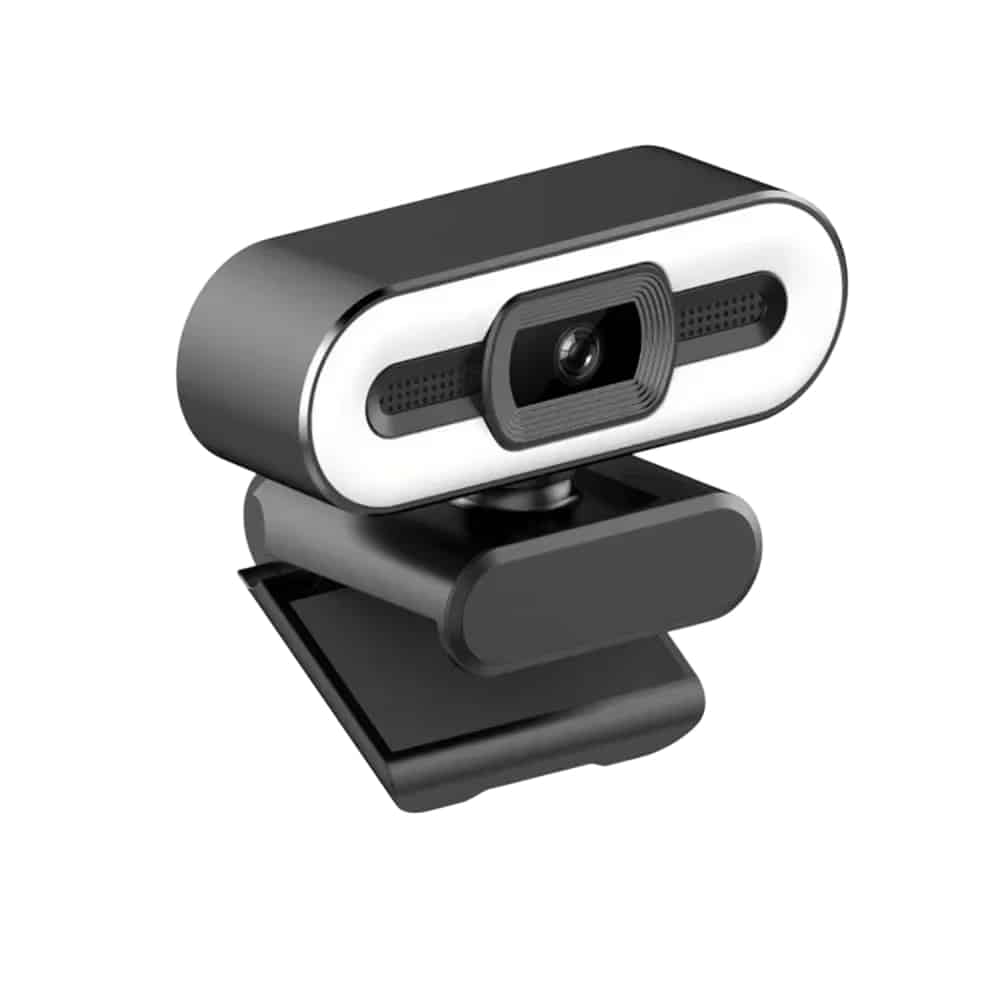 In this guidePrismEye$79.99View
Record a test clip and run a full check in your meeting app
A live preview hides problems that show up in playback. Record a short test clip in a camera app, a meeting app that has a record option or a video recorder app.
- Say a few sentences, then lean toward the screen and back.
- Wave your hand, then turn your head from side to side.
- Play the clip full screen with headphones on.
- Watch for blur when you move, shifts in color or brightness, and lag between your lips and the sound.
- Listen for hiss, echo and a voice that fades when you turn away.
The mirror view is a separate point. Some apps mirror only your own preview. Check the app's mirror setting, or look at a recorded clip to see how others see you.
Finish with the app you actually use. Browser testers show the camera works, but meeting apps have their own settings, so open the video and audio settings, choose the right camera and microphone, and repeat the sharpness, motion, mic and light checks in the preview.
For more on cameras and gear, see how to pick a vlogging camera, or browse the Cameras & Camera Accessories collection.
Field note
Save one test clip when everything looks right. If video goes wrong later, record a new clip and compare it with the saved one to see what changed.
Common mistakes when you test a webcam
- Testing in a different room from where you take calls.
- Leaving another app open that holds the camera, which gives a black screen.
- Judging sharpness in a small preview window.
- Ignoring the mic until a live call.
- Skipping the permission prompt in the address bar and assuming the camera is broken.
- Using a cable run through a hub or a long extension.
If the camera still does not appear, check that the computer lists it in the device list of the system settings, try a different cable or port, and test it on another computer.