
How to Pick a Good Vlogging Camera Without Overspending
Prioritize a flip screen, stabilization, a mic input, and an easy-to-charge battery, ranked by how you vlog. Then follow a starter checklist to avoid paying for extras.
Ryan Kessler
October 15, 2026 · 9 min read
A good vlogging camera has a flip-out screen you can see while filming yourself, stabilization that smooths walking shots, a microphone input, and a battery you can swap or recharge easily. Rank those four by how you vlog, and you can skip the extras that raise the price without helping your videos.
This guide ranks the features by vlog style, compares camera types, walks through the buying decision step by step, and finishes with a starter-kit checklist and a pre-shoot routine for an inexpensive setup.
What makes a good vlogging camera
Spec sheets list dozens of numbers. For vlogging, only a handful change what ends up on screen. Here they are in the order most beginners should weigh them.
- Flip screen. If you cannot see yourself, you cannot frame yourself. A screen that turns toward the lens lets you check your framing while recording alone. A bright screen also helps in bright sunlight, so look at how it reads outdoors.
- Stabilization. Handheld footage shakes when you walk. Look for a built-in gimbal, electronic stabilization, or a plan to add a separate gimbal.
- Microphone input. Built-in mics pick up wind, traffic, and room echo. An external mic jack lets you clip a lapel or mount a shotgun mic later.
- Battery and charging. Check whether the battery is removable and whether the camera charges over USB, so a power bank can top it up on location.
- Autofocus. Continuous autofocus that follows your face keeps you sharp when you step closer or turn away.
Resolution, 4K, and storage
Resolution matters less than people expect. A vlogging 4K camera gives you room to crop and reframe, but a steady shot with clear audio holds up where shaky, noisy footage does not, at any resolution. Treat 4K as a bonus, not the starting point. Overall video quality depends on steadiness, focus, light, and sound together.
Higher resolution also means larger files. Before you pay for it, check what memory card the camera accepts, how much space you have on your phone or laptop, and how you will move clips over. A setup you can actually keep up with beats a spec you cannot store.
Rank the features by your vlog style
The right priority list depends on what you film. Use this table to find your style, then weigh the features in the order shown.
| Vlog style | Priority 1 | Priority 2 | Priority 3 |
|---|---|---|---|
| Walk-and-talk, travel | Stabilization | Flip screen | Battery / USB charging |
| Talking head at a desk | Mic input | Flip screen | Autofocus on face |
| Product demos and unboxing | Autofocus | Mic input | Flip screen |
| Outdoor, windy locations | Wind handling / external mic | Stabilization | Battery |
| Food, hobby, and craft close-ups | Autofocus | Lens or sensor quality | Stabilization |
If you are a beginner
For a beginner camera for vlogging, the priority is simple operation. Choose a camera where you can power on, flip the screen, and record without digging through menus. Features you do not understand yet, such as log profiles or an HDMI port, can wait.
If you also want photos
Most vlogging cameras include a still-photo mode, so yes, vlog cameras can take photos. Compact models usually have a fixed lens and simple controls, which suits snapshots and thumbnails. If photography matters as much as video, favor manual controls, a larger sensor, and interchangeable lenses, and expect a bigger body. Confirm the photo specs in the product details.
Stabilization and camera types: phone, compact, or mirrorless
Three kinds of stabilization
They are not interchangeable, and knowing the difference keeps you from paying twice for the same thing.
- Electronic stabilization: software shifts and crops the image to smooth small shakes. It is built into many cameras and phones.
- Built-in gimbal: motors inside the camera work against your hand movement as you walk, so there is nothing extra to carry.
- Separate gimbal: a handheld stabilizer holds your phone or camera. It adds a device to charge and pack, but it lets you keep a device you already own.
If you mostly sit and talk, skip this category and spend on audio instead. If you walk, climb stairs, or film from a moving car window, put stabilization first.
Which camera type fits
There are three common routes to an affordable camera for vlogging. Each trades size, control, and extra gear differently.
| Type | Good for | Watch out for |
|---|---|---|
| Smartphone plus a gimbal | Using a device you already own | Phone storage, battery drain, and a separate stabilizer to charge |
| Compact camera with a built-in gimbal | Walking shots with little gear to carry | Fixed lens, so less flexibility than interchangeable-lens bodies |
| Mirrorless camera | Photos and video, lens selection, focal length options | Larger body, extra lenses, more to learn |
A compact camera for vlogging suits most beginners who want one device they can hold in one hand. A mirrorless body makes sense when you want to change focal length with different lenses. A phone setup suits you if you already own a capable phone and only want to add steadiness.
Phone route: add a gimbal
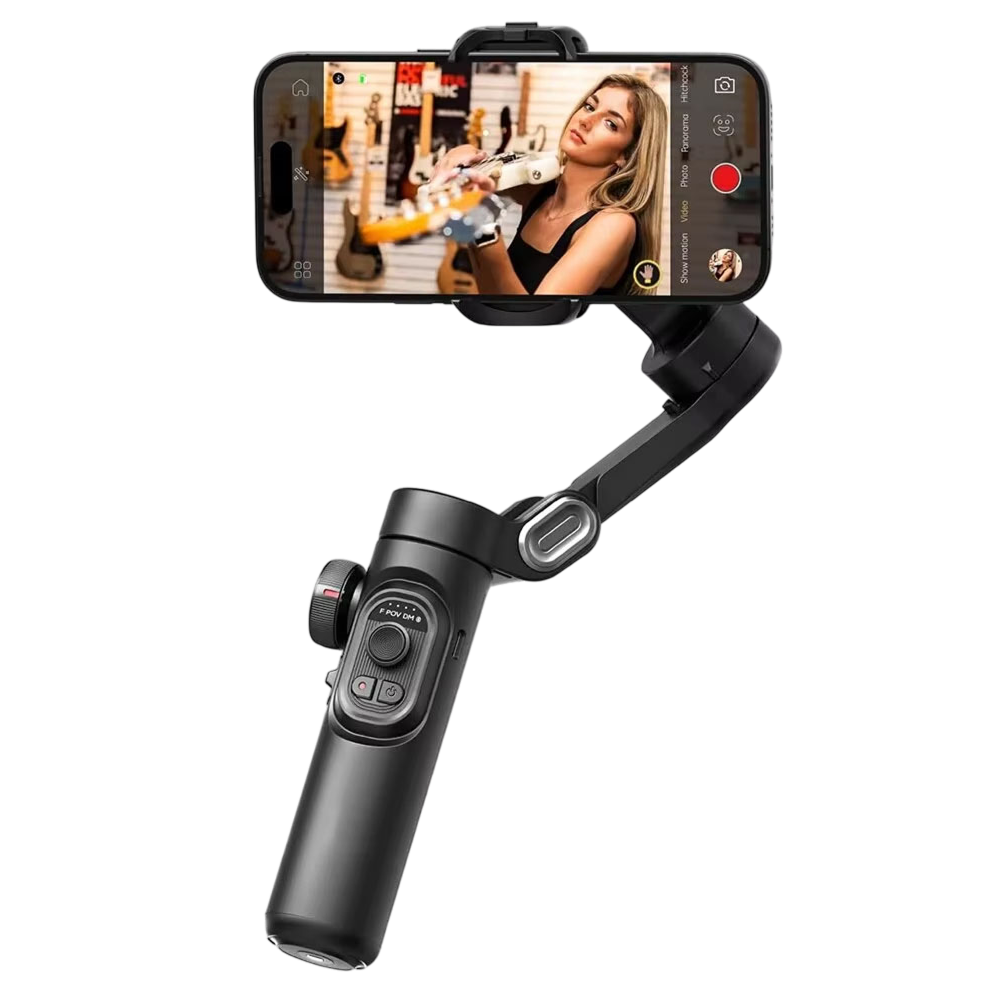
If you stay with your phone, a three-axis smartphone gimbal like SilkMotion holds it in an adjustable mount that fits 55-90mm devices. It uses three brushless motors, offers tap-to-track subject following, and folds into a travel pouch. It is a stabilizer, so audio still depends on your phone or an added mic.
 In this guideSilkMotion$179.99View
All-in-one option for walk-and-talk vlogs
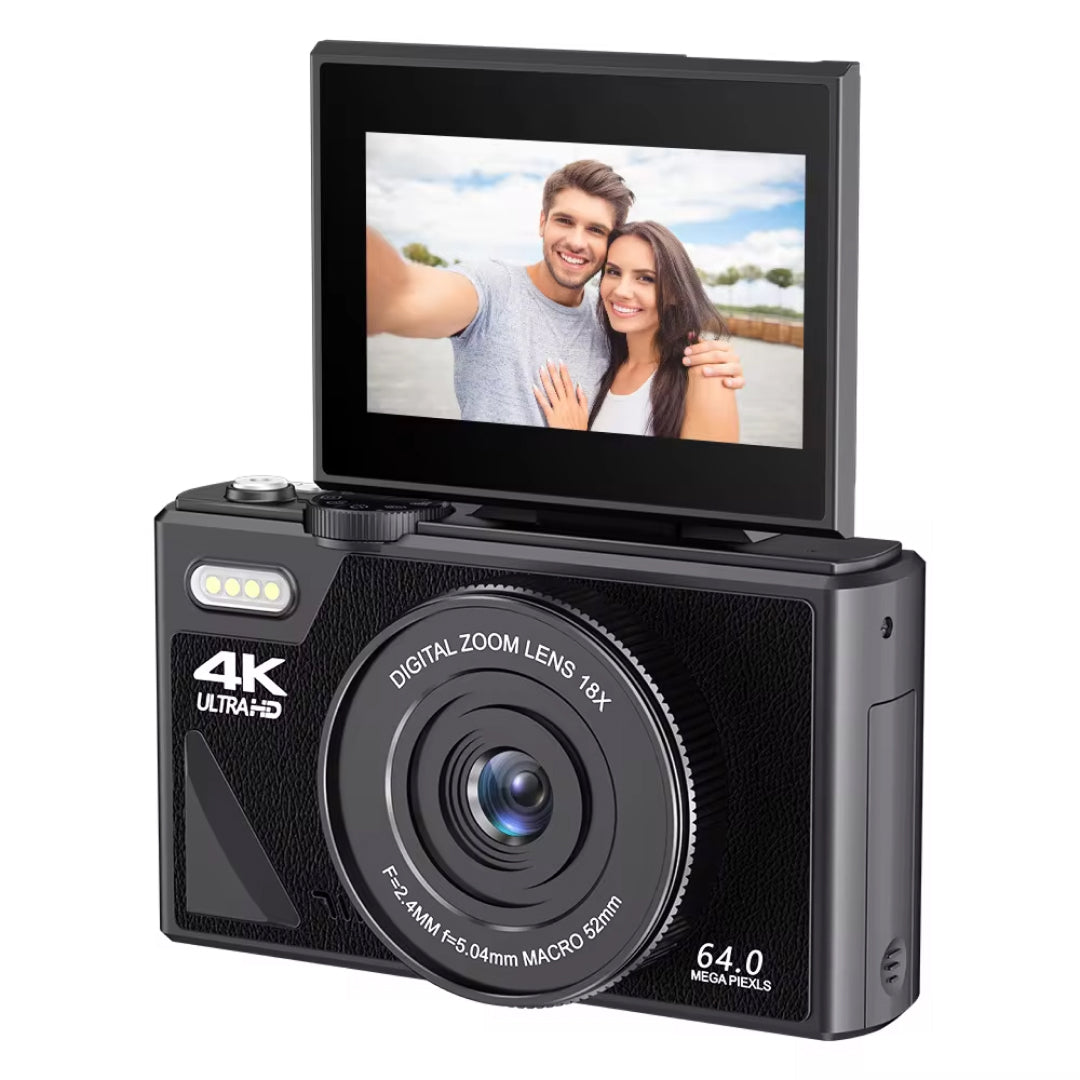
If you want the camera and stabilizer in one body, FrameForge is built around that idea. Three brushless gimbal motors sit inside the body and work on pitch, yaw, and roll as you walk, so there is no separate stabilizer to attach.
The flip-out touchscreen turns toward you, and AI subject tracking follows your face or body. You can also tap the screen to choose where autofocus lands. Built-in directional microphones include wind reduction, and an external mic input is there when you want to add a lapel or shotgun mic. The box includes a rechargeable battery, USB charging cable, memory card, and quick-start guide.
 In this guideFrameForge$179.99View
Audio: the upgrade beginners skip
Viewers often forgive plain-looking video before they forgive muddy sound. Even a capable camera can sound distant when you stand a few feet from the lens, because the mic hears the room as much as your voice. Outdoors, wind noise is the usual culprit.
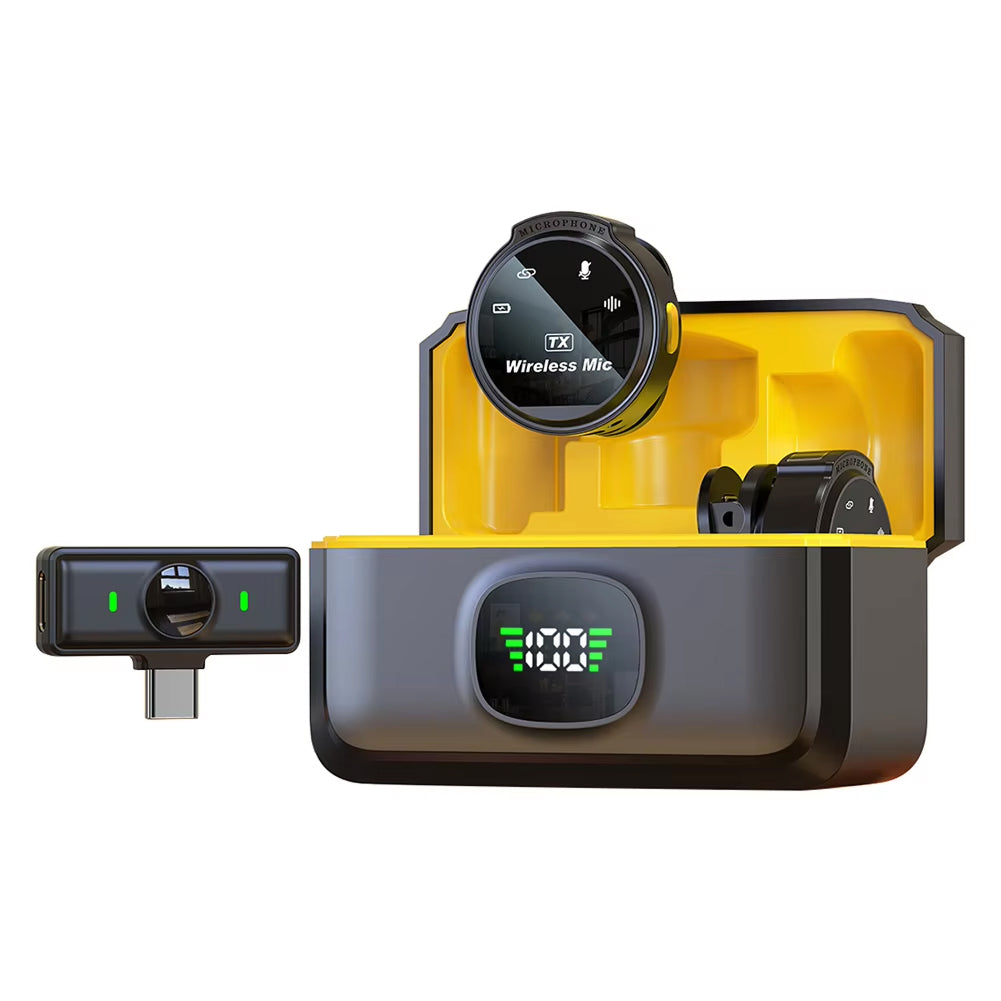
A clip-on mic puts the capsule near your mouth. A wireless lapel microphone also lets you walk away from the camera without losing your voice.
Beamora Mic is a wireless lapel microphone system with a clip-on transmitter, a plug-in receiver, and a charging case that doubles as a mini power bank. It uses an omnidirectional capsule and a dedicated 2.4GHz link, so you do not pair it through a Bluetooth menu and no app is needed. Plug the receiver into your phone, camera, or laptop and press record. Check that your camera's mic input matches the receiver's connector before you buy.
For more tools in this category, see the Streaming & Content Creation Tools collection.
 In this guideBeamora Mic$79.99View
Field note
Record a short sample clip in the exact spot you plan to film, then play it back with headphones. You will hear wind, fan noise, and echo before they spoil a full take.
How vloggers hold their camera
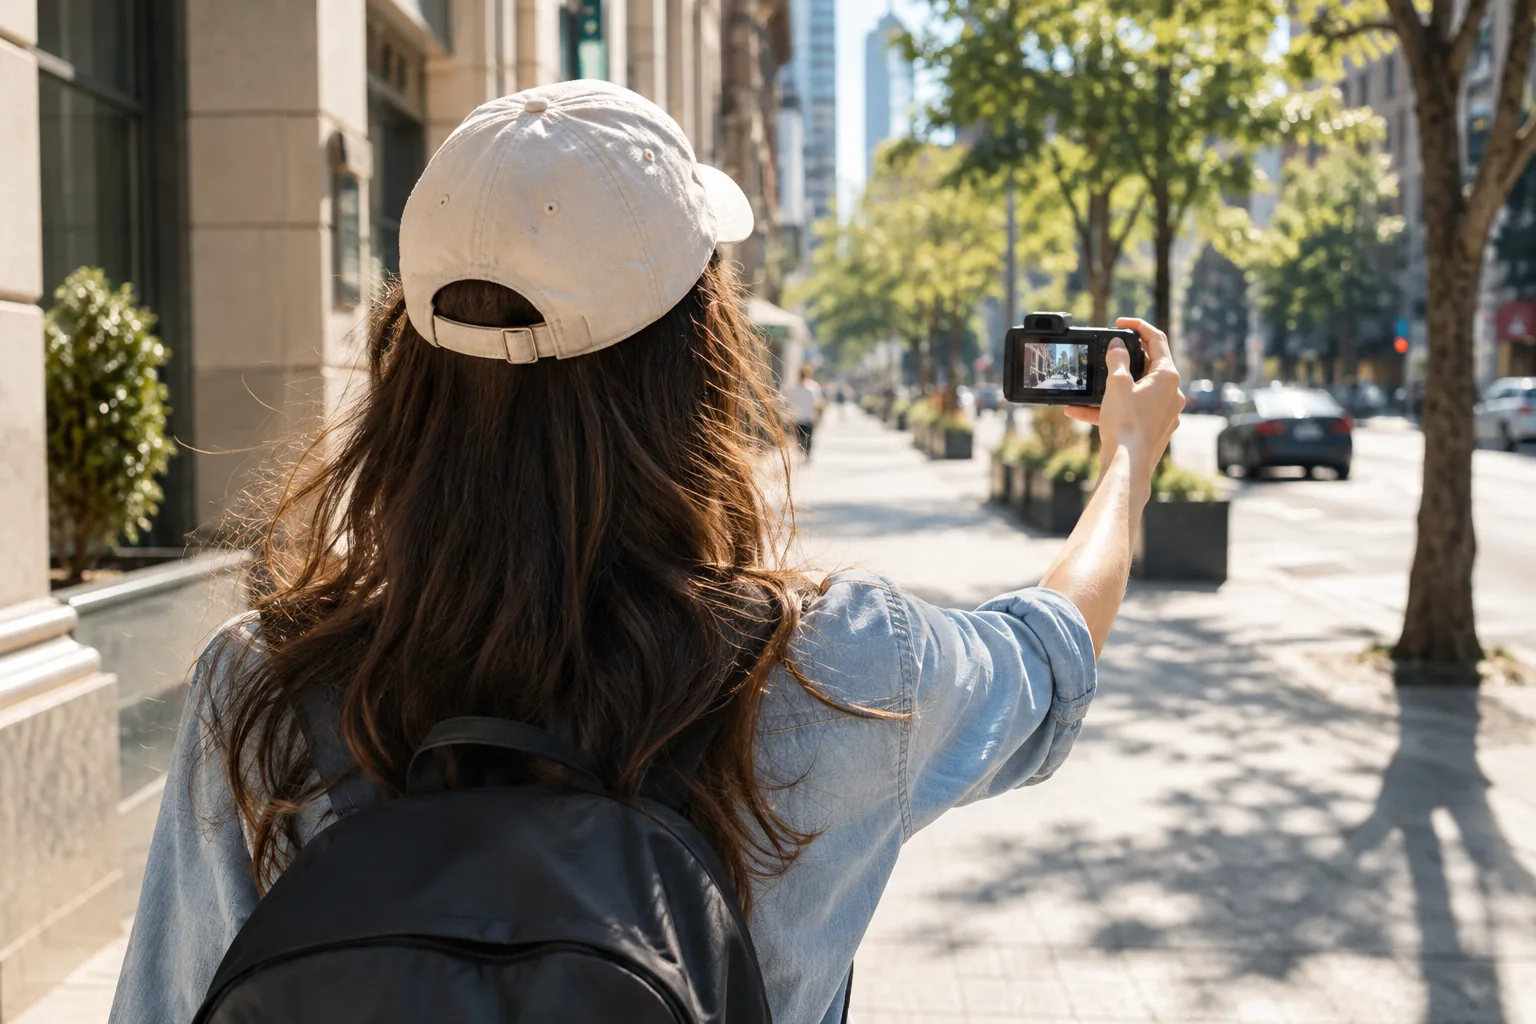
Most vloggers use one of three grips, and a good grip matters as much as the gear.
- Arm's length, one hand: the common walk-and-talk grip. Keep your elbow slightly bent and the lens at eye level or just above.
- Two hands, elbows tucked: gives your arms more support on longer takes, and it works well with a camera that has no built-in stabilization.
- On a grip, mini tripod, or desk stand: suited to talking-head videos and product demos where your hands stay free.
Wider lenses fit more of the scene in at arm's length. Rotate your whole body when you turn rather than twisting your wrist, which keeps the camera movement steady and even.
Framing and light
Keep the lens at or slightly above eye level, and leave a little space above your head. Face a window or stand with the light in front of you rather than behind, since a bright background turns you into a silhouette.
Indoors, turn off mixed lamps that color the scene in different ways. Outdoors, shade near a wall or tree can keep skin tones and the screen easier to read.
Five decision steps before you buy
Work through these in order. Each step narrows the field, so you compare fewer models at the end.
- Name your main vlog style. Use the table above and write down your top two priorities.
- Decide phone or dedicated camera. If your phone already films well, a gimbal and a microphone may be all you need. If you want one purpose-built device, look at compact cameras.
- Check the must-haves. Flip screen, external mic input, USB charging, and a card slot. Drop any model missing one of them.
- Read the box contents. A listing that includes a battery, charging cable, and memory card saves you a separate shopping trip.
- Set a ceiling and keep room for audio. Hold back part of your budget for a microphone, because sound often does more for a first video than extra resolution.
If two models tie, pick the one you find easier to operate. A camera you enjoy picking up gets used, and regular practice improves your videos more than a feature you rarely touch.
Starter-kit checklist for an inexpensive vlogging setup
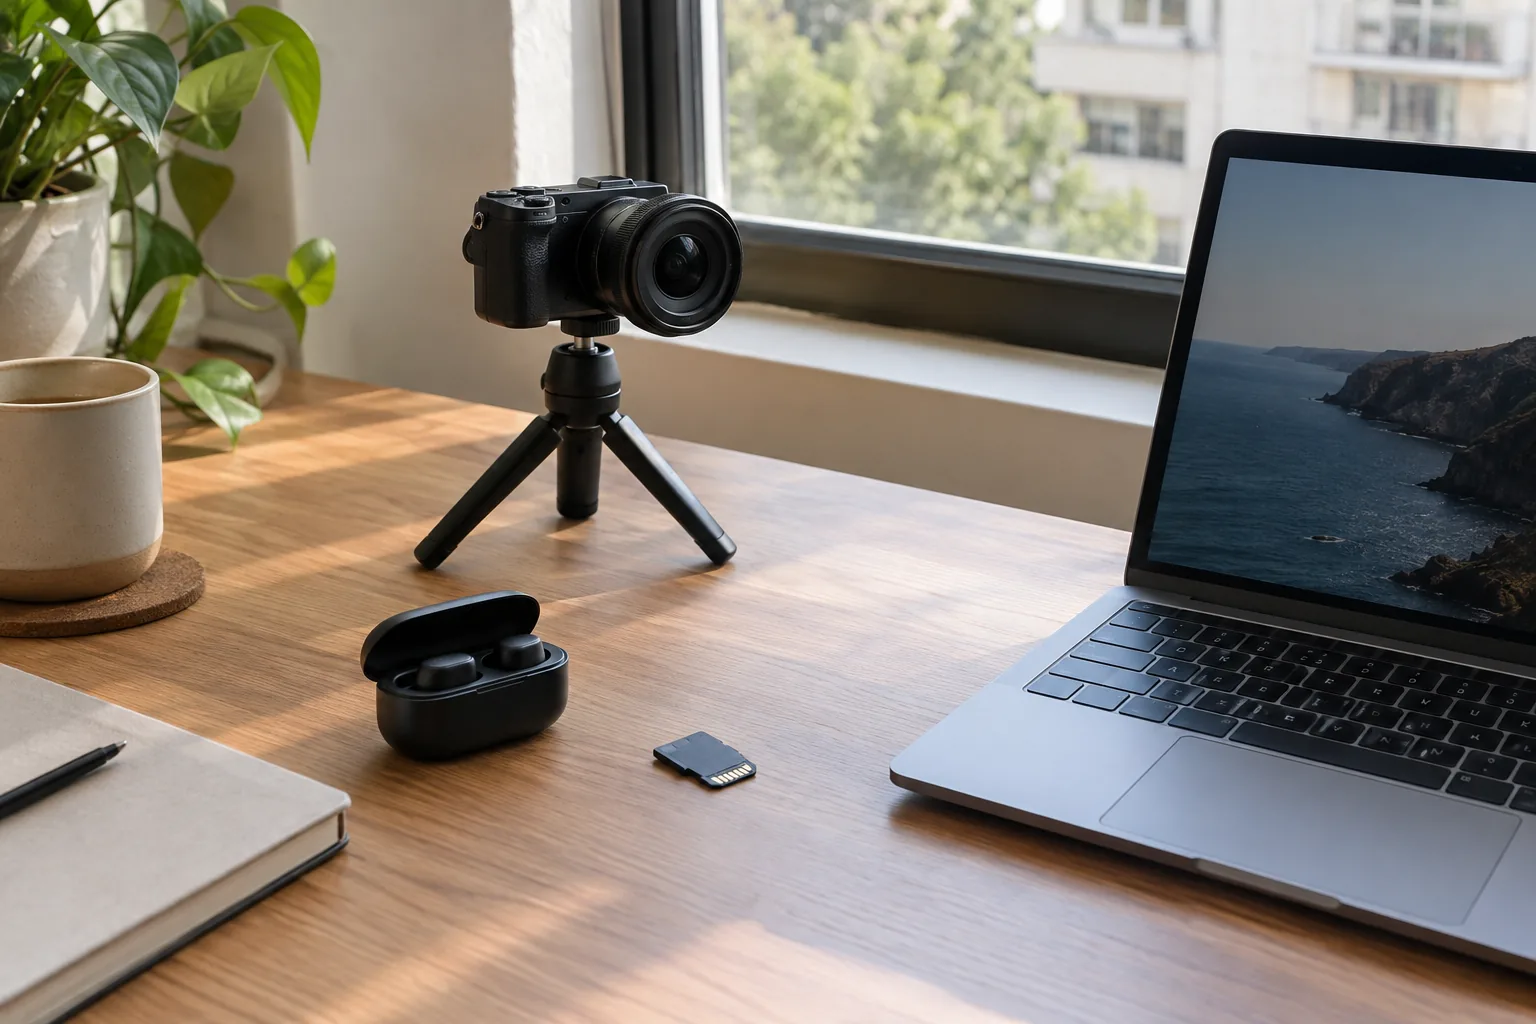
You do not need everything on day one. A starter camera for vlogging plus a few basics covers most videos. Buy in this order, and stop when your videos look and sound the way you want.
| Step | Item | Check before buying |
|---|---|---|
| 1 | Camera or phone | Flip screen, autofocus, stabilization plan |
| 2 | Memory card | Card type the camera accepts; included cards may be enough to start |
| 3 | Microphone | Mic input on the camera, or receiver compatibility |
| 4 | Extra battery or power bank | Removable battery or USB charging |
| 5 | Grip or mini tripod | Thread size and weight of your camera |
| 6 | Lighting | A window may do the job before any lamp purchase |
For more gear that fits this kind of setup, browse the Cameras & Camera Accessories collection.
Before every shoot: a quick routine
Most ruined takes come from small things you could have checked at home.
- Charge the camera battery, and pack the USB cable or a spare.
- Confirm the memory card has free space. Format it only after you have copied off old clips, and follow the camera manual.
- Wipe the lens with a clean microfiber cloth.
- Charge the microphone and its case, and plug in the receiver to confirm the camera hears it.
- Flip the screen toward you and check that your head and shoulders fit the frame.
After the shoot, copy the files to a phone or laptop the same day.
Common mistakes to avoid
- Paying for resolution before audio. More pixels do not fix a voice that sounds far away.
- Skipping the flip screen. If you cannot see the frame, you will crop yourself out or sit off-center.
- Ignoring storage and file transfer. Vlog files get large. Plan for card space and a simple way to move clips to a phone or laptop.
- Buying every accessory at once. Start with the camera and one microphone, then add gear when a specific problem shows up.
- Forgetting power. Charge the battery the night before, and carry a USB cable or a second battery if the camera supports it.
A lower price range is fine for a first camera. Upgrade one piece at a time, and only when you can name the feature you miss.
Frequently asked questions
Keep reading
 Speakers & Sound SystemsRecord Players With Built In Speakers: What to Check Before Buying9 min read
 Chargers, Docks & StorageLaptop Cooling Pad for Gaming: When It Helps and How to Set It Up7 min read
 Digital Photo Frames & DisplaysLarge Picture Frame Digital Guide: Size, Resolution and Placement8 min read