How to Record Audio From a Computer: Mic, Interface, System Sound
Choose your source (USB mic, audio interface or system sound), select it as the input, set the level and record. This guide gives the steps for each case.
The Folio & Current Team
October 28, 2026 · 7 min read
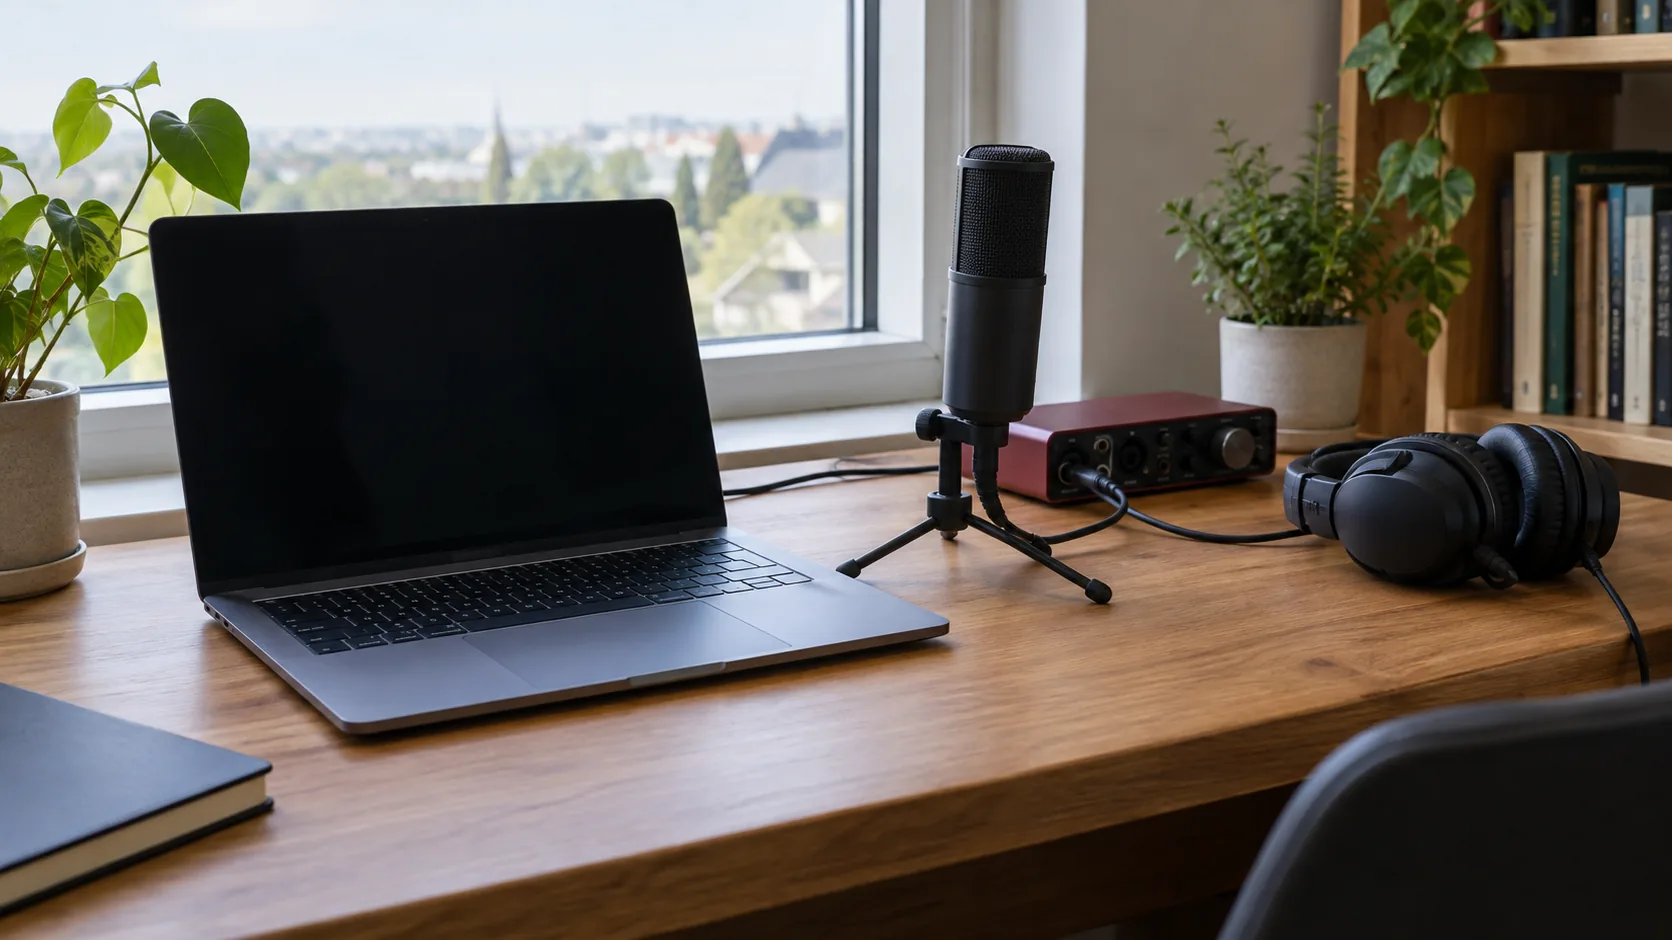
To record audio from a computer, choose the source first: a USB microphone, an audio interface with a mic or instrument plugged in, or the sound the computer itself is playing. Then pick the input in your recording software, set the level so loud peaks stay below the top of the meter, press record and export the file. This guide walks through all three cases with level-setting steps.
Pick your path: three ways to record audio from a computer
The source decides the tool. A voiceover, a podcast and a capture of a video call each need a different input, even though the software looks the same.
| What you want to capture | Input to choose | What you need |
|---|---|---|
| Your voice for a voiceover or podcast | USB microphone | A USB mic and recording software |
| Several mics, an instrument, or a studio-style setup | Audio interface | An interface, cables, mics and headphones |
| Sound playing on the computer (a browser tab, a game, a call) | System sound or loopback input | Software that offers a system-audio option |
Online recorders in a web browser work for a short voice memo. For anything you plan to edit, a desktop recording program with an input choice offers control over levels and file format.
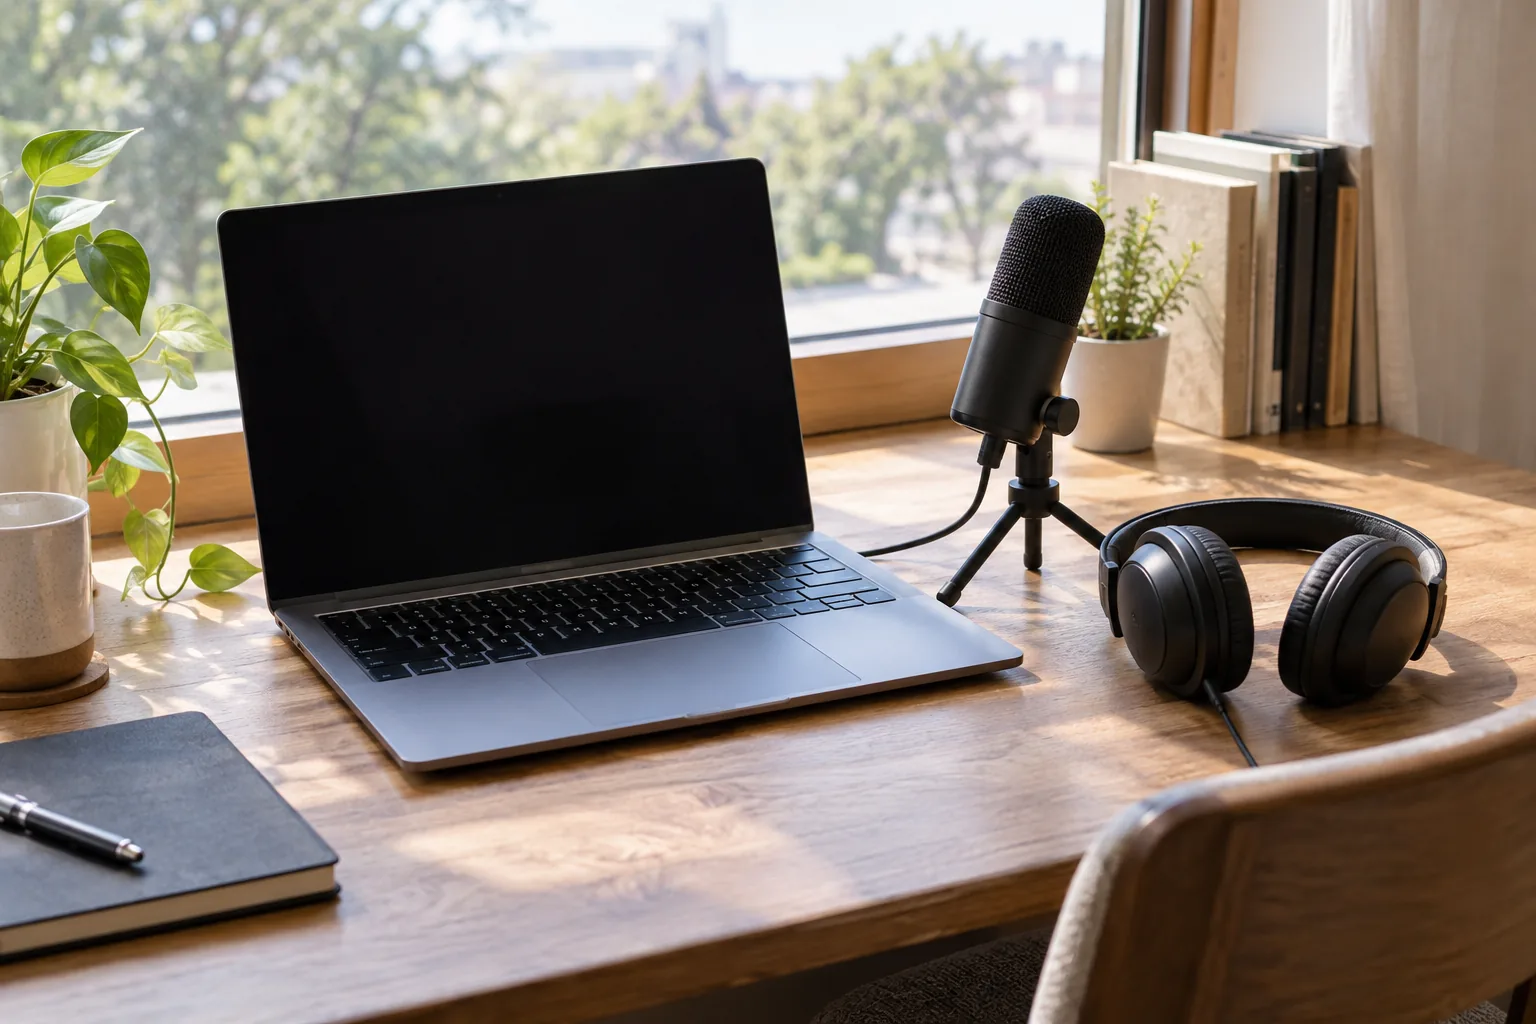
Case 1: Record with a USB microphone
A USB microphone is a simple way to record your voice to a file. It connects with one cable and appears in the computer as a standard audio device, so there is no separate mixer to set up.
AuraWave is a USB condenser microphone with a cardioid pickup pattern, which is most sensitive to sound in front of the mic and less sensitive to the sides and rear. It has an onboard gain control and comes with a desktop tripod and a mic mount.
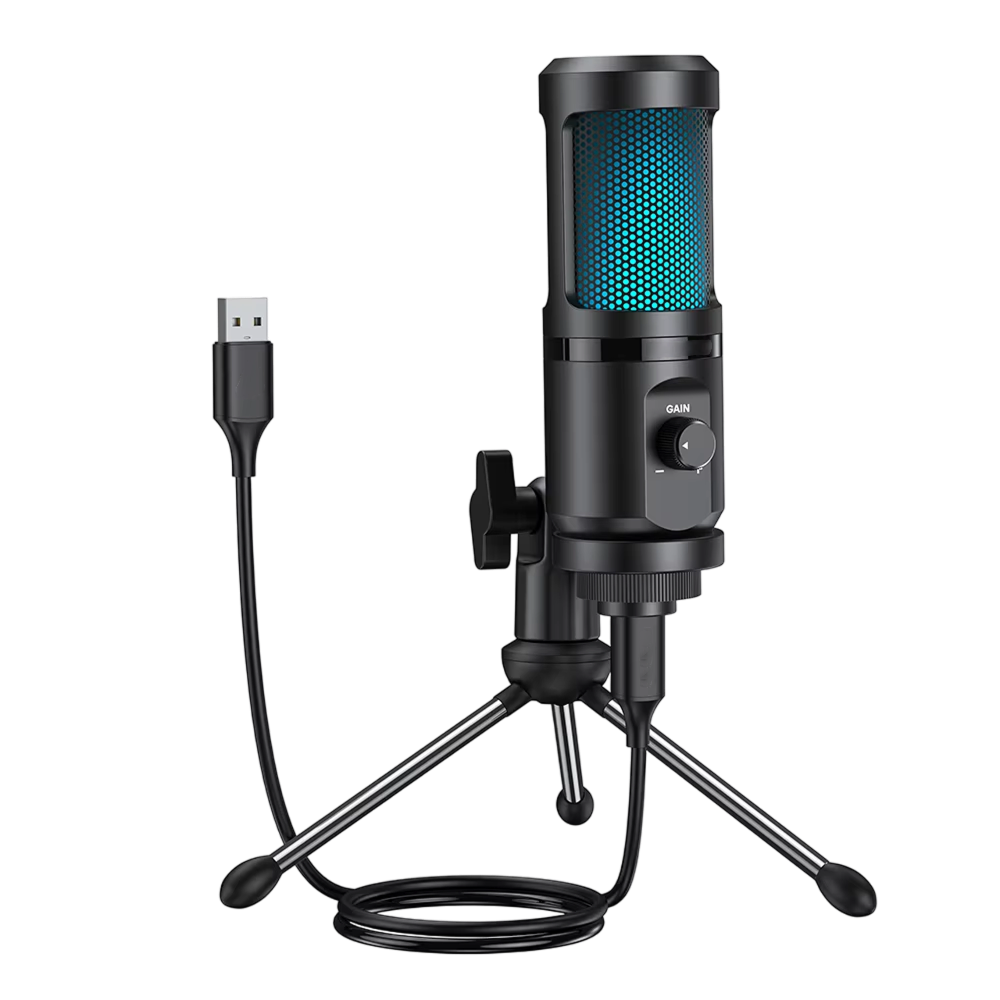 In this guideAuraWave$89.99View
Setup steps
- Attach the microphone to the tripod or the mic mount and place it in front of you, with the front of the mic pointed at your mouth.
- Connect the USB cable to the microphone and to the computer.
- Open your computer's sound settings and confirm the mic appears as an input device.
- In your recording software, choose that device as the input.
- Speak at your normal volume and adjust the onboard gain control while watching the meter (see the level section below).
- Record a short test, play it back through headphones, then start the real take.
Keep a steady distance from the mic. Distance changes the level, so settle your position before you set gain.
Field note
Wear headphones while you record. If speakers are playing, the mic picks the sound up and it ends up in your file.
Case 2: Record through an audio interface
An audio interface sits between your microphones or instruments and the computer. Choose one when you need more than one input, a condenser mic that needs phantom power, or an instrument connection. If you are plugging in a guitar, Guitar Audio Interface: How to Plug In and Record at Home covers that connection in detail.
SonoDeck Pro is a USB audio interface with four input channels for microphones, instruments and other devices. It has built-in microphone preamps with gain control, 48V phantom power for condenser microphones, and a direct monitor function that sends the input to the headphone jack in hardware. It uses class-compliant drivers, so the computer recognizes it as a standard USB audio device and no separate driver download is part of the setup.
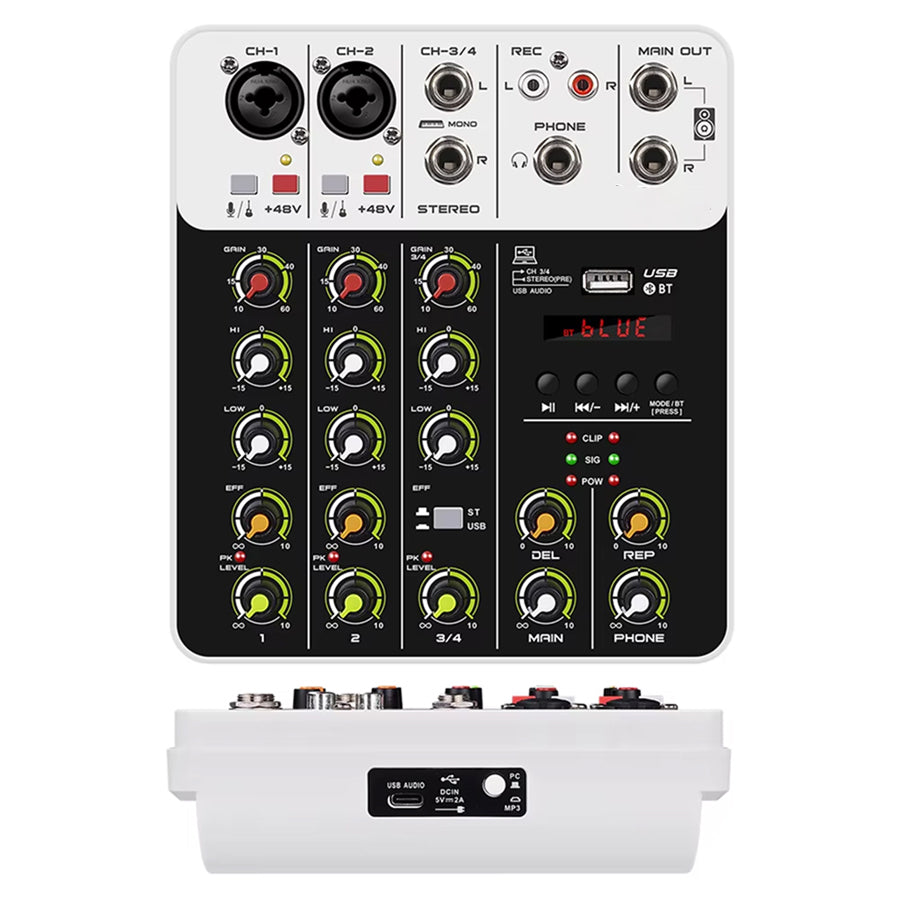 In this guideSonoDeck Pro$139.99View
Setup steps
- Plug your microphone or instrument into one of the four input channels.
- If you use a condenser microphone, switch on 48V phantom power only after the mic is connected. Follow the manual for your microphone.
- Connect the interface to the computer with the USB cable.
- Select the interface as the input device in your recording software.
- Switch on direct monitor and plug in headphones, so you hear the source while the software records it.
- Raise the gain on each channel while you play or speak at full volume, then record a test.
The interface also has a Bluetooth input, so you can pair a source alongside wired inputs and blend them while you record. If your interface connects over USB-C, Type C Audio Interface: What It Is and How to Connect It explains the cable and port side.
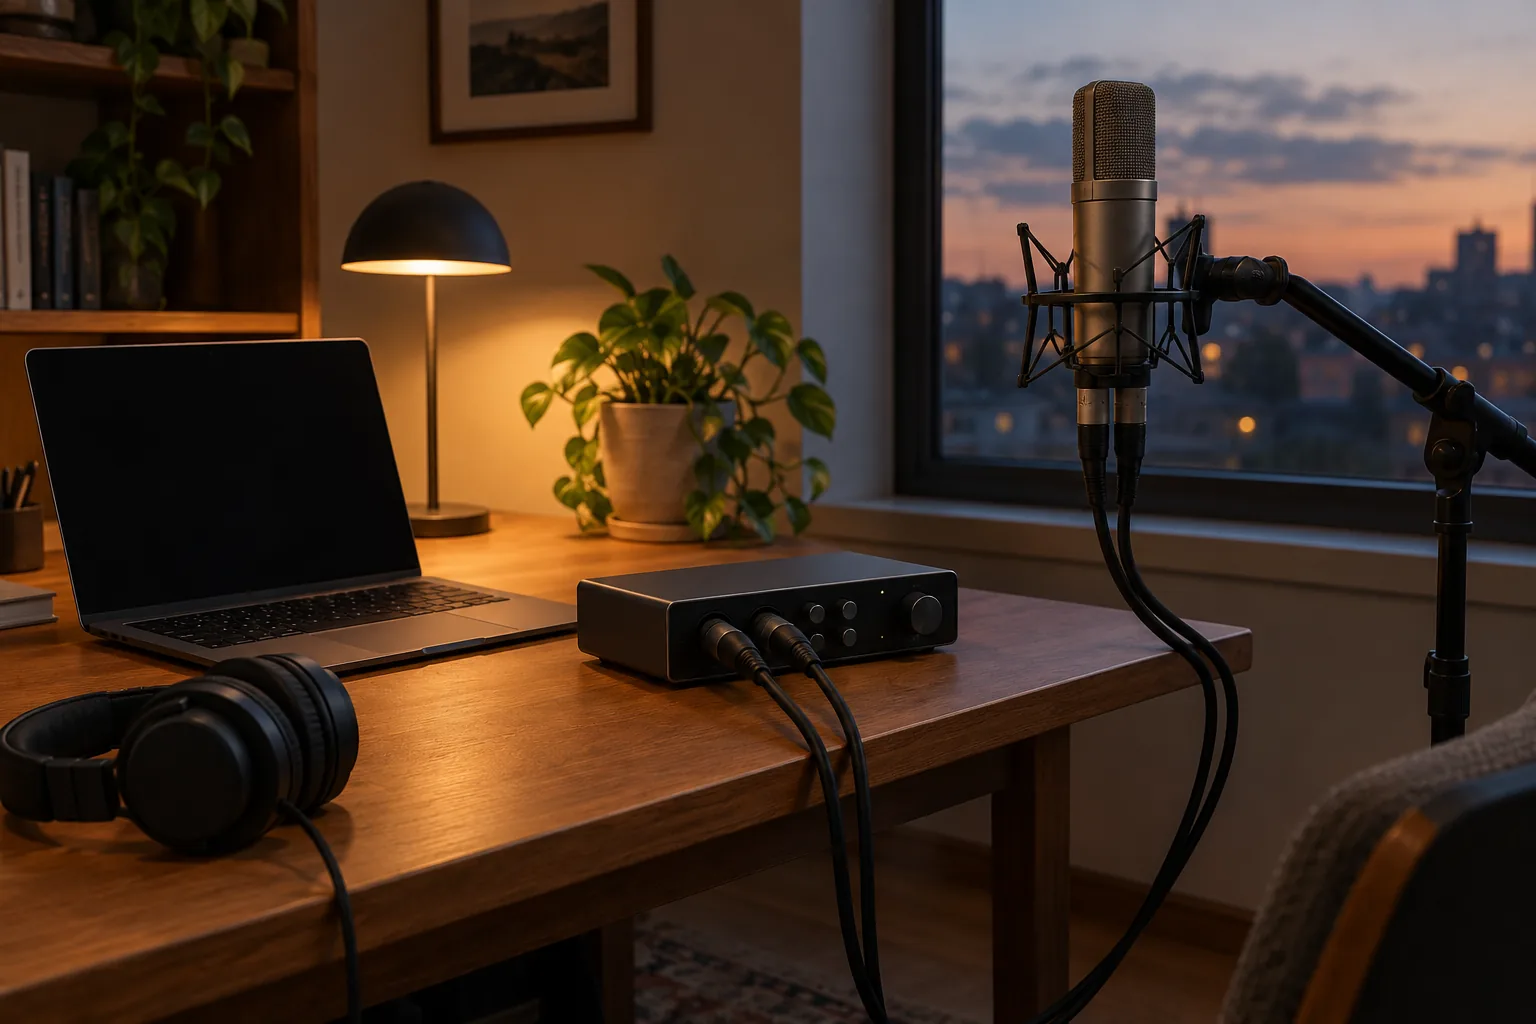
Case 3: Capture system sound from the computer
System sound means audio the computer is playing: a browser tab, a game, a lesson, or the other side of a call. A microphone is the wrong input here, because it records the room instead of the source.
Three ways to do it
- Use a screen or audio recorder with a system-audio option. Some have a toggle labeled system audio, computer audio or desktop audio.
- Look in your sound settings for a loopback-style input. Some systems list one, often under a name like stereo mix, and it may be disabled until you enable it.
- Install a virtual audio cable or loopback tool that routes output into a recording input, then choose that input in your software.
Permissions matter on some systems, so allow the recording program to capture audio if the operating system asks. Record only content you have the right to save, and tell people on a call before you capture it.
If you want both your voice and the computer's sound, enable both sources in the recorder, or record them on separate tracks so you can balance them later.
Set your recording levels
Level-setting works the same for all three cases. The goal is a signal strong enough to stand clear of background noise, with loud peaks that stay below the top of the meter.
| Step | What to do | What to check |
|---|---|---|
| 1 | Start with gain low | Meter barely moves in a quiet room |
| 2 | Speak at your loudest normal volume | Peaks reach roughly the upper middle of the meter |
| 3 | Raise or lower gain | No red or clip light at any point |
| 4 | Record a short test and play it back | Voice is clear, no crackle or hiss |
| 5 | Leave gain alone during the take | Level stays consistent |
Clipping is hard to fix in editing, while a quiet recording can usually be raised. If in doubt, record a little low. Some recorders show peaks in decibels, and a common rough target is around -12 to -6 dB, which leaves headroom for a louder moment. Treat that as a general guide, and let a test recording confirm your levels.
Choose software and a file format
Several kinds of app can record audio. Your computer may include a basic voice recorder, and free desktop editors and browser-based recorders also exist. A basic recorder works for notes. Pick a multitrack editor if you plan to record a voiceover, a podcast or more than one source.
- WAV keeps the full audio data, which suits editing.
- MP3 makes smaller files for sharing and uploading.
Record in WAV when you can, then export an MP3 after editing. For more on file quality, see Lossless Audio: What It Is and When You Can Hear the Difference.
Trim and export your recording
To shorten a voice recording, open the file in an editor, select the section you want to remove, and delete it. Editors let you drag the trim handles at the start and end, or select a pause in the middle and cut it. Play the join back before you export, since a cut in the middle of a breath can sound abrupt.
- Open the recording and zoom in on the waveform.
- Select the unwanted start, end or pause.
- Delete it, then play across the edit.
- Export as WAV or MP3 and save the original file separately.
If you create content for video, record the voiceover as its own audio file and place it on the timeline of your video editor. That keeps the voice track separate from the picture, so you can re-record a line without redoing the whole project. Browse the Streaming & Content Creation Tools collection for more gear for a creator desk.
Common mistakes when you record audio from a computer
- Recording with the wrong input selected, which gives you a thin laptop-mic file or no sound at all. Check the input name before every session.
- Letting the gain sit too high, so loud words clip.
- Using speakers instead of headphones, which feeds playback back into the mic.
- Placing the mic off to the side of your mouth when it has a cardioid pattern aimed at the front.
- Skipping the test recording and finding a problem after the full take.
- Editing the only copy instead of saving the original first.
Check that list before each session.