Type C Audio Interface: What It Is and How to Connect It
A type C audio interface connects to your computer over USB-C. Use a data-capable cable, check the driver, and set the buffer; this guide covers the full checklist.
Ryan Kessler
October 18, 2026 · 7 min read
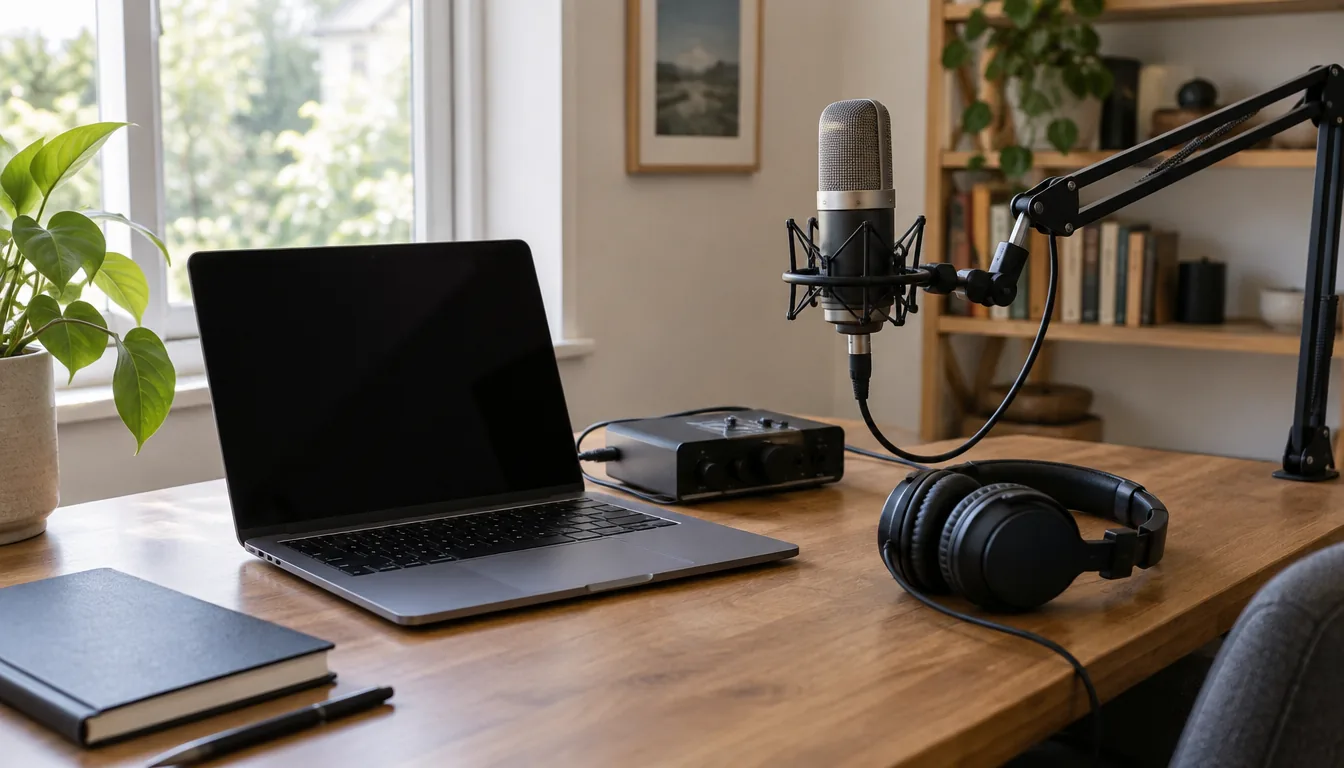
A type C audio interface is an audio interface that connects to your computer through a USB-C port, turning microphones, instruments and other sound sources into digital audio for your recording software. Connecting one takes four things: a data-capable cable, a free port, a driver (or a class-compliant device that needs none), and a sensible buffer setting. This guide walks through each one.
If you already know the basics, jump to the connection checklist. If this is your first interface, read the next section first.
What a type C audio interface is
An audio interface is a box that sits between your sound sources and your computer. It has input jacks for microphones and instruments, a headphone output, and a connection to the computer. The computer's built-in audio is meant for playback and a basic headset mic; an interface adds dedicated microphone preamps and gain control. For a broader look at how these devices work, see an overview of audio interfaces.
"Type C" describes only the connector shape: the small, oval, reversible plug. It does not tell you the interface's channel count, sample rate or driver type. Two USB-C interfaces can differ a lot, so read the manual for each one.
Are there USB-C audio interfaces?
Yes. Some interfaces, from two-input desktop models to larger multi-channel units, use a USB-C port, and some are built to work with phones and tablets too. Others use older rectangular USB connectors, which connect through a matching cable or adapter.
Can USB Type-C carry audio?
Yes. The port carries digital audio data between the interface and the computer, and in some designs it also supplies bus power, meaning the computer powers the interface without a separate power brick. The manual states whether a given model runs on bus power, so check it before you plan your desk.
Can you use any USB-C cable with a type C audio interface?
Not always. USB-C cables look identical but differ inside. Some carry power only, some are meant for charging, and some carry full data. An audio interface needs a cable that carries data, because the audio travels over it.
| Cable type | Works for an interface? | What to check |
|---|---|---|
| USB-C to USB-C, data-capable | Yes, if the computer has a USB-C port | Confirm in the manual that the cable carries data |
| USB-C to USB-A | Yes, for computers with rectangular ports | Confirm the interface's manual allows it |
| Charge-only cable | No | The interface may power on but not appear as a device |
| Very long or worn cable | Can cause dropouts | Swap to a shorter cable to rule it out |
If your interface is not detected, the cable is the first thing to swap. Check the manual to see which cable the interface calls for, and keep a known data-capable cable with your recording gear.
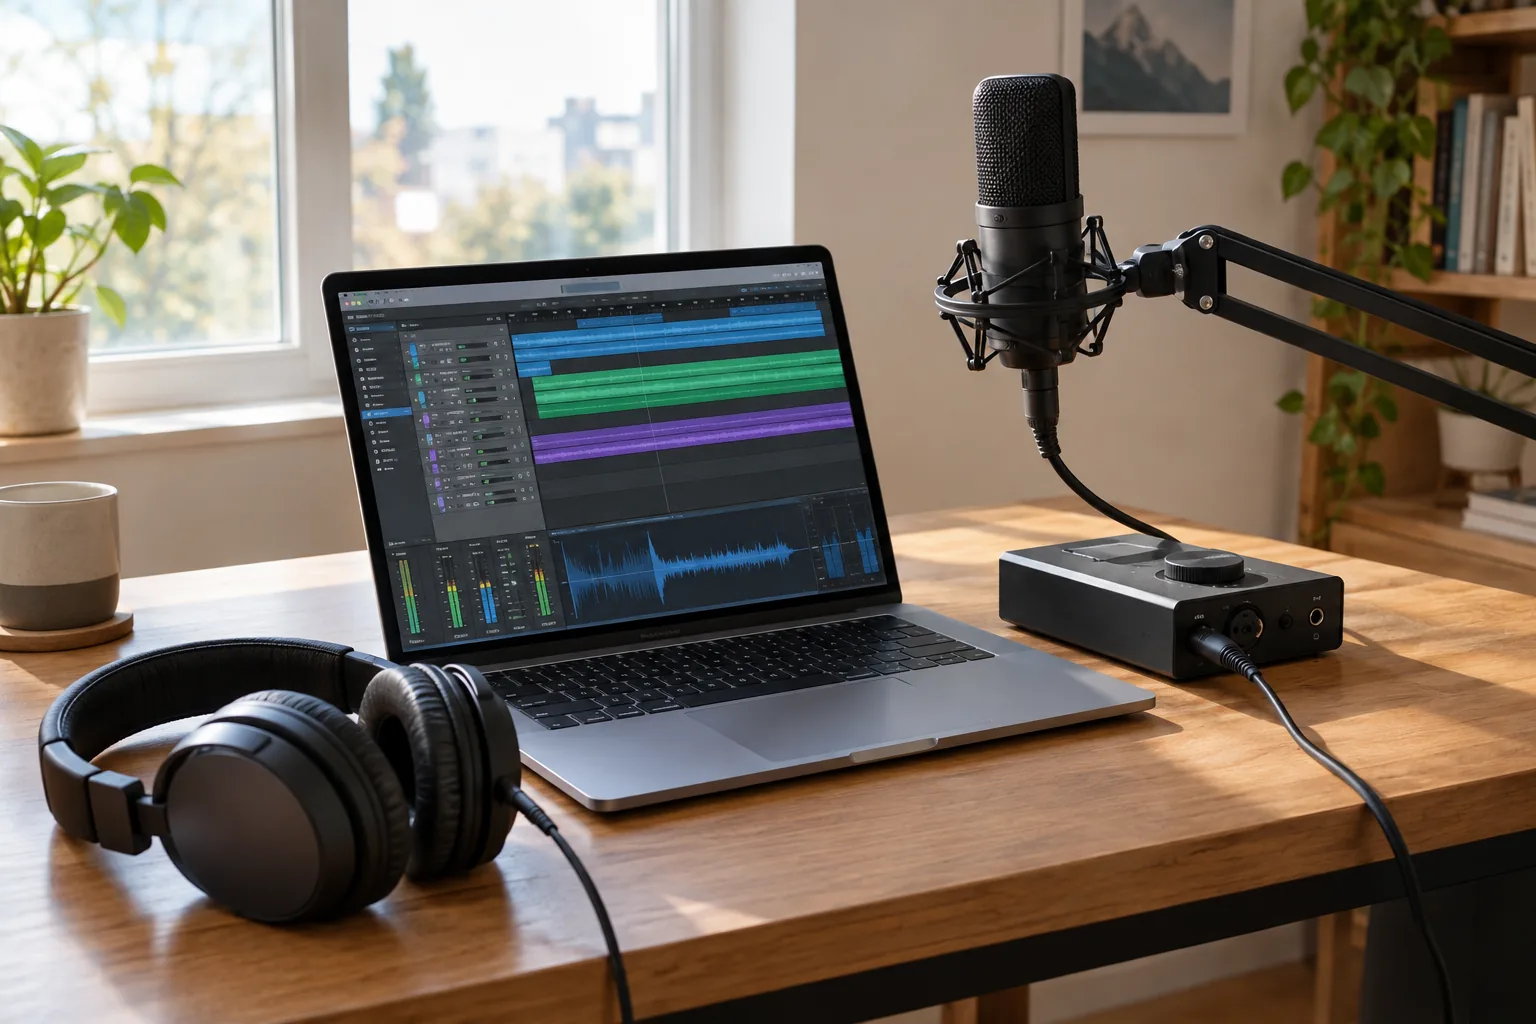
Connection checklist for an audio interface for PC
Follow these steps in order. They apply to a PC and to other computers in the same way.
- Unplug other USB devices you do not need, so you can see which port the interface uses.
- Plug the data-capable cable into the interface first, then into the computer. Use a port on the computer itself rather than a shared hub when you can.
- Check whether your model needs a driver. Class-compliant interfaces appear as a standard USB audio device with no download; others need the maker's driver installed first.
- Open the system sound settings and choose the interface as the input and output device.
- Open your recording software and select the interface in its audio settings. On a PC, choose the interface's dedicated low-latency driver if your software offers one.
- Set the sample rate (44.1 kHz and 48 kHz are typical starting points) and keep it matched in the software and the system settings.
- Plug in a microphone or instrument and set the gain so the level meter stays below the top. Turn on phantom power only if your condenser microphone needs it and the manual says so.
- Plug headphones into the interface's headphone output and record a short test clip.
Follow the interface manual for power and phantom power, and unplug the microphone before switching phantom power on or off.
Drivers: class-compliant or not
A class-compliant interface uses the standard audio support already built into the operating system. You plug it in and the computer lists it as an audio device. Other interfaces need the maker's driver, which you install before connecting. The manual or the product page tells you which type your model is.
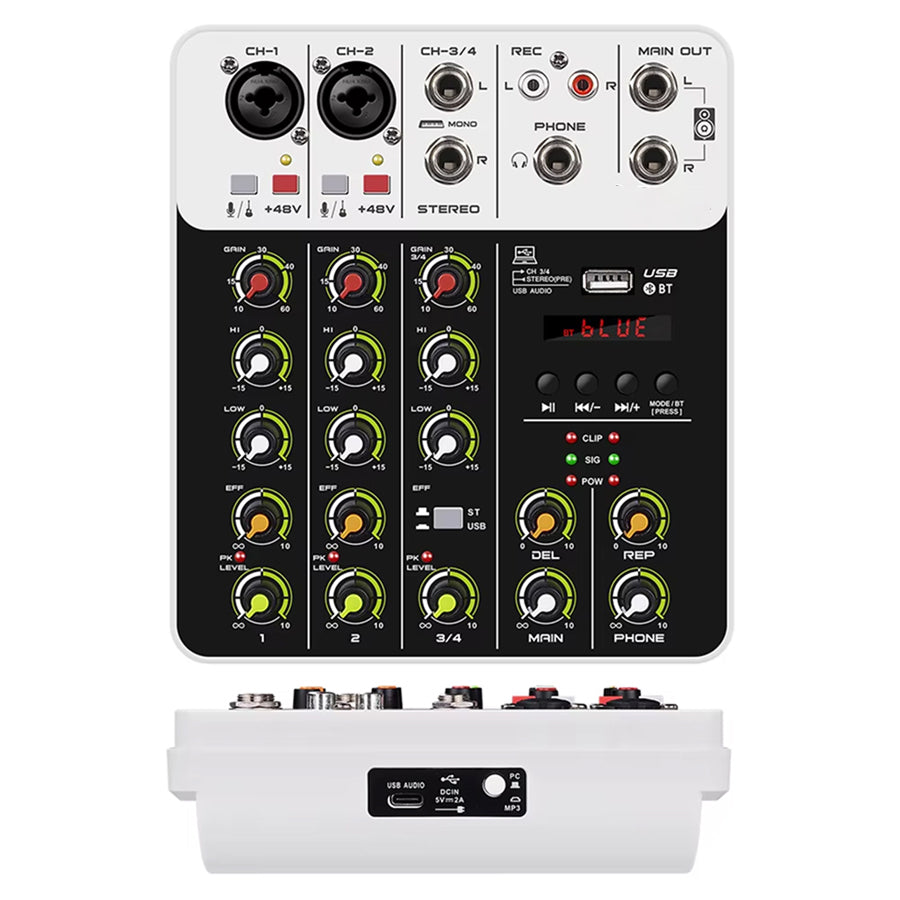
The SonoDeck Pro is a USB audio interface with four input channels for microphones, instruments and other devices. It uses class-compliant drivers, so a computer recognizes it as a standard USB audio device, and no separate driver download is part of the setup. It also has built-in microphone preamps with gain control, 48V phantom power for condenser microphones, a metal shell, and a Bluetooth input alongside the wired sources.
The box holds the interface, a USB charging cable and a quick-start manual, and the product's setup instructions use the included USB cable to connect it to the computer. Before pairing it with a laptop that has only USB-C ports, check the connector type and power needs on the product page or in the manual.
 In this guideSonoDeck Pro$119.99View
Latency settings that matter
Latency is the delay between a sound going in and you hearing it back through headphones. It comes from the buffer size, the amount of audio the software collects before processing it. A small buffer means a short delay and more work for the computer; a large buffer means a longer delay and more time to process.
| Task | Buffer approach | Why |
|---|---|---|
| Recording vocals or guitar | Set a small buffer | You hear yourself with a short delay |
| Mixing with many tracks | Set a larger buffer | The computer has more time to process plug-ins |
| Streaming or calls | Start in the middle | Adjust if you hear crackles |
Lower the buffer step by step until you hear crackles or pops, then go up one step. Close browsers and other heavy apps while recording.
Direct monitoring
Direct monitoring sidesteps the delay problem. On the SonoDeck Pro, a direct monitor function sends the input signal to the headphone jack in hardware, without routing it through the computer first. You hear the source while the recording software captures it.
Field note
If you hear an echo of your own voice while recording, use either the software monitoring in your recording program or the interface's direct monitor, not both. Having both on at once plays the signal twice.
When your laptop has only one USB-C port
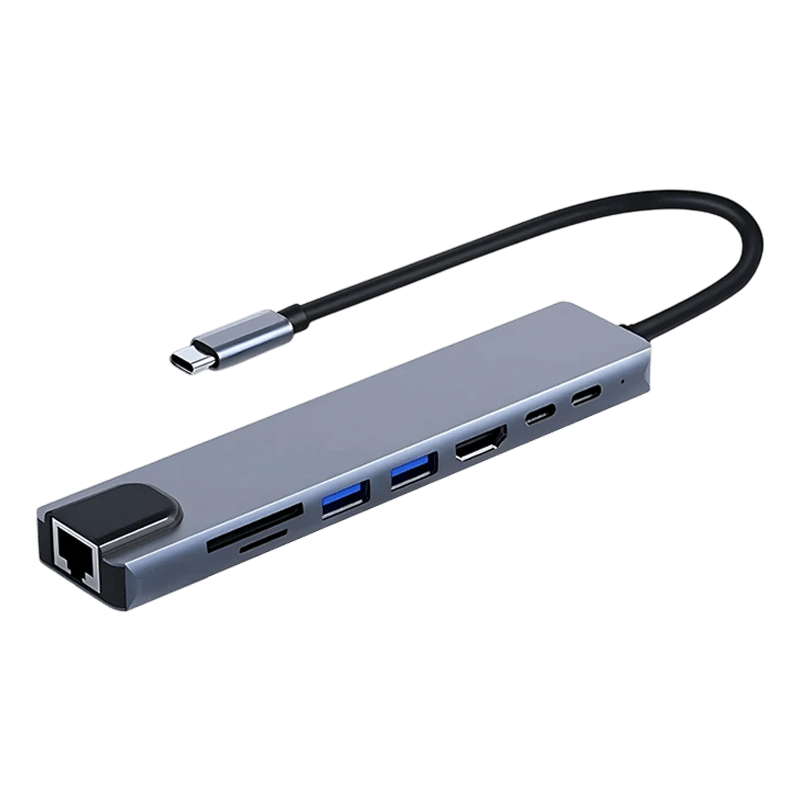
Some thin laptops have just one or two USB-C ports for the charger, display, drives and the interface. A multiport adapter can leave a port open for the recording gear. The HubVantage is an 8-in-1 USB-C multiport adapter with an aluminum shell that plugs straight into the laptop's USB-C port. It has an 87W Power Delivery charging port, HDMI output at 4K 30Hz and a 100Mbps RJ45 ethernet port.
It lists no driver or software download. Check that your laptop's port supports video output and power delivery if you plan to use those functions. For recording, connect the interface straight to a laptop port if you have a spare one, and use the adapter for the display, network and charger. If you plug the interface into the adapter and notice dropouts, move it to a direct port. More desk power and storage options are in Chargers, Docks & Storage.
 In this guideHubVantage$69.00View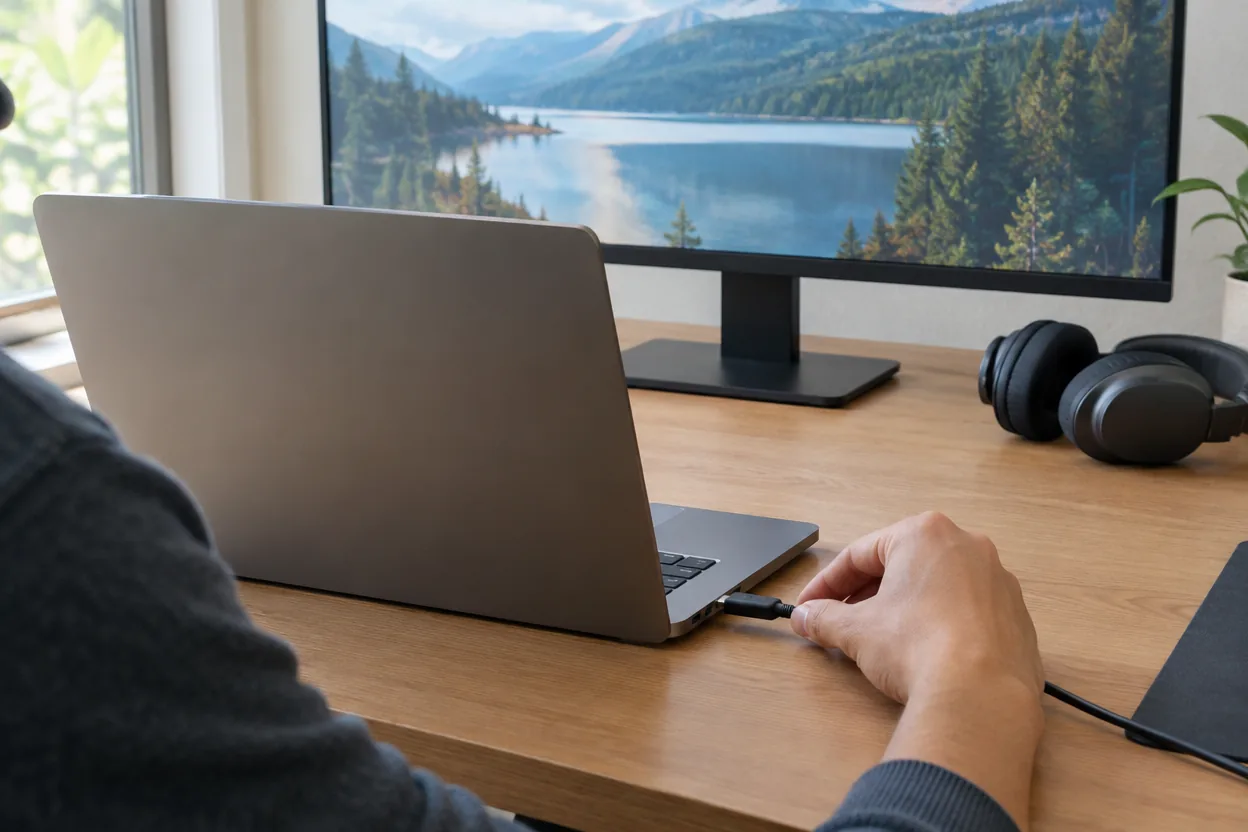
How many channels do you need?
Channel count is the number of sources you can record at once. Pick it by what you plan to plug in, not by the largest number on the box. The same logic applies to any PC audio interface or laptop-based setup.
| Setup | Inputs to look for |
|---|---|
| One voice or one instrument | One or two inputs |
| Podcast with two hosts, or voice plus guitar | Two to four inputs |
| Small band or multiple mics and devices | Four or more inputs |
Also look for a headphone output, outputs for studio monitors, and whether you need MIDI. Speakers and headphones for your desk are in Music & Playback Devices. If you also make video, How to Pick a Good Vlogging Camera Without Overspending covers the camera side of the setup.
Phones and tablets
Some class-compliant interfaces work with phones and tablets through USB-C. Confirm in the interface manual that mobile use is supported, and whether it needs its own power.
Common mistakes to avoid
- Using a charge-only cable, then assuming the interface is faulty.
- Leaving the system sound output on the laptop speakers while the software uses the interface.
- Mismatched sample rates between the system and the recording software.
- Turning on phantom power for a microphone that does not need it. Use it only for mics that call for it.
- Plugging or unplugging a microphone while phantom power is on. Follow the manual.
- Running the interface through a crowded hub with many devices attached.
- Setting gain so high that the meter hits the top, which causes clipping.
When a type C audio interface is not working, go through the checklist from the cable onward. The first few steps cover the cable, the port and the driver.