High Quality Webcam: What Actually Improves Your Picture
A webcam's picture depends on sensor, lens, autofocus, low-light handling and frame rate more than the resolution label. Here are the specs to check and a lighting checklist.
The Folio & Current Team
November 21, 2026 · 8 min read
Webcam high quality comes down to four things: a sensor and lens that gather enough light, autofocus that holds on your face, low-light handling, and a frame rate your software can use. Resolution matters less than the number on the box suggests, because a sharp 1080p image in good light can look cleaner than a 4K image in a dim room. This guide ranks the specs by how much they change your picture, then gives you a lighting and placement checklist you can finish at your desk.
Webcam high quality: the specs that matter
A spec sheet lists a dozen numbers, but only a few change what the other person sees. Use the table below to separate the ones worth checking from the ones that mostly fill space on a package.
| Spec | What it does | What to check |
|---|---|---|
| Sensor size | A larger sensor collects more light overall, which helps in ordinary room lighting | Sensor size is often missing from listings; if it is absent, judge by sample footage |
| Lens and aperture | Controls how much light reaches the sensor and how much of the room fits in frame | A wide field of view shows more background; a narrower one frames just you |
| Autofocus | Keeps your face sharp when you lean in or hold up an object | Look for continuous or tracking focus, not a fixed focus lens |
| Low-light handling | Brightens and cleans the image when the room is dim | Look for light correction or automatic light adjustment, then check how grainy the footage looks |
| Frame rate | Sets how many frames are recorded each second | 30 frames per second is the usual call setting; 60 frames per second suits fast motion on a stream |
| Resolution | Sets how many pixels make up each frame | 1080p and 2K both fill most video windows; check what your app actually sends |
| Built-in microphone | Picks up your voice without a separate audio device | Noise reduction helps in a room with a fan or street noise |
| Mount | Holds the camera on a monitor, laptop lid or tripod mount | Check for a clip, a tripod thread, or both |
Sensor size and lens
The sensor is the part that turns light into an image, and a bigger one has more surface to catch it. That is why a modest resolution paired with a good sensor and lens can still give a clean image. Because some listings leave the sensor size out, sample footage recorded in a normal room is a useful guide alongside the headline number.
Autofocus
Fixed-focus webcams are set for one distance, and your face goes soft when you lean toward the screen or sit farther back. Autofocus that tracks your position adjusts as you move, which matters for classes, demos and any call where you show an object to the lens. A slow or hunting focus is visible to everyone on the call, so check it in a sample clip.
Why resolution alone misleads
A 4K label sounds like a promise of a crisp picture, but several steps sit between the sensor and the person watching. Some video apps compress the stream before sending it, and a lot of calls display your video in a small window. The extra pixels are often scaled down before anyone sees them.
Resolution pays off when you record locally, crop in after the fact, or stream to a platform that accepts a higher bitrate. A 2K camera such as 2560x1440 gives you room to crop and a sharp image in a video window, as long as the room is lit well.
Compare what your own setup can use. Your upload connection, your computer and the app each set a ceiling, so a camera that outputs more than your app sends gives you no visible gain. Set the camera to the resolution and frame rate your app accepts, and give light the attention it needs.
A 2K webcam example: PrismEye
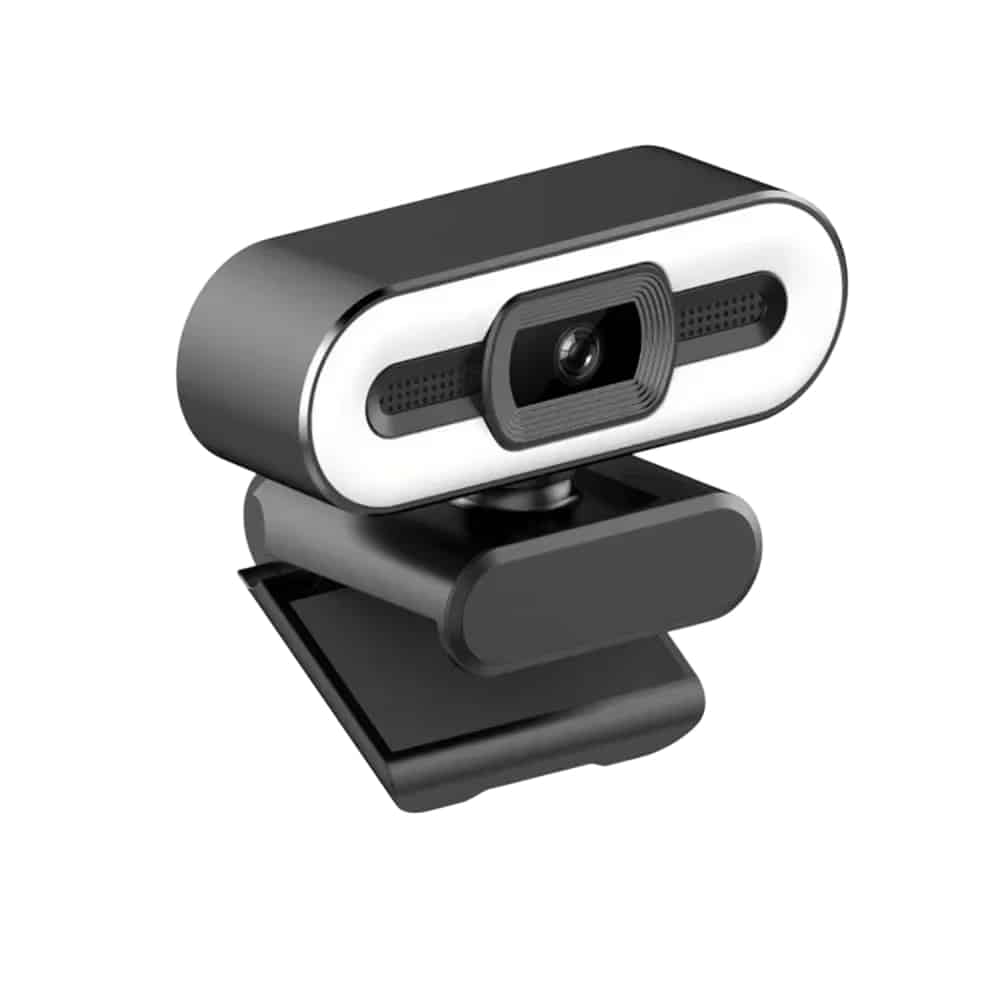
If you want a concrete example of how these specs show up in a single device, PrismEye is a 2K HD webcam that records at 2560x1440. It connects to a laptop or desktop with a USB cable and works as a plug-and-play device, so no drivers are required. Open a video app and select PrismEye as your camera.
It has real-time tracking focus, which adjusts focus as you lean toward the screen or move around the frame during calls, classes and streams. Three built-in lighting modes (cool, warm and balanced) switch with a single touch to match the lighting in your room. A built-in microphone with noise reduction lets you speak on a call without connecting a separate audio device.
The box includes the webcam, a 1.2m (about 4 ft) USB 2.0 cable, an adjustable mounting clip and a Quick Start Guide. Check that your desk layout fits that cable length before you buy.
 In this guidePrismEye$79.99View
Lighting and placement checklist
Lighting is the first thing to adjust, and you can do it at your desk. Work through these steps in order, and check your preview window after each one.
- Face a window or a lamp, so the main light hits your face from the front or slightly to one side.
- Keep bright windows out of the frame behind you. A bright background makes the camera darken your face.
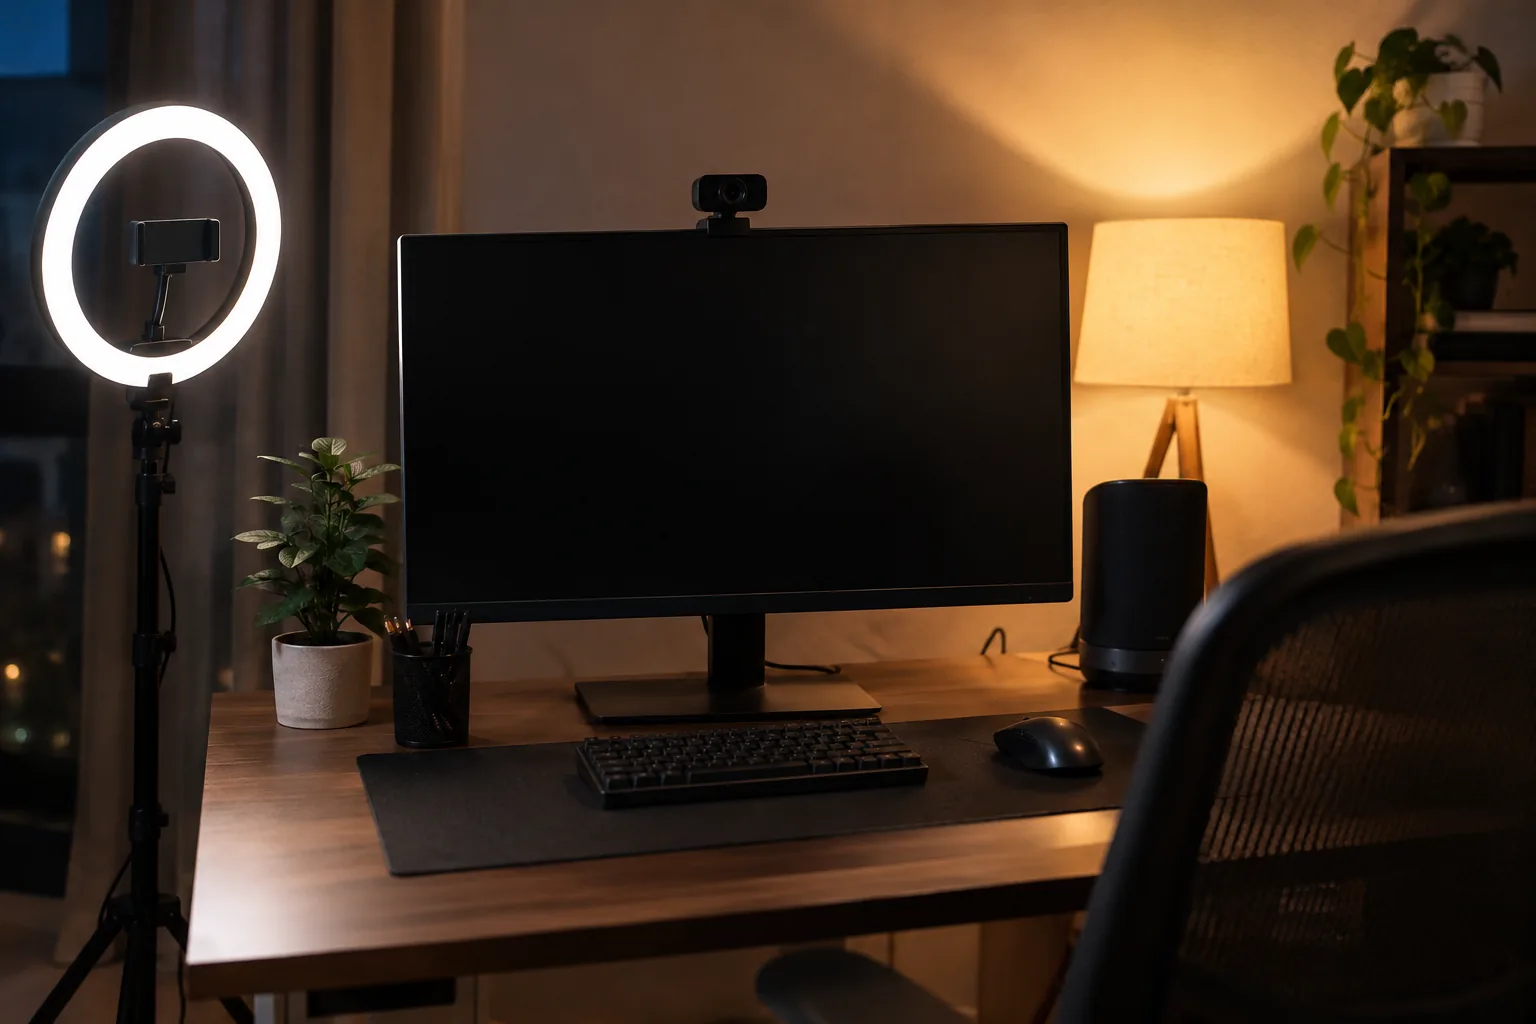
- Add a soft lamp or a ring light if the room is dim at your usual call time. Diffused light looks softer on camera than a bare bulb.
- Match the color of your lights. Mixing a warm lamp with cool daylight gives an uneven skin tone.
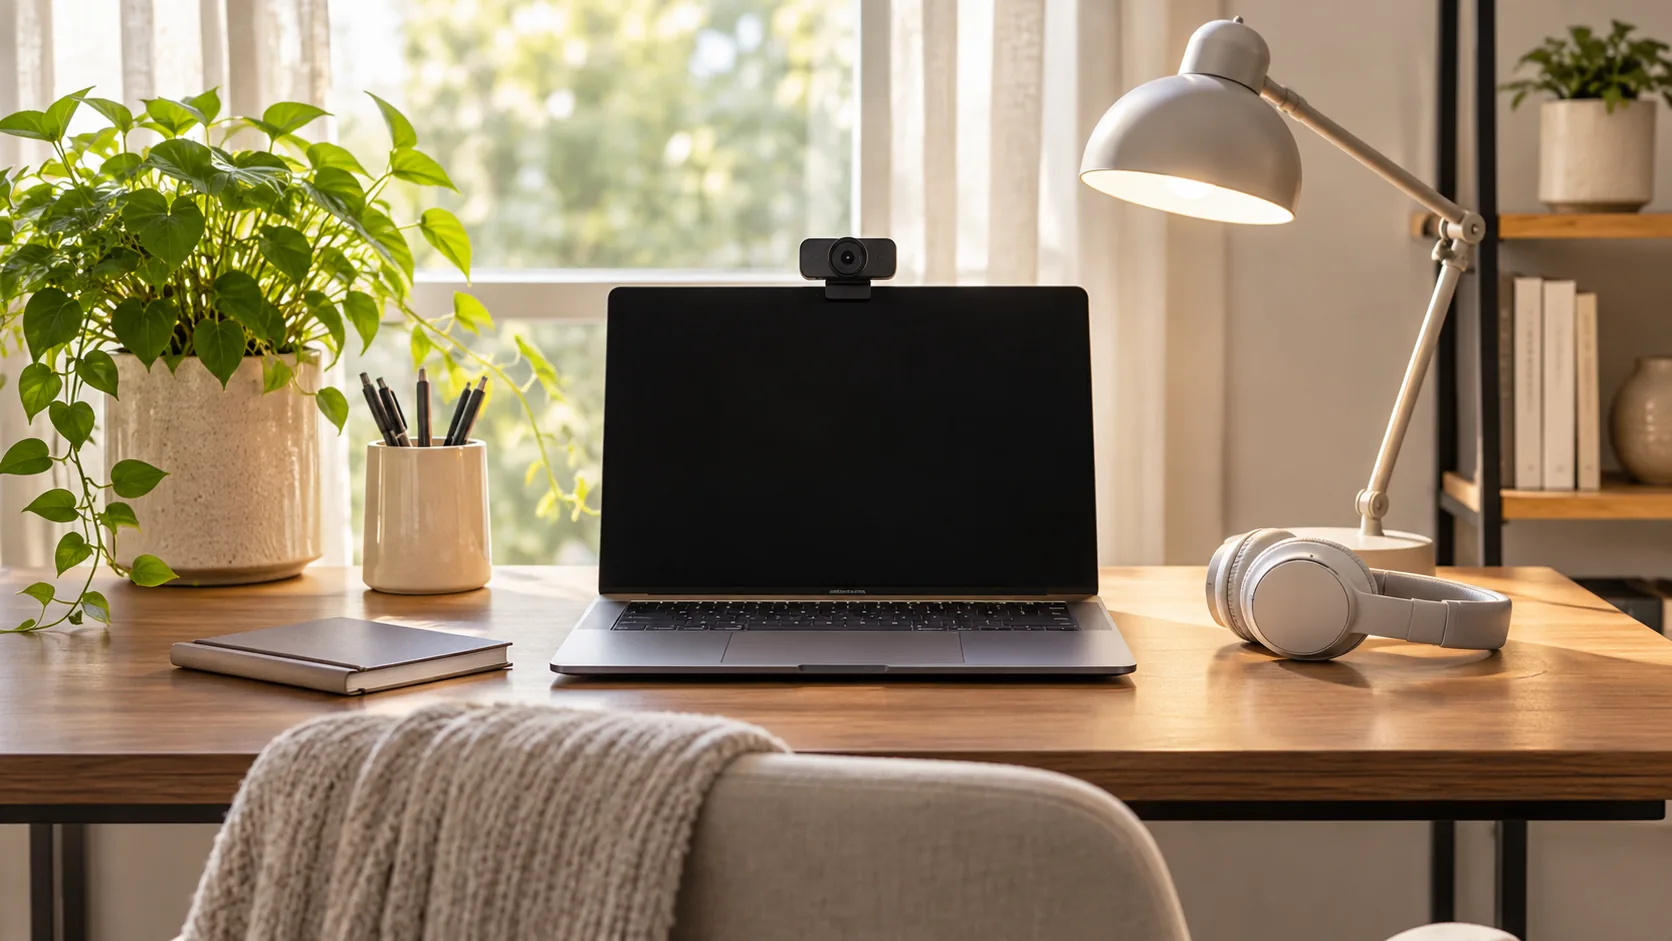
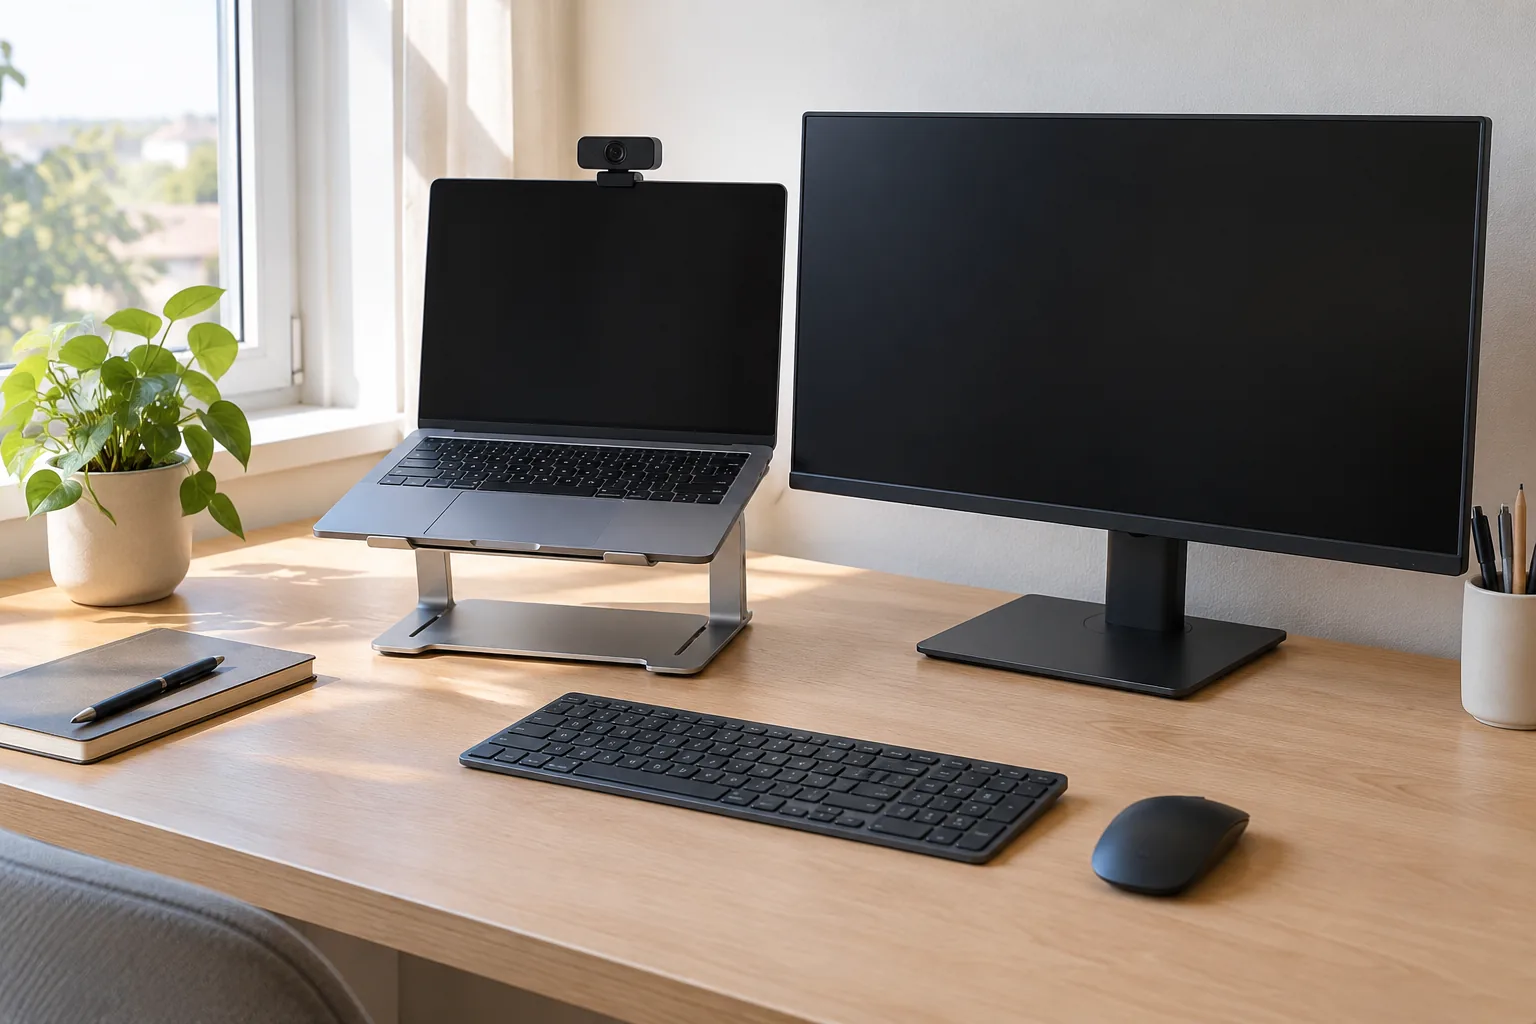
- Place the camera at eye level, on top of the monitor or on a stack of books if you use a laptop.
- Sit about an arm's length from the screen, with your head and shoulders in the frame.
- Clean the lens with a soft cloth before a call. Our guide to cleaning glasses and camera lenses covers the cloths and methods to use.
- Check the background for clutter, a bright lamp or a mirror.
Field note
Open your camera preview and turn your desk lamp on and off. If your face changes more than the room does, your main light source needs to move toward the front of you.
Placement for different setups
Where the camera sits changes the angle, the framing and how steady the image is. The table below matches common desk arrangements to a mounting choice.
| Setup | Mounting choice | Watch for |
|---|---|---|
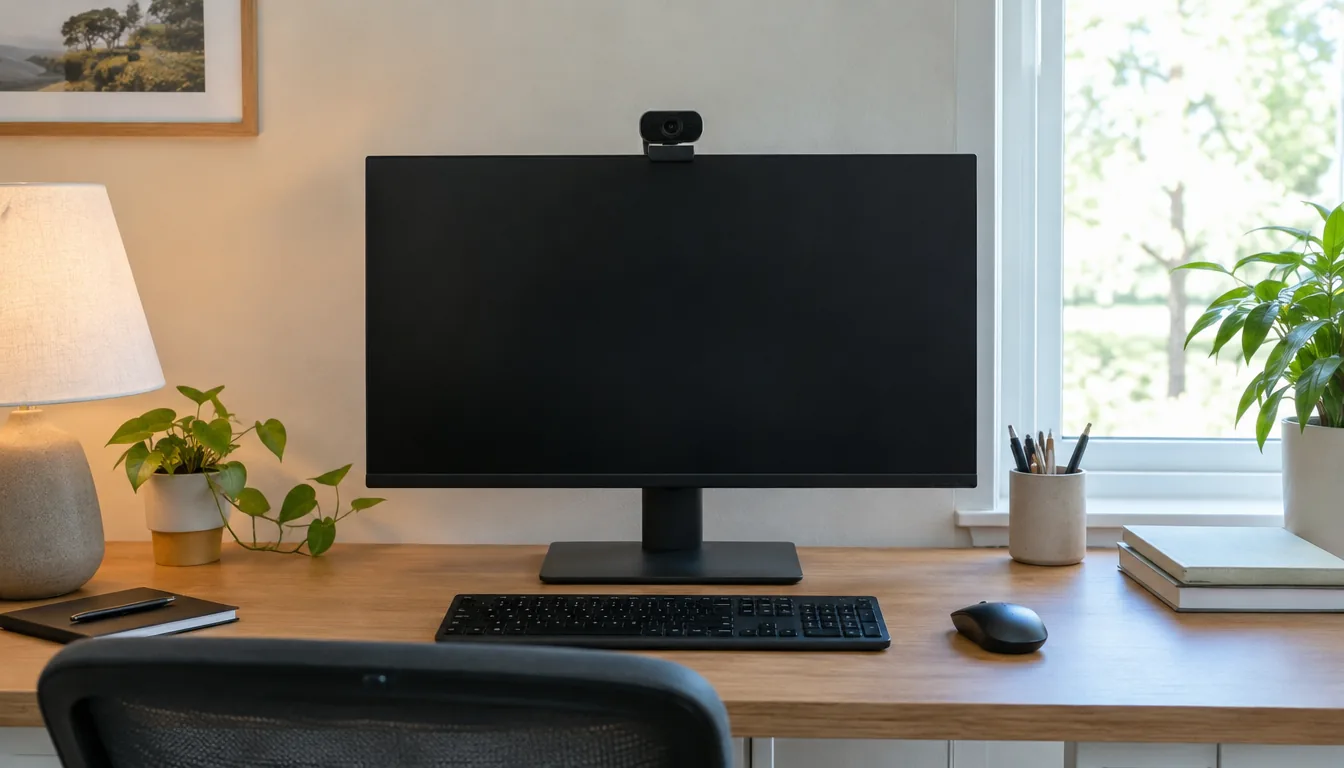
| Laptop with external monitor | Clip the camera to the monitor top, centered | Looking at the laptop screen while the camera sits on the other |
| Laptop only | Clip to the laptop lid, or raise the laptop on a stand | A low angle that looks up at your chin |
| Desktop with one monitor | Clip to the top edge of the monitor | A monitor with a thin or curved top edge that the clip cannot grip |
| Streaming setup | Tripod mount or arm, slightly above eye level | Movement from desk vibration |
| Standing desk | Mount to the monitor so it moves with it | A loose cable pulling the camera when the desk rises |
Keep the camera lens near the part of the screen where you look. When the video window of the other person sits far from the lens, you appear to look away. Drag that window close to the camera during calls.
Software and settings that change the picture
The driver or app settings often matter as much as the hardware. Start in your video app and check three things.
- Camera selection: make sure the app uses your external camera, not the built-in one.
- Resolution and frame rate: pick the pair your app and connection can send.
- Auto settings: turn off automatic exposure if the brightness keeps shifting, or keep it on if your room light changes during the day.
Webcams with a plug-and-play USB connection appear in your computer as a camera device, so the setup is the same on a laptop or a desktop PC. If the picture looks washed out, adjust exposure and white balance in the app. If your camera has lighting modes, such as PrismEye's cool, warm and balanced settings, try switching between them. Use the camera's own software only when the manual lists it for your model.
For a full run-through of image, microphone, frame rate and lighting checks, see our guide on how to test a webcam. It is a useful next step after you set the camera up.
Using one webcam for calls and streaming
Calls reward a steady, clear face with a clean voice, and streaming adds a need for consistent color and a stable frame. A webcam for streaming should hold its focus and exposure while you move, and a tripod mount lets you place the camera off the monitor. For either use, the checklist above covers the setup, and the app settings decide how the image looks at the other end.
Common mistakes that lower picture quality
- Paying for resolution and skipping light. A small lamp in front of you is often the first fix to try.
- Sitting with a window behind you. The camera exposes for the bright window and leaves your face dark.
- Leaving the lens smudged. A fingerprint spreads a soft glare over the whole image.
- Placing the camera too low. A laptop flat on the desk looks up at you.
- Ignoring audio. A clear picture with a muffled voice still reads as poor quality, so check the built-in microphone or add a separate one.
- Choosing a frame rate your app cannot send. If the preview looks choppy, lower the frame rate or resolution.
- Forgetting privacy. Cover the lens or unplug the USB cable when you are not on a call.
How to choose: a decision path
- Set the use. Calls and classes need steady focus and a clear voice; streaming adds frame rate and a mount you can place freely.
- Check your light. If your room is dim, prioritize low-light handling, light correction and a lamp over resolution.
- Match resolution to what your app sends. 1080p or 2K fills most video windows.
- Look for autofocus that tracks you, not a fixed focus lens.
- Confirm the mount fits your monitor or laptop, or has a tripod thread.
- Check the cable length against your desk layout.
- Check that it works without drivers if you share a computer or use a locked-down work laptop.
If you want to compare other cameras for creator work, browse the Cameras & Camera Accessories collection. A dedicated vlogging camera is a different path, and our guide to choosing a vlogging camera walks through it.
A budget webcam can give a clean picture when the room is lit well, and no webcam can fix a dark room. Start with light, then look at autofocus and a sensor that handles it.