Guitar Audio Interface: How to Plug In and Record at Home
Plug your guitar into the interface's instrument input, set the gain, turn on direct monitoring and record with an amp sim. Here is the full signal chain, step by step.
The Folio & Current Team
October 21, 2026 · 7 min read
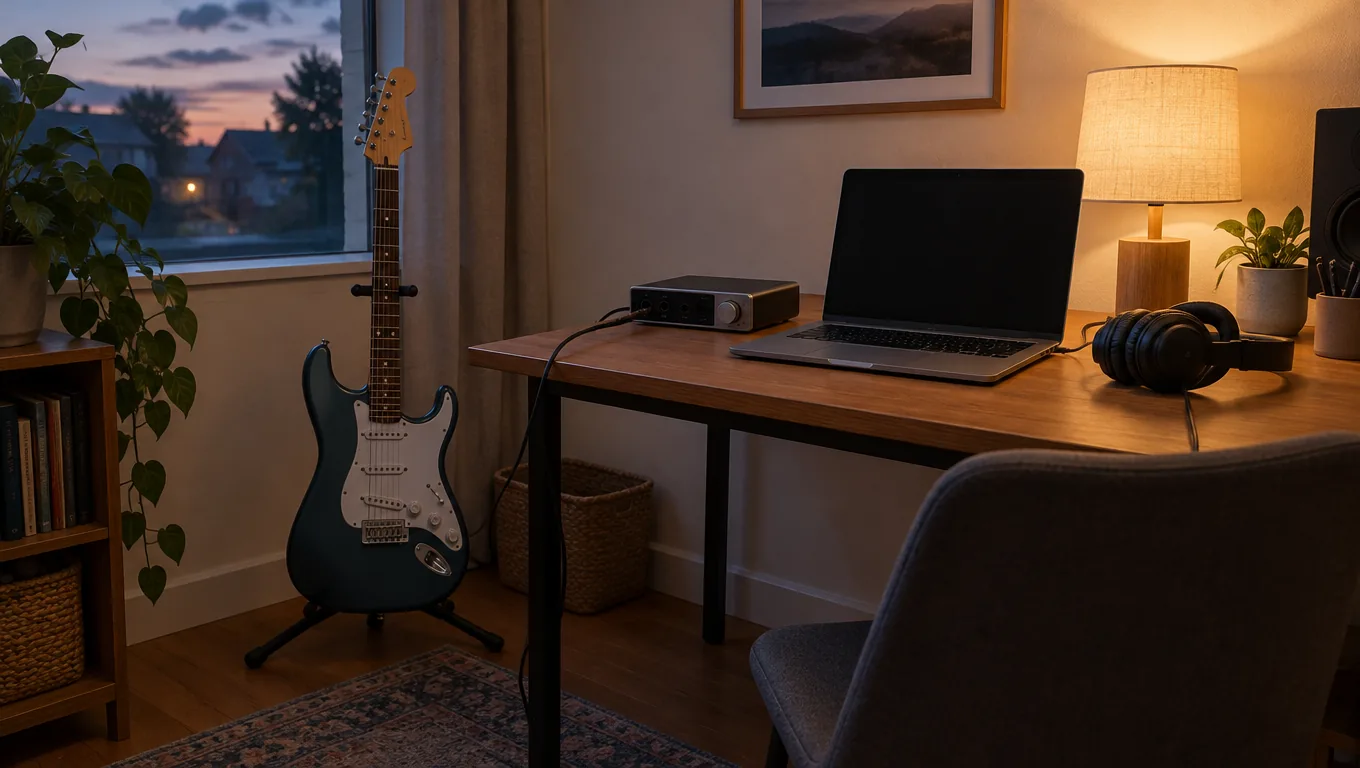
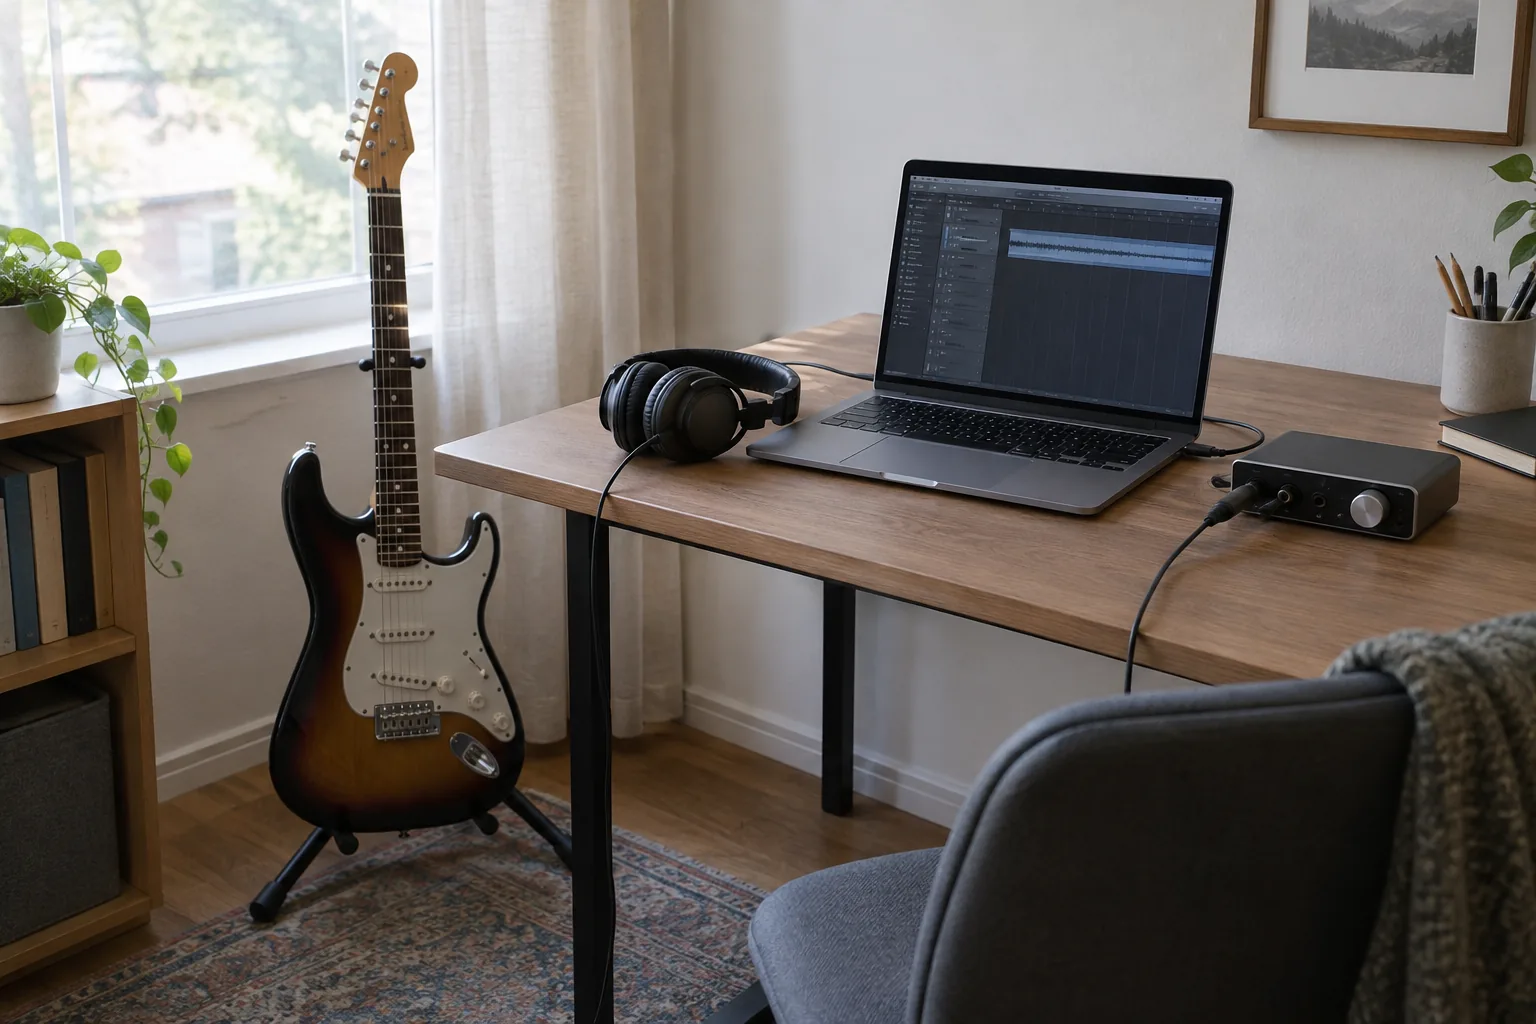
A guitar audio interface is a box that takes your guitar's signal on a ¼-inch instrument input, converts it to digital, and sends it to your computer over USB. To record without an amp, plug a standard guitar cable into the instrument (Hi-Z) input, set the input level, turn on direct monitoring, and arm a track in your recording software.
This guide walks through the full signal chain in order: guitar, pedals, interface, computer, amp simulator, headphones. It also covers gain staging and the mistakes that cause a thin, noisy or distorted recording.
What a guitar audio interface actually does
An electric guitar's pickups put out a weak signal with high impedance. A computer's headphone or microphone jack is not built for it. An interface adds an instrument input, often labeled Hi-Z, that matches that signal, plus a preamp with gain control, converters and a headphone output.
Once the signal is digital, your digital audio workstation (DAW) records it as a clean, direct track. You then shape the tone with amp simulations and effect plugins instead of a miked speaker cabinet. For a broader look at how USB-C connections work on these devices, see Type C Audio Interface: What It Is and How to Connect It.
Can you play electric guitar through an interface?
Yes. The interface is the bridge between the guitar and the computer. You play, hear yourself in headphones, and the DAW captures the sound as you go.
What you need before you start
Gather these items first. Each one is a common point of failure, so check them before you open the software.
| Item | Role | What to check |
|---|---|---|
| Guitar | Source signal | Cable and output jack are snug, volume knob is up |
| ¼-inch instrument cable | Guitar or pedal to interface | Plugs are straight ¼-inch (6.35mm), no crackle when flexed |
| Audio interface | Preamp, converter, headphone output | An input that accepts instruments; class-compliant USB drivers for a setup without a driver download |
| USB cable | Connection to the computer | Matches your computer's port; a USB-C-to-USB-A adapter may be needed |
| Headphones | Monitoring | Plug fits the interface's headphone jack |
| DAW and amp sim | Recording and tone | Interface selected as input and output device |
Whether you record on a laptop or a desktop computer, the steps are the same. An interface with class-compliant drivers is recognized as a standard USB audio device, but check your manual for any driver note.
Step-by-step: plug in and record guitar with an interface
- Turn the interface's gain and headphone volume all the way down before connecting anything.
- Connect the interface to the computer with the USB cable and wait for the computer to recognize it.
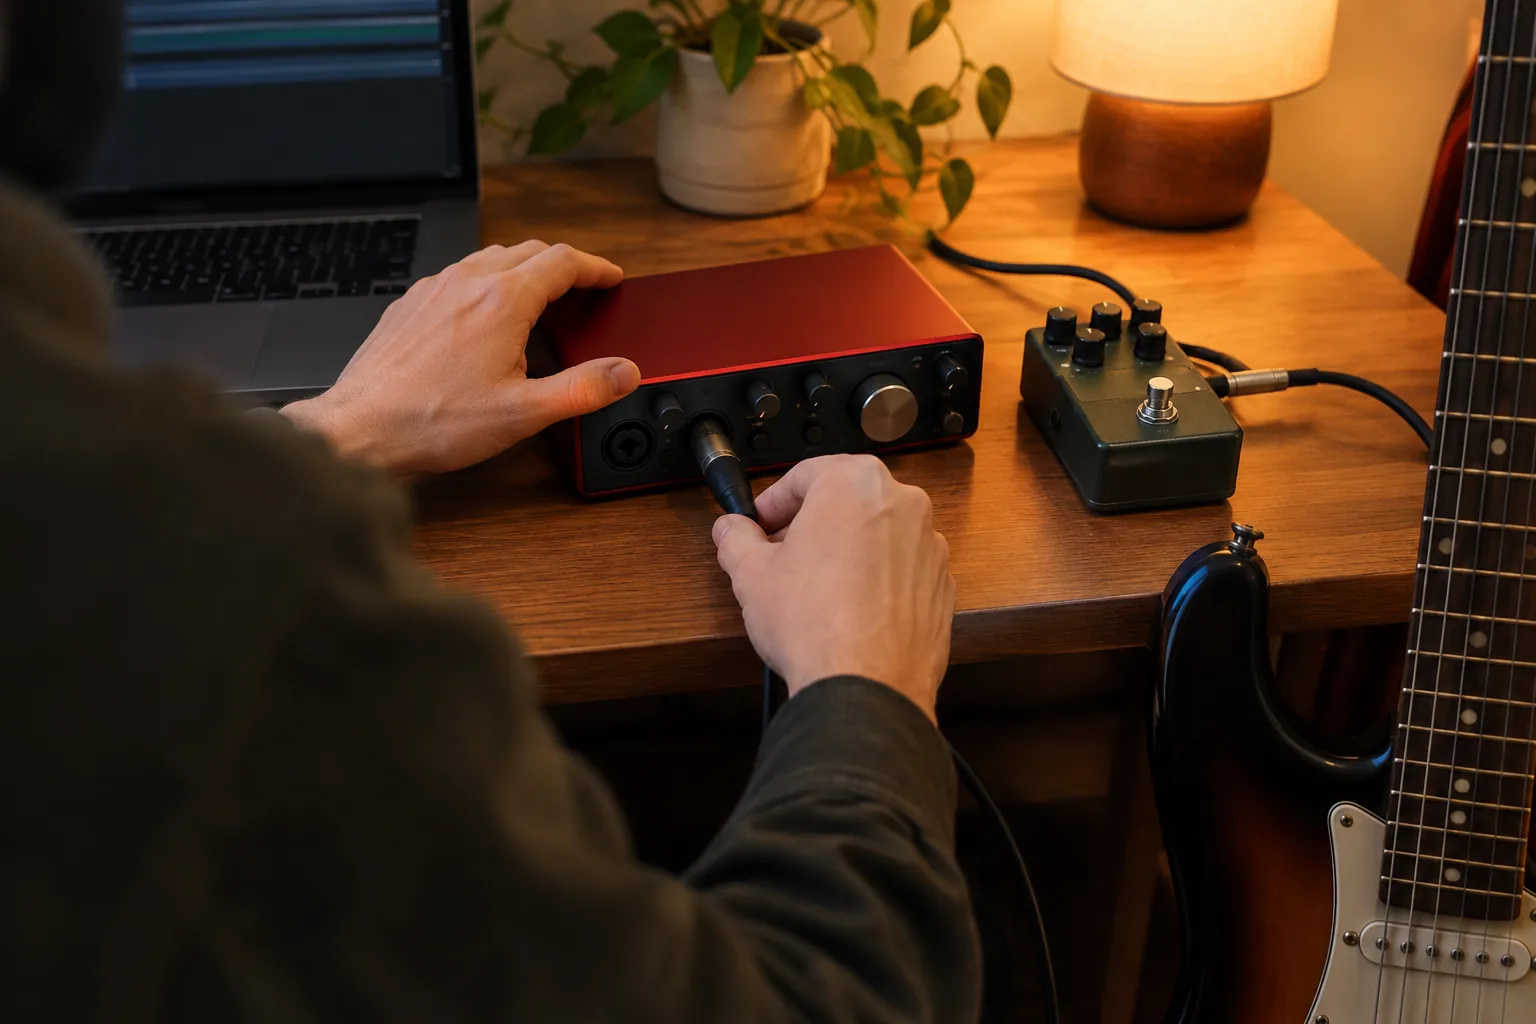
- Plug the guitar cable into the guitar, then into the interface input meant for instruments. If the input has an instrument or Hi-Z switch, select it.
- Leave 48V phantom power off. It is meant for condenser microphones, not guitar.
- Open your DAW and choose the interface as both the input and output device in the audio settings.
- Create a mono track, select the input your guitar is plugged into, and arm the track for recording.
- Strum hard, the way you will play the loudest part of the song, and raise the gain until the meter moves well into the green, with no red.
- Turn on direct monitoring and raise the headphone volume slowly.
- Load an amp simulator plugin on the track, pick a preset, and press record.
This sequence mirrors the general approach in this online music school guide to connecting a guitar to a DAW. Always follow your interface's manual for its specific jacks and switches.
 In this guideSonoDeck Pro$139.99View
Where the SonoDeck Pro fits in a home rig
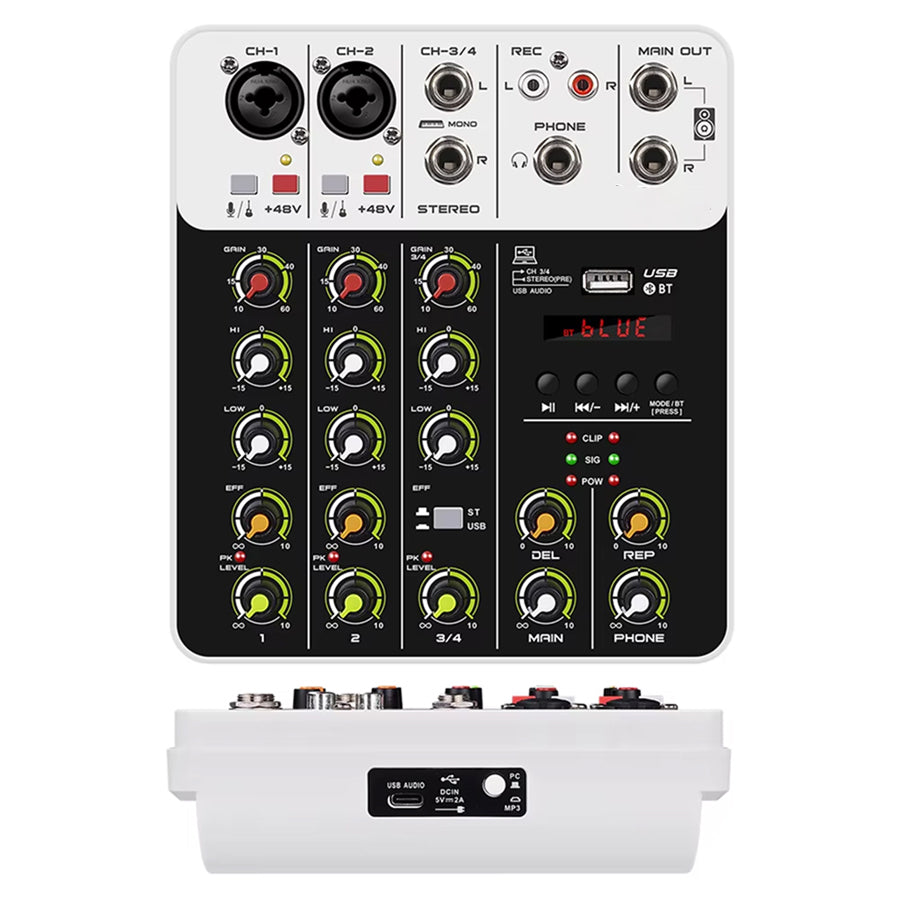
If you also record vocals or a second instrument, look for a good audio interface with more than one input. The SonoDeck Pro is a USB audio interface with four input channels for microphones, instruments and other devices, so a guitar and a microphone can sit in the same setup.
It has built-in preamps with gain control for setting the input level, and a direct monitor function that sends the input to the headphone jack in hardware, without routing it through the computer first. It uses class-compliant drivers, so no separate driver download is part of the setup, and the housing is metal. It also offers a Bluetooth input for pairing a Bluetooth source.
For more audio gear to build out a desk, browse the Music & Playback Devices collection.
Where do guitar pedals plug in?
Pedals go between the guitar and the interface. Run the guitar into the first pedal's input, then connect each pedal's output to the next pedal's input, and send the last pedal's output into the interface's instrument input.
A common order is tuner, dynamics (compressor), overdrive and distortion, modulation, then delay and reverb. This is a starting point, not a rule, so move pedals around until it sounds right to you. Power each pedal as its manual describes.
Pedals or plugins?
You can use both. Some players record a pedal-driven tone into the DAW. Others record the guitar dry, with no effects, and add amp sims and effects afterward. A dry track keeps your options open because you can change the tone after the take.
| Approach | Signal chain | Good for |
|---|---|---|
| Dry guitar plus plugins | Guitar, interface, DAW amp sim and effects | Changing tone after recording |
| Pedals plus amp sim | Guitar, pedals, interface, DAW amp sim | Keeping a specific overdrive or fuzz feel |
| Full pedalboard | Guitar, pedals including modeler, interface | Capturing a finished tone as played |
Field note
Record a dry guitar track alongside the processed one when your DAW allows it. If you later dislike the tone, you can run the dry take through a different amp sim without playing the part again.
Gain staging: set the level once, then leave it
Gain staging means keeping the signal at a suitable level at each point in the chain. With a guitar audio interface, set the gain so your loudest playing sits below the red on the meter. Digital clipping cannot be undone after recording, while a quiet take can be raised later.
- Set the interface gain first, while playing at full strength.
- Leave the guitar's volume and tone knobs where you will use them in the song.
- Check the amp sim's input level control, since some plugins have their own.
- Lower the output of the plugin chain if the track meter still shows red.
A hot level into a high-gain amp sim can sound fizzy. Reduce the input before changing the plugin's tone settings.
Latency and buffer size
Latency is the delay between picking a string and hearing it. Direct monitoring sends the input to your headphones before the computer processes it, so you hear yourself without that delay. If you monitor through the amp sim instead, lower the buffer size in the DAW's audio settings while tracking and raise it when mixing.
Can you plug an amp into an audio interface?
Sometimes, but not directly from the speaker output. A speaker output carries power meant for a speaker cabinet and can damage an interface input. Check your amp's manual before connecting anything, and ask a qualified technician if you are unsure.
- If the amp has a line out, headphone out or a DI/cab-sim output, use that with the right cable into a line input.
- If it has none of these, place a microphone in front of the speaker and connect the microphone to a mic input.
- Some amps include a USB output and act as an interface themselves. Others do not, so look for this in the manual.
A regular guitar amp does not work as an audio interface, because it does not convert the signal to digital for the computer. This overview of what an audio interface adds to a recording setup covers the basics.
Common mistakes and quick fixes
Most recording problems trace back to the input type, the level or the device selection. Use this table to find the cause.
| Problem | Likely cause | Fix |
|---|---|---|
| Thin, quiet guitar | Plugged into a mic or line input | Move the cable to the instrument input |
| Crackly, distorted sound | Gain too high or clipping in the plugin | Lower interface gain and plugin input |
| Delay when playing | Monitoring through the computer with a large buffer | Use direct monitoring or reduce buffer size |
| No sound in headphones | Wrong input or output device in the DAW | Select the interface in audio settings and arm the track |
| Hum or buzz | Cable, power supply or pedal noise | Swap cables, try another power outlet, isolate pedals one by one |
Work through the table from the top, changing one thing at a time. Check the input type, the level and the device selection in the software first.