Projector Screen Burn: Can It Happen and How to Prevent It
Projector screen burn is uncommon, and the mark sits inside the projector, not on your wall or screen. This guide sorts causes by projector type and gives a prevention and cleaning checklist.
The Folio & Current Team
October 29, 2026 · 7 min read · Updated October 30, 2026
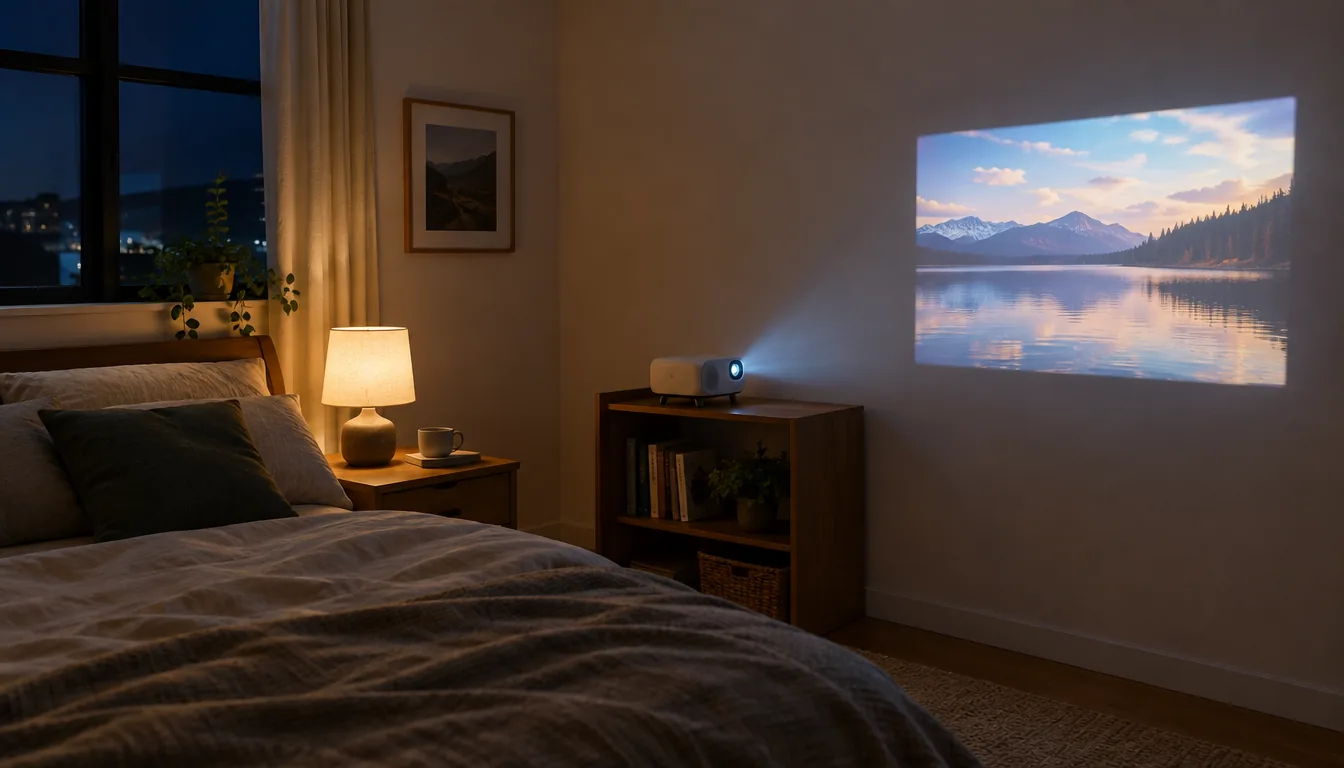
Projector screen burn can happen, but it is uncommon, and the lasting mark is rarely on the wall or screen itself. It sits inside the projector, in the imaging part that forms the picture, and it traces back to a static image shown for long stretches or to heat that builds up around the body. Faint ghosting can be temporary image retention, while a mark that stays in the same spot on every input needs service.
This guide explains what causes marks in each projector type, how to tell burn from dust, and what to do about it, step by step.
What projector screen burn actually is
On a TV, burn-in means some pixels wear unevenly because the same picture stays on them. A projector separates the light source from the part that shapes the image, so the picture lands on a passive surface. A painted wall or a fabric screen does not hold an image the way a panel does.
A burned image from a projector falls into one of three groups: a ghost image that fades with changing content, a fixed mark or line caused by the imaging part, or a shadow caused by dust on a lens or panel. Each has a different fix, so sort out which one you have first.
Can projector screen burn happen? Type by type
The imaging technology decides where a lasting mark can form. The light source matters too, because heat is the shared stress factor.
| Projector type | How the picture is formed | What can leave a mark | What to check |
|---|---|---|---|
| LCD | Light passes through small liquid crystal panels | Panels and the layers around them can discolor or hold a faint pattern after heat and long static images, which can show as lines or blotches | Ventilation, filter cleaning, varied content |
| DLP | A chip of tiny mirrors reflects light toward the lens | A mirror can stick, which shows as a fixed bright or dark dot; rainbow flashes are a separate issue and not burn | Whether the mark moves when the image changes |
| Laser | A laser light source feeds an imager (often LCD or DLP) | The light source itself does not hold an image; any mark comes from the imager behind it | Imager type listed in the manual |
| LED | An LED light engine feeds an imager (often LCD or DLP) | Same as laser: the imager and heat management matter | Space around the body, dust on vents |
LCD projectors
Because light passes straight through the panels, LCD projectors are the type most associated with lines and blotches that stay put. Heat and long runs of a frozen menu or a paused frame are the usual contributors. Other causes, such as a failing panel connection, can look similar, so a technician should confirm.
DLP projectors
A DLP chip does not wear like a screen, but a stuck mirror can leave a fixed bright or dark dot that looks like burn. If the spot stays in the same place while the picture changes, note that and contact the maker.
Laser and LED projectors
A laser or LED engine produces light only. If you see a mark, look to the imager and to how heat is moved away from it. Check the manual for the imager type before assuming the light source is at fault.
Why a projector gets hot
A projector turns electricity into light, and part of that energy becomes heat at the light source and the imaging part. Fans and vents move that heat out of the case. When vents are blocked by a blanket, a shelf, or a wall, the inside of the projector holds more heat than the design intends.
Heat is the stress that links most lasting marks, so ventilation is the first thing to check. The LumaCanvas Pro has an internal fan that cools the unit while it runs. Whatever model you own, keep the intake and vents clear and follow its manual for clearances.
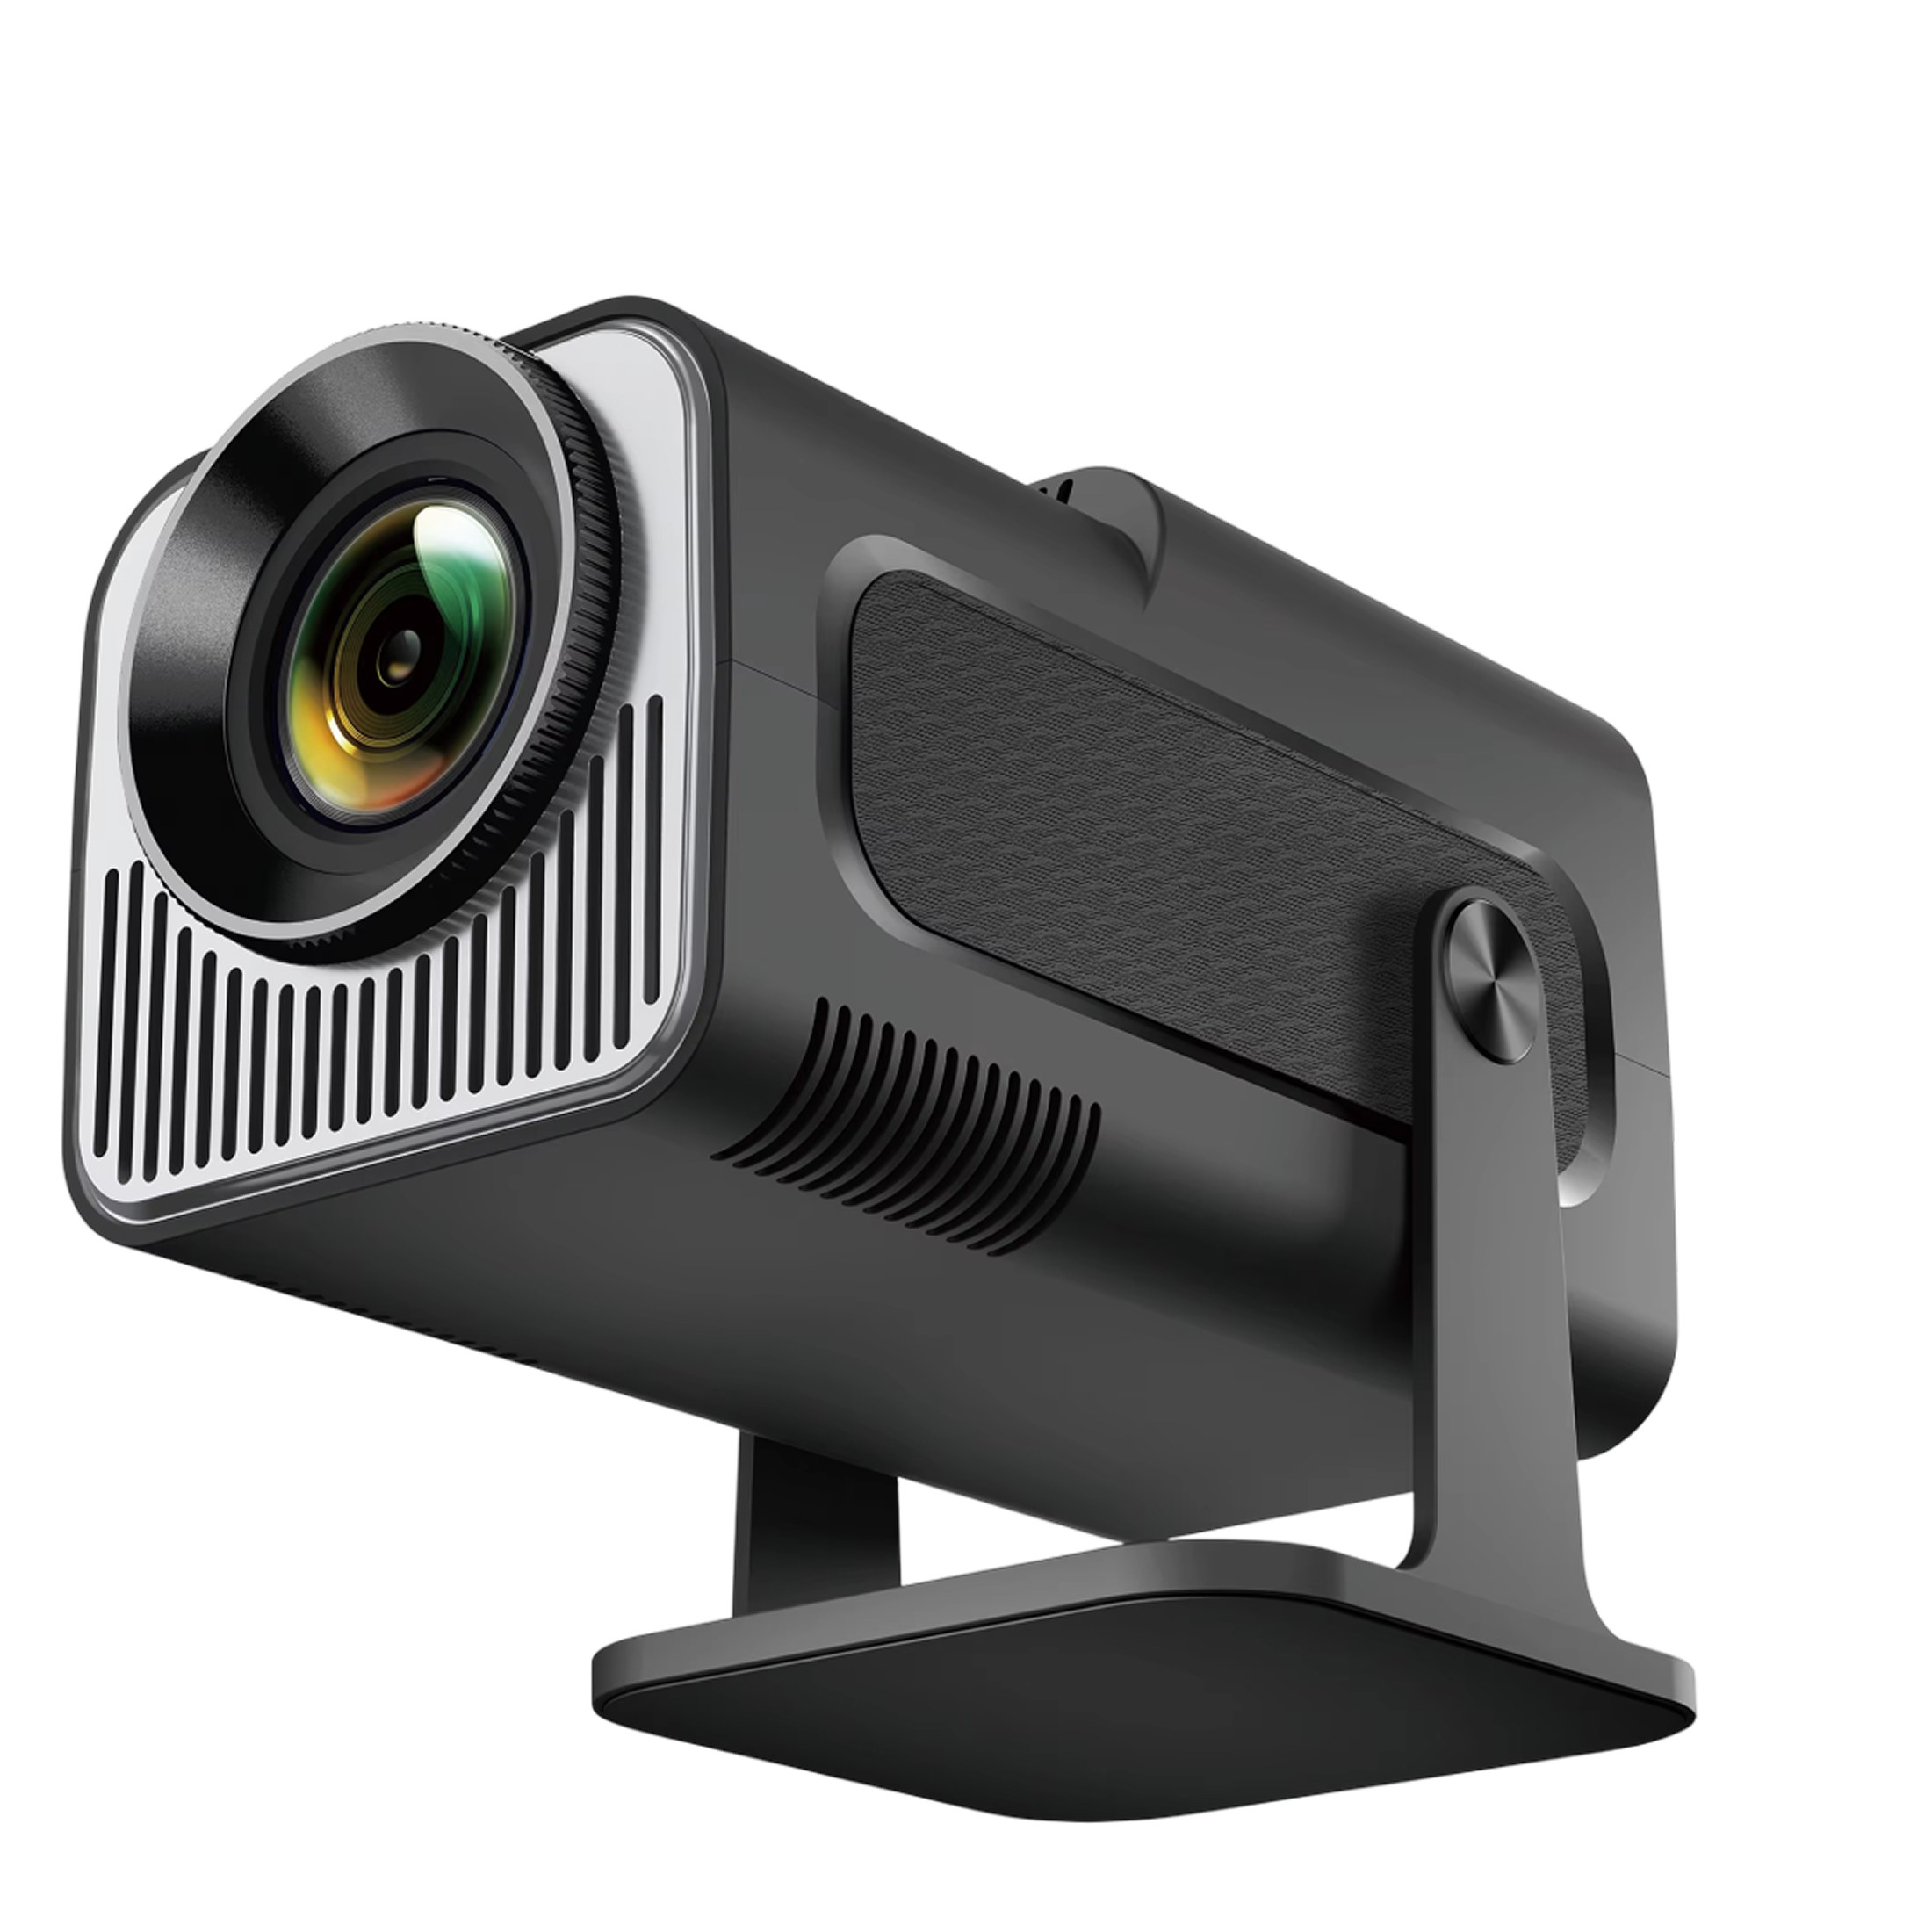 In this guideLumaCanvas Pro$179.99View
How to prevent projector screen burn: a checklist
These habits suit every type. None needs tools.
- Place the projector on a hard, flat surface with open space on all sides, and keep vents clear of fabric.
- Keep pauses short, then resume or turn the projector off.
- Avoid leaving a menu, a game HUD, a channel logo or a letterboxed film frame on screen for a long stretch.
- Use the sleep timer or auto power-off if the projector offers one.
- Let the fan finish its cooling run after you turn the projector off, and unplug once it has finished, as the manual describes.
- Vary the content: a long gaming session with a fixed on-screen display is the case to watch.
- Keep the room clean, since dust gathers on lenses and in vents.
- Do not move or tilt the projector sharply while it is running.
If your projector is portable, the same rules apply when you set it on a car hood, a camp table, or a bed. Soft surfaces can cover the intake, so a firm base matters outdoors too. A pocket-size model such as the LumaCanvas Pro fits in its included carrying pouch for transport.
Field note
Before blaming the projector, move it to a different wall or screen. If the mark travels with the projector, it is inside the unit. If it stays on the wall, you are looking at a surface stain or dust.
How to get a burnt image out of a projector
Work from the least invasive step to the most. Stop as soon as the mark is gone.
Step 1: Find out where the mark is
Project a plain white or light gray image and then a plain black one. Change inputs and, if possible, change the aspect ratio. A mark that appears on every input is in the projector. A mark that only shows on one source points to the cable, the source device, or the content itself.
Step 2: Try to clear temporary retention
Play moving, full-screen video, or cycle solid color screens if the projector has a test pattern menu. Turn the projector off and let it cool fully. Faint ghosting from a static image sometimes fades with varied content. A fixed mark that does not fade points to the imaging part, so move on to Step 3 and Step 4.
Step 3: Clean what you can reach
Dust can mimic burn, so clean the outside before anything else. Unplug the projector first. The table below gives the cleaning checklist.
| Part | What to do | Avoid |
|---|---|---|
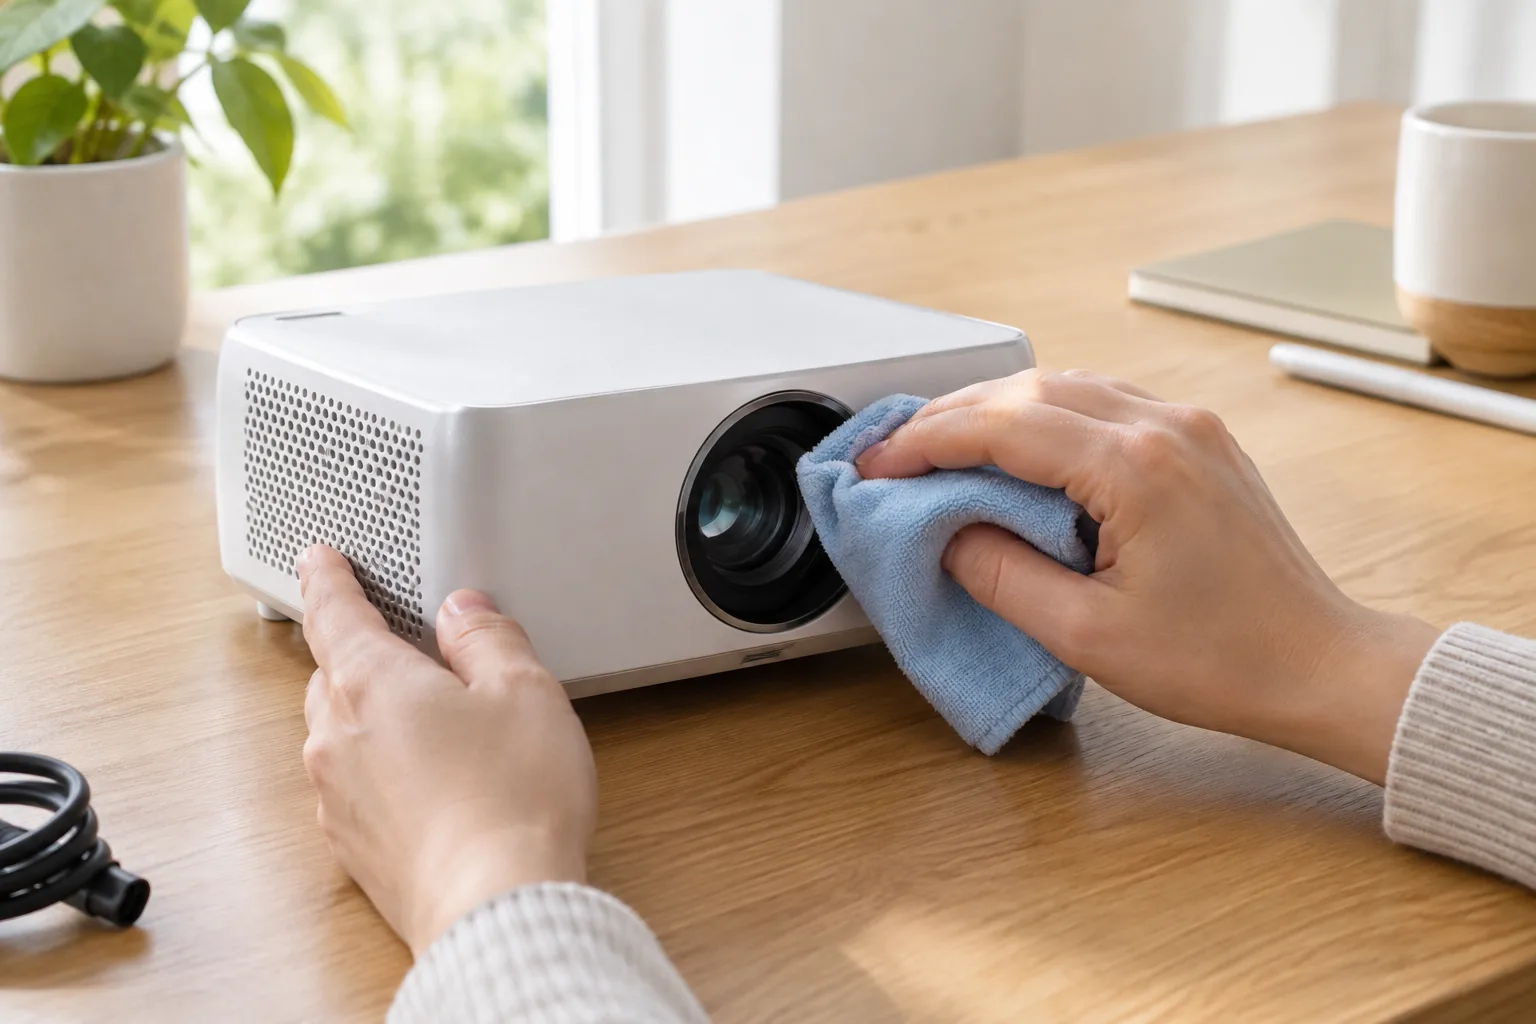
| Lens | Unplug and let cool, then wipe gently with a clean microfiber lens cloth | Paper towels, sprays on the lens, pressing hard |
| Vents and intake | Brush or use a soft cloth on the openings; use canned air only if the manual allows it | Pushing dust into the vent |
| Filter, if the manual lists one | Remove and clean as the manual describes | Running without it |
| Body | Wipe with a dry or slightly damp soft cloth | Liquid cleaner near vents |
| Screen or wall | Dust with a dry soft cloth, spot clean as the screen maker describes | Rough scrubbing on fabric |
Step 4: Contact the maker
Do not open the case. Internal panels and light sources involve high voltage and delicate parts, so ask the maker or a qualified repair technician. A permanent mark in an LCD panel or a DLP chip generally means a repair of that part.
Lens and eye habits
Do not look into the lens while the projector is on, and keep children and pets from doing so. Every projector's light is bright at close range. Aim the beam at the wall or screen, and stand beside the projector when you adjust it. If you have questions about your eyes during long viewing, ask an eye care provider.
Room lighting also plays a part. The LumaCanvas Pro has a 300 ANSI lumens light output and is meant for outdoor viewing in the evening, when the surrounding light is dimming. Check your manual for how brightness settings relate to fan behavior.
Sound is part of the same setup. The LumaCanvas Pro has Bluetooth 5.0 plus a wired audio-out port, and our guide to surround sound, 5.1 vs 7.1 and soundbar options shows how to plan speakers around a screen. For wiring a separate amp and speakers, see stereo system basics.
If you are choosing a projector for a mix of indoor and outdoor use, browse the Projectors & Outdoor Screens collection and compare each model's cooling notes and ventilation guidance.