Outdoor Movie Screens and Projectors: Backyard Setup Checklist
Pick a screen size, set the projector by its throw ratio, start at dusk, add a speaker and run power carefully. This checklist walks through each step for a backyard movie night.
Ryan Kessler
October 17, 2026 · 8 min read
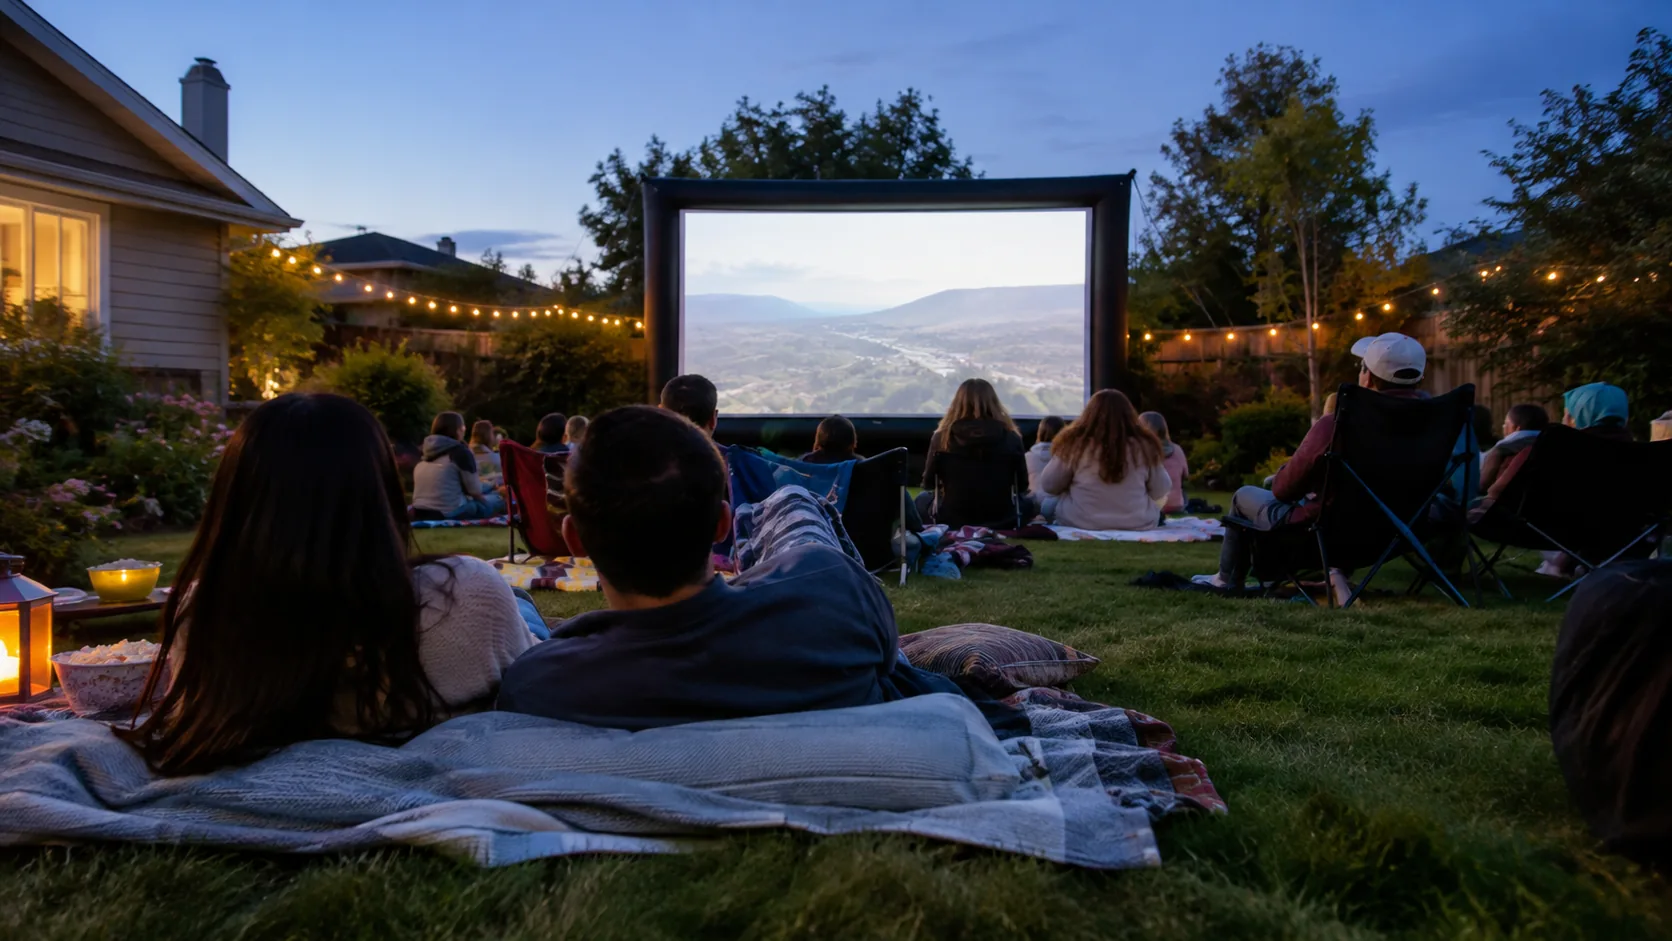
The simplest way to plan outdoor movie screens and projectors is as one system: pick a screen size your yard can hold, place the projector at the distance its throw ratio calls for, start at dusk, add a separate speaker, and run power carefully. Settle those five decisions in order and the rest is cables and snacks.
This guide walks through each step, with tables you can reuse on setup day and a list of common mistakes. It applies whether you hang a sheet on a fence, build a simple frame, or stake down an inflatable screen for regular movie nights.
Outdoor movie screens and projectors: the five-step plan
Work top to bottom. Each step limits the next one, so skipping ahead is how people end up with a projector that cannot reach the screen.
| Step | Decide | What limits it |
|---|---|---|
| 1. Screen | Type and diagonal size | Wall or fence space, viewing area, wind exposure |
| 2. Throw distance | Where the projector sits | Throw ratio, table or tripod position, walkways |
| 3. Light | Start time and light sources | Dusk, porch lights, street lamps, moonlight |
| 4. Sound | Speaker type and placement | Bluetooth range, neighbors, seating layout |
| 5. Power | Outlet, cord route, protection | Distance to outlet, ground moisture, foot traffic |
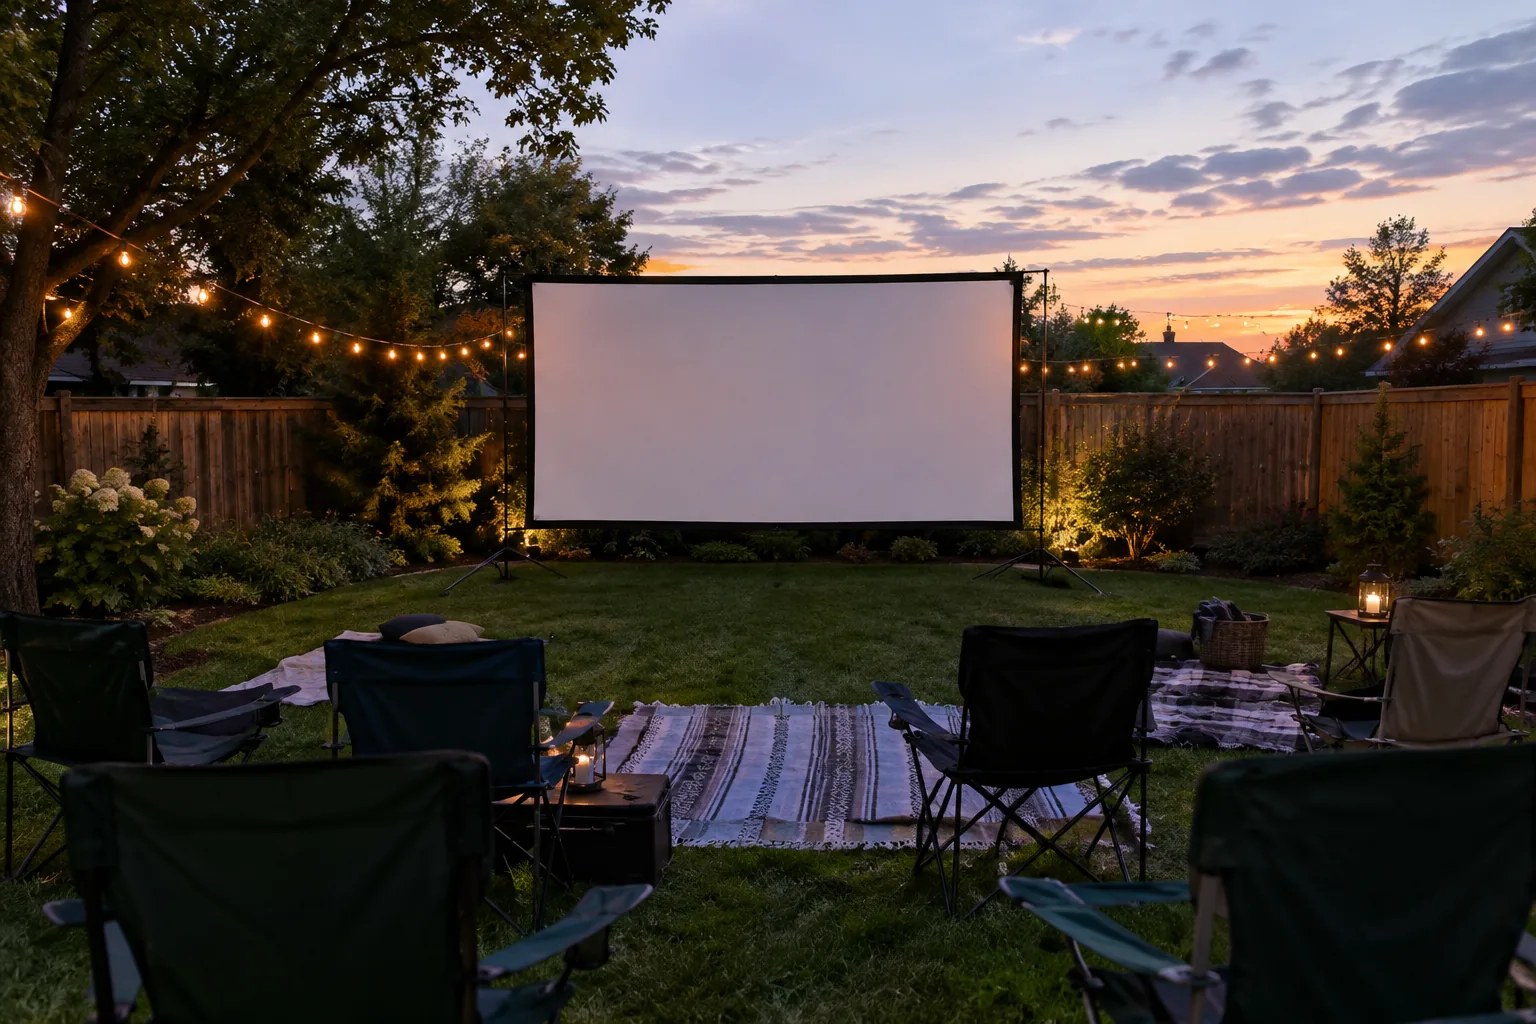
Step 1: Choose the screen type and size
Whichever route you take with outdoor movie screens and projectors, you have four realistic screen options, and each trades convenience against picture quality and effort.
| Screen type | Setup effort | Watch for |
|---|---|---|
| White wall or fence panel | None, fixed in place | Texture, dark paint, glossy finish |
| Bedsheet or blackout cloth | Low | Creases and wind movement |
| Frame or stake-down screen | Medium | Anchoring, storage space |
| Inflatable screen | Medium to high | Blower, power, anchoring |
- A wall or fence panel is free. A smooth, light, flat surface works; textured siding does not.
- A sheet is cheap and portable. Iron or steam it flat and pull it taut.
- A frame or stake-down screen keeps a stretched fabric surface flat. If you like to build your own, a simple wooden or pipe frame with taut fabric follows the same idea.
Inflatable screens
Inflatable screens stand without a wall, which suits open lawns. They need a blower running on power the whole time, plus anchoring at every point the manufacturer specifies. Look at what comes in the package: a repair kit for small punctures, stakes and a carry bag are worth checking before you buy.
Pick a size from your seating
Size comes from your seating, not from the biggest number you can find. A larger image needs more seating distance and spreads the same light over more area, so the picture looks dimmer.
| Screen diagonal (16:9) | Image width | Good fit for |
|---|---|---|
| 80 inches | about 70 inches | Small patio, a handful of viewers |
| 100 inches | about 87 inches | Typical backyard, family seating |
| 120 inches | about 105 inches | Larger lawn, wider seating area |
If your projector will run under fading daylight or near lights, start at the smaller size. You can always move the projector back later.
Wind and anchoring
A screen is a sail. Stake or weight every corner according to the manufacturer's instructions, and take it down if gusts pick up. Do not leave a freestanding screen standing unattended.
Step 2: Work out throw distance
Throw distance is how far the lens sits from the screen. Every projector has a throw ratio, which is the distance divided by the image width. Multiply your target image width by the ratio and you have your distance.
Example: a 100-inch screen is about 87 inches wide. With a 1.2:1 throw ratio, the projector goes about 105 inches (roughly 9 feet) from the screen. Check your projector's manual for its actual ratio, and measure with a tape before you carry anything out.
Some projectors suit short distances. CineArc lists a 75-inch image at a 0.8:1 throw ratio, which fits a patio where the table sits close to the wall. Its 180° rotating stand lets you aim the picture at a wall, fence or screen, and auto focus sets sharpness after you power on, including on uneven ground.
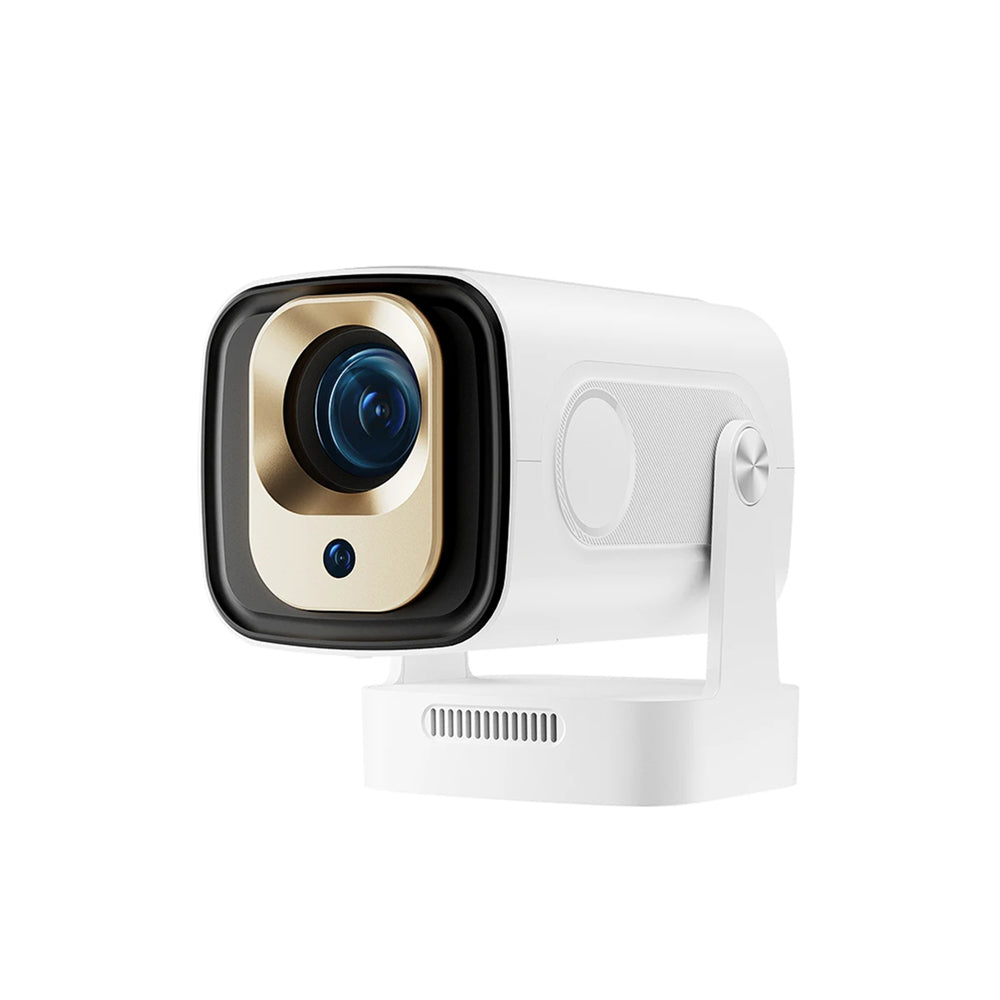 In this guideCineArc$179.99View
Keystone and placement
If the projector sits low or off to one side, the image turns into a trapezoid. Keystone correction reshapes it, but the cleanest picture comes from placing the lens level with the screen's center and square to it. Use a tripod or a sturdy table, and keep the walkway clear.
Step 3: Plan for ambient light
With outdoor screens and projectors, brightness is where setups usually disappoint. Projector brightness is listed in ANSI lumens, and the projectors featured in this guide are listed at 300 to 330 ANSI lumens. Even when a product is categorized as an outdoor projector for daylight, treat it as a shaded-area and dusk tool: the surrounding light level decides how the picture looks.
- Start the movie after the sun has set and the sky has dimmed.
- Turn off porch lights and move lamps so they do not shine on the screen surface.
- Put the screen where street lights and neighbors' windows do not fall on it.
- Pick a white or light gray surface and avoid glossy materials that reflect lamps back at viewers.
String lights are fine behind the audience. Point them away from the screen or keep them low.
Field note
Stand where your audience will sit and look at the blank screen at dusk. Any light you can see reflected on it will wash out the picture, so fix that source before you set up the projector.
Step 4: Add sound that carries
Small projector speakers are made for a living room. Outdoors, sound spreads out and fades, so plan on an external speaker placed near the screen or beside the seating, depending on its size.
- Pair the speaker over Bluetooth if the projector supports it, or use a wired audio-out port for a steady connection.
- Place the speaker at ear height, aimed toward the seats, not on the ground.
- Keep volume reasonable at night and tell nearby neighbors before the first screening.
Our portable Bluetooth speaker guide covers what to check when choosing one.
Connection options differ between models. CineSpan lists Bluetooth 5.4 for pairing an external speaker, weighs 1.34 lbs, and ships with a carry bag, remote and HDMI cable, which suits a table-and-tripod setup. It has 1080P native resolution with 4K input support, auto focus and keystone correction.
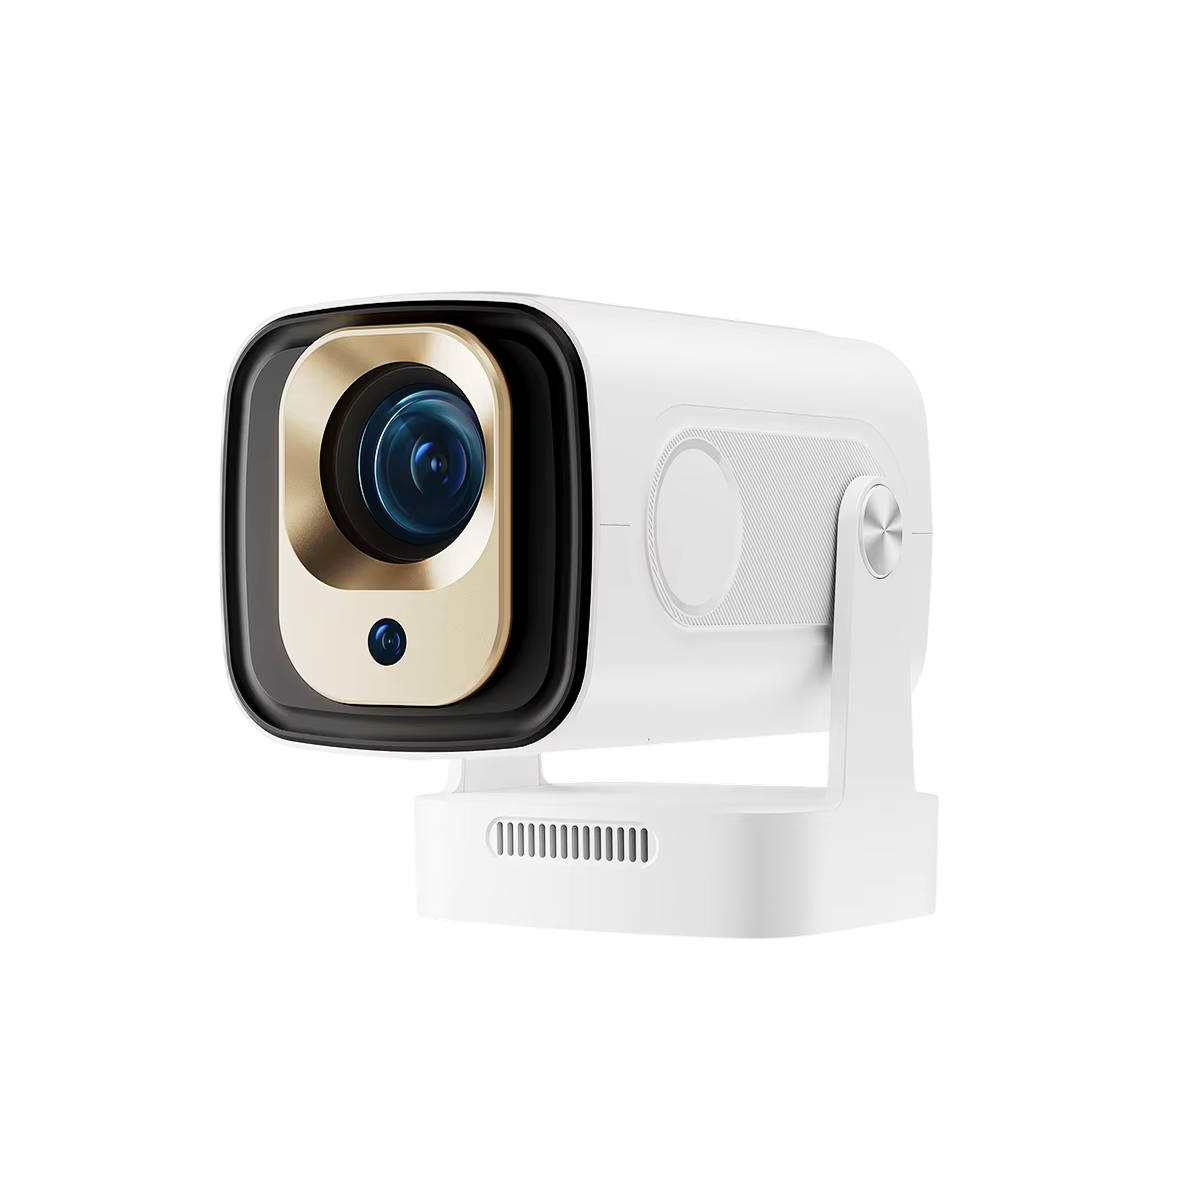 In this guideCineSpan$189.99View
Step 5: Handle power and cables
Electricity and wet grass call for conservative habits. Follow the manuals for every device, and ask a licensed electrician about adding an outdoor outlet if you do not have one.
- Use an extension cord made for outdoor use, and keep plugs and power strips off damp ground and out of puddles.
- Route cords along the edge of the lawn or tape them down so no one trips over them in the dark.
- Keep the projector's vents clear and do not cover it while it runs.
- Cover or bring in equipment if rain or sprinklers are possible, and check whether your sprinkler schedule overlaps with movie time.
- Unplug everything before cleaning the lens or moving gear.
An inflatable screen adds a blower to the power plan, so count outlets for the blower, the projector and any speaker before you set up.
Some projectors include a built-in operating system, so you open streaming apps on the unit instead of connecting a separate player. LumaCanvas Pro works this way, with WiFi, Bluetooth 5.0, a wired audio-out port and one-touch auto-keystone. It lists 300 ANSI lumens and projects a 1080p image onto a wall, sheet or screen, and it ships with a remote and a carrying pouch.
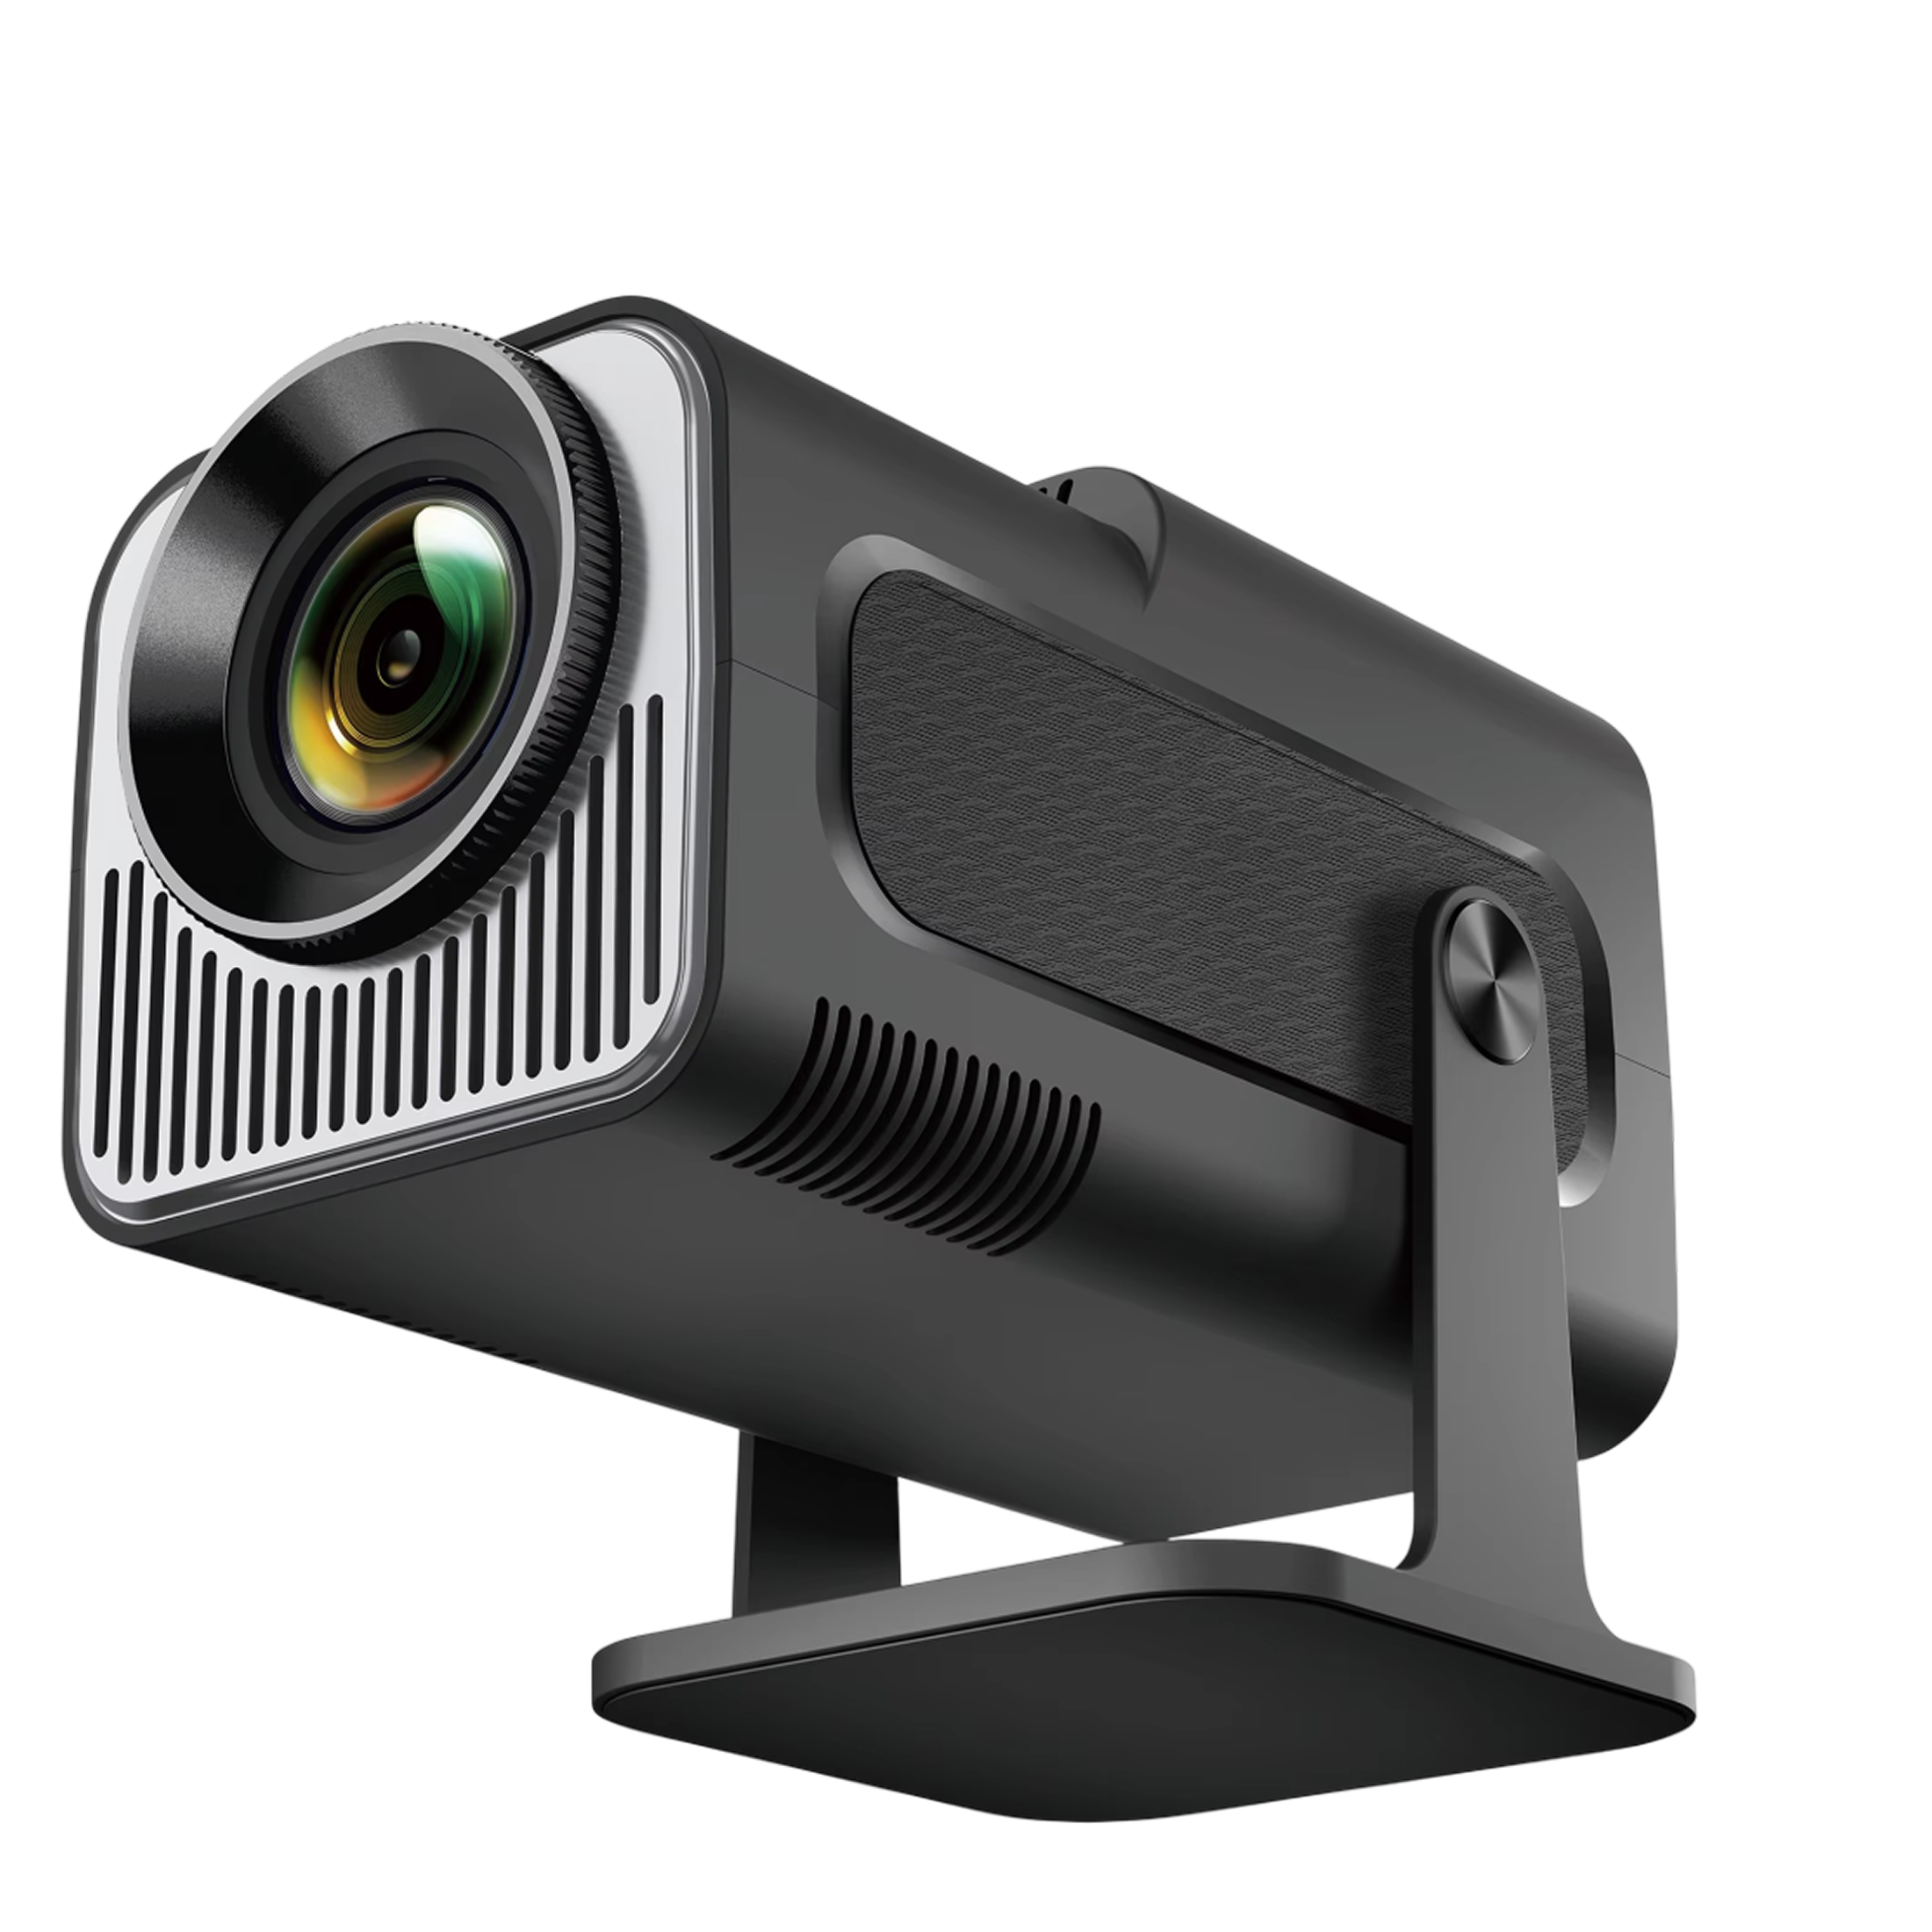 In this guideLumaCanvas Pro$149.99View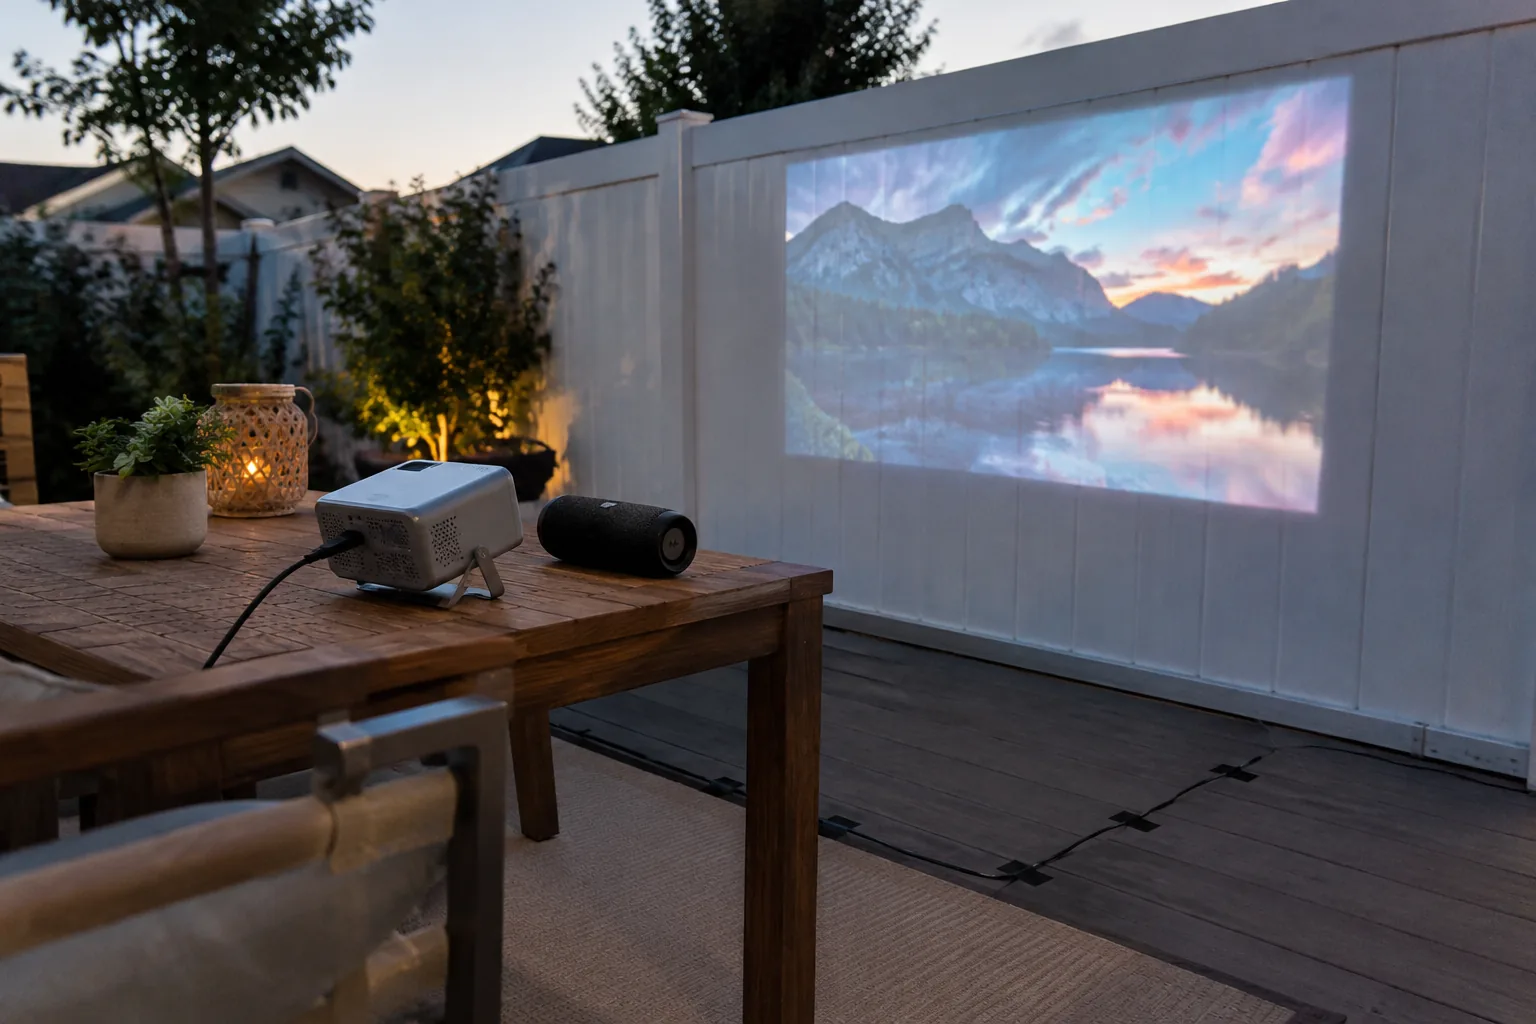
Setup-day checklist and common mistakes
- Measure the screen width and calculate the projector distance from its throw ratio.
- Anchor the screen, or flatten and tension the sheet.
- Place the projector on a level table or tripod, centered on the screen.
- Run power, tape down cords, and keep connections off wet ground.
- Connect WiFi and the streaming app before guests arrive.
- Pair the speaker and set the volume.
- Wait for dusk, turn off competing lights, and run auto focus and keystone.
- Pack up gear after the show so dew and sprinklers do not reach it.
Most problems trace back to a short list of mistakes:
- Buying the screen first. Check your throw distance before you commit to a size.
- Starting too early. Daylight washes out a compact projector's picture.
- Relying on built-in speakers. Plan for external sound.
- Leaving gear outside. Dew, dust and insects get into vents. A semi-sealed body with a dust filter, like CineArc's, filters airborne particles, but you should still bring gear in.
- Skipping a dry run. Set everything up in daylight with the screen up so that evening setup is only focus and volume.
Where to look next
If you are comparing outdoor movie projectors and screens, browse the Projectors & Outdoor Screens collection and compare throw ratio, listed brightness, built-in apps and audio connections against the tables above. Use the same checklist for any set of outdoor movie screens and projectors you consider.
Community movie nights and events
Planning a neighborhood showing or other group event? Some towns and libraries lend out backyard movie kits, and the idea is a useful checklist: think of the screen, projector and sound as one kit, and confirm each piece is ready before the audience arrives. Larger gatherings may also need permission for the space and extra seating room, so ask the venue or your local office first.