How to Clean a Keyboard Without Damaging Keys or Switches
Power the keyboard off, shake out debris, lift dust with a brush, then wipe the keys with a barely damp cloth. This guide adds a cleaner table and steps for laptop and split layouts.
The Folio & Current Team
November 6, 2026 · 7 min read
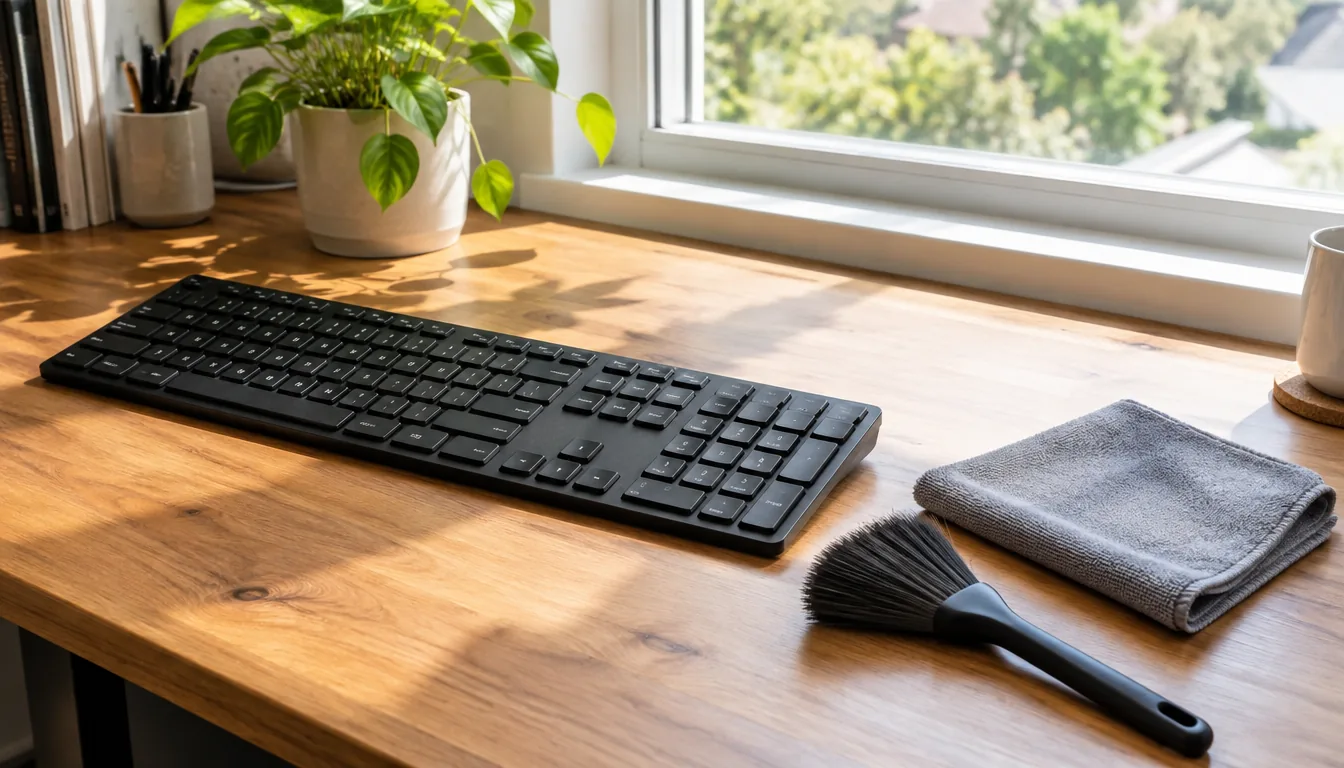
To learn how to clean a keyboard, start by unplugging it or switching it off, then tip it over to shake out loose crumbs, brush the gaps between keys, and wipe the surface with a cloth that is barely damp. Keep liquid away from the switches and the circuit board underneath. The full routine below covers sticky keys, laptops, and split layouts.
The goal is simple: lift dust and grime from the surface without pushing moisture into places it cannot drain from. A little patience at each step does that.
What you need before you start
Most of the kit is already in a drawer. Gather it first so you do not improvise with a wet paper towel halfway through.
- A soft, lint-free microfiber cloth, plus a dry one
- A soft brush, such as a clean paintbrush or a dusting brush
- Cotton swabs
- Isopropyl alcohol, with a high alcohol content, for dampening the cloth
- A keycap puller, only if the manual says the keycaps lift off
- Compressed air, or a small hand blower if you want to skip the can
- A small bowl and a phone or camera to photograph the layout before you remove anything
How to clean a keyboard step by step
These steps work for wired, wireless, and laptop keyboards. Where a step differs, it says so. Follow the manual for your model, and unplug or power down before any cleaning.
- Disconnect it. Unplug the cable, remove the USB receiver, or switch off a wireless board. On a laptop, shut it down and unplug the charger.
- Tip it upside down. Hold the keyboard at an angle and shake gently so loose crumbs fall out. Tap the back lightly with your palm.
- Loosen the dust. Run a soft brush between the rows of keys, sweeping toward the edge. This lifts the dust and dirt that sits around the keycap bases.
- Use compressed air in short bursts. Hold the can upright and keep it a few inches away, angling the nozzle across the keys rather than straight down. Without a can, a hand blower or a low-power handheld vacuum with a brush head can do the same job.
- Dampen a cloth. Add a little isopropyl alcohol to the microfiber cloth and wring it out until it is barely damp. Do not spray anything directly onto the keys.
- Wipe each key top. Work row by row, then wipe the frame and the palm area.
- Clean the gaps with a swab. Dampen a cotton swab slightly and run it along the sides of the keys.
- Let it air dry fully. Leave the keyboard upside down or flat in open air, then reconnect it only when the surface is completely dry.
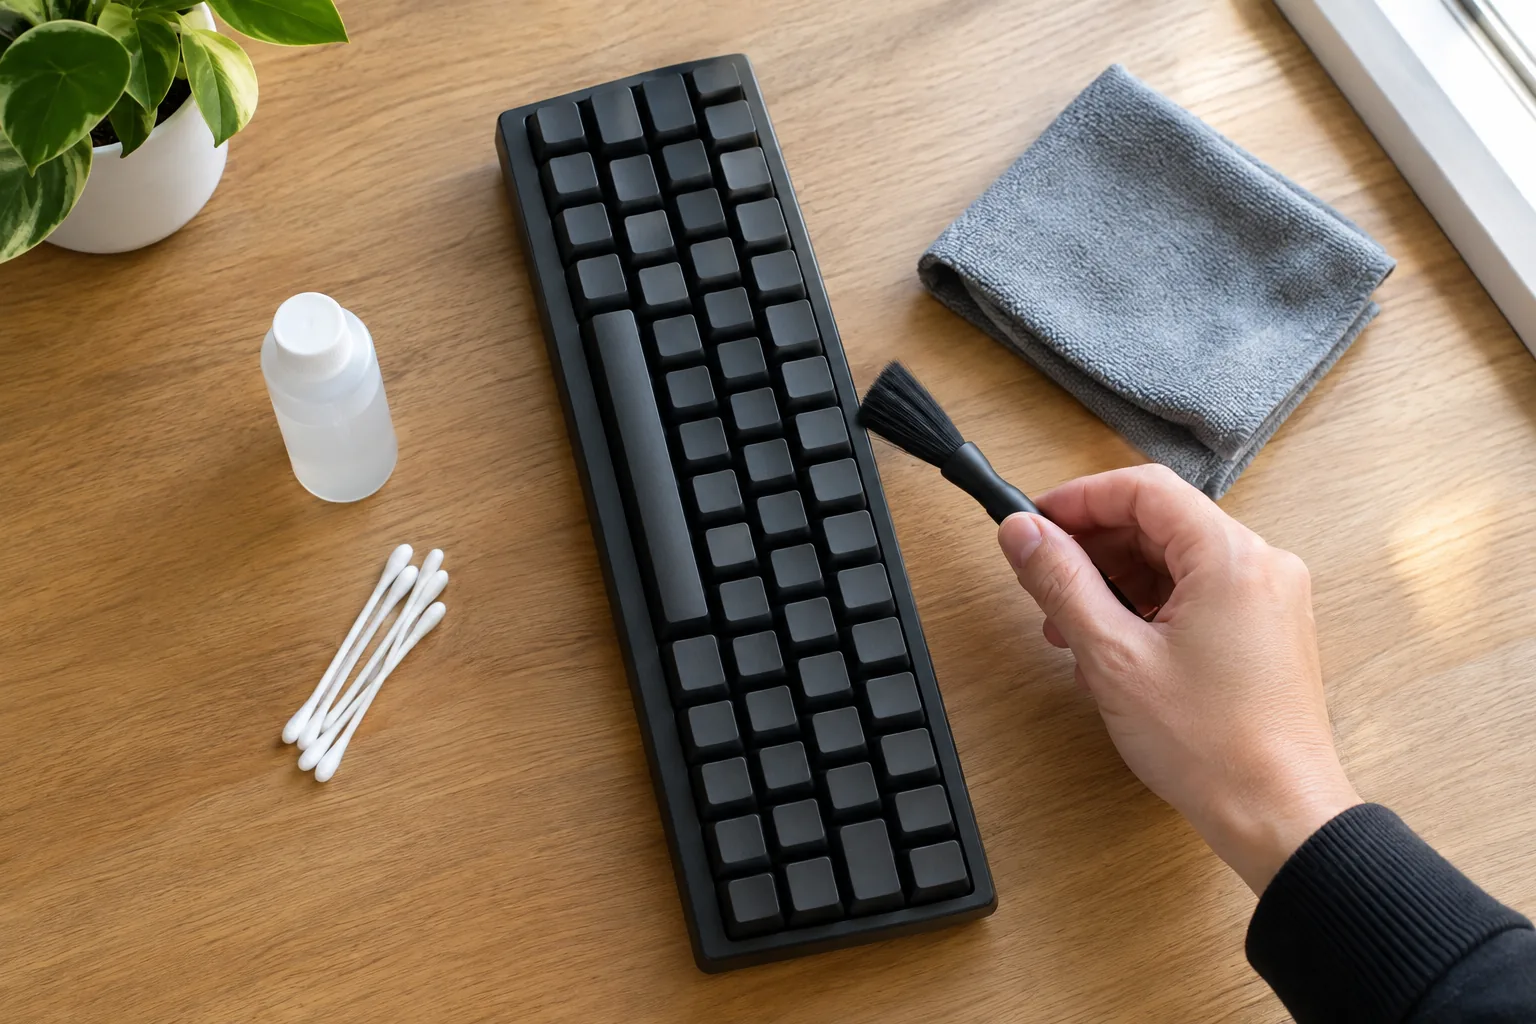
Cleaner guide: what to use and what to skip
This table covers the products and household items to consider when you clean keyboard keys. When in doubt, choose the milder option and use less of it.
| Item | Use or skip | Notes |
|---|---|---|
| Dry microfiber cloth | Use | Good for dust and fingerprints on every surface |
| Soft brush | Use | Reaches between keys |
| Isopropyl alcohol on a cloth | Use | Dampen the cloth, not the keyboard |
| Mild soapy water on a cloth | Use with care | Wring the cloth almost dry; for removed keycaps only if the manual allows |
| Compressed air | Use with care | Short bursts, can upright |
| Disinfecting wipes | Skip or check first | Some contain bleach or strong solvents that can dull or mark plastics |
| Hand sanitizer | Skip | Gel residue can stay between keys |
| Lubricant or penetrating spray | Skip | It is not made for switches and can leave residue on contacts |
| Window or multipurpose spray | Skip | Overspray can reach the circuit board |
| Running water or a dishwasher | Skip for the whole board | Electronics sit under the keys |
Disinfecting wipes, sanitizer, and lubricant spray
Check the keyboard maker's manual before you use disinfecting wipes, because the wording on the wipe packaging is aimed at hard household surfaces, not electronics. If the manual allows wipes, wring them out so they are barely damp and avoid the gaps.
Hand sanitizer on a laptop is the same story: it is a gel, and gel is hard to wipe out from between keys. A cloth with a little isopropyl alcohol gives you more control. As for lubricant spray, it is meant for hinges and metal parts. Keep it away from keys and switches.
Sticky keys and laptop keyboards
A sticky key usually means dried residue from a drink or snack around the keycap base. Power the device off first. Dab a cotton swab with a little isopropyl alcohol and run it around the edges of the sticky key, pressing the key a few times so the swab reaches the gap. Let it air dry before you test it.
If the key still sticks and the manual says keycaps are removable, lift the keycap with a puller, clean the cap and the opening with a swab, and press it back down. Photograph the layout first so you can replace each key where it belongs. If the manual does not mention removal, leave the keycaps in place.
How to clean your keyboard on a laptop
Laptops need extra caution because the keyboard sits above the battery and mainboard. Shut it down, unplug the charger, and tilt the laptop to a slight angle rather than fully upside down. Brush from the center toward the edges, then use short bursts of air. Wipe the keys with a barely damp cloth, not a wet one.
Cleaning a laptop keyboard from the inside, meaning removing the keys or opening the case, is a job for the manual or a repair technician. Spills that reach the inside need the device powered off right away and a technician's help.
Cleaning without compressed air
You can skip the can entirely. A soft brush loosens much of the debris, a hand blower pushes out the rest, and a strip of sticky putty or a folded sticky note can pick crumbs out of gaps. Finish with the damp cloth.
Cleaning split and ergonomic keyboards
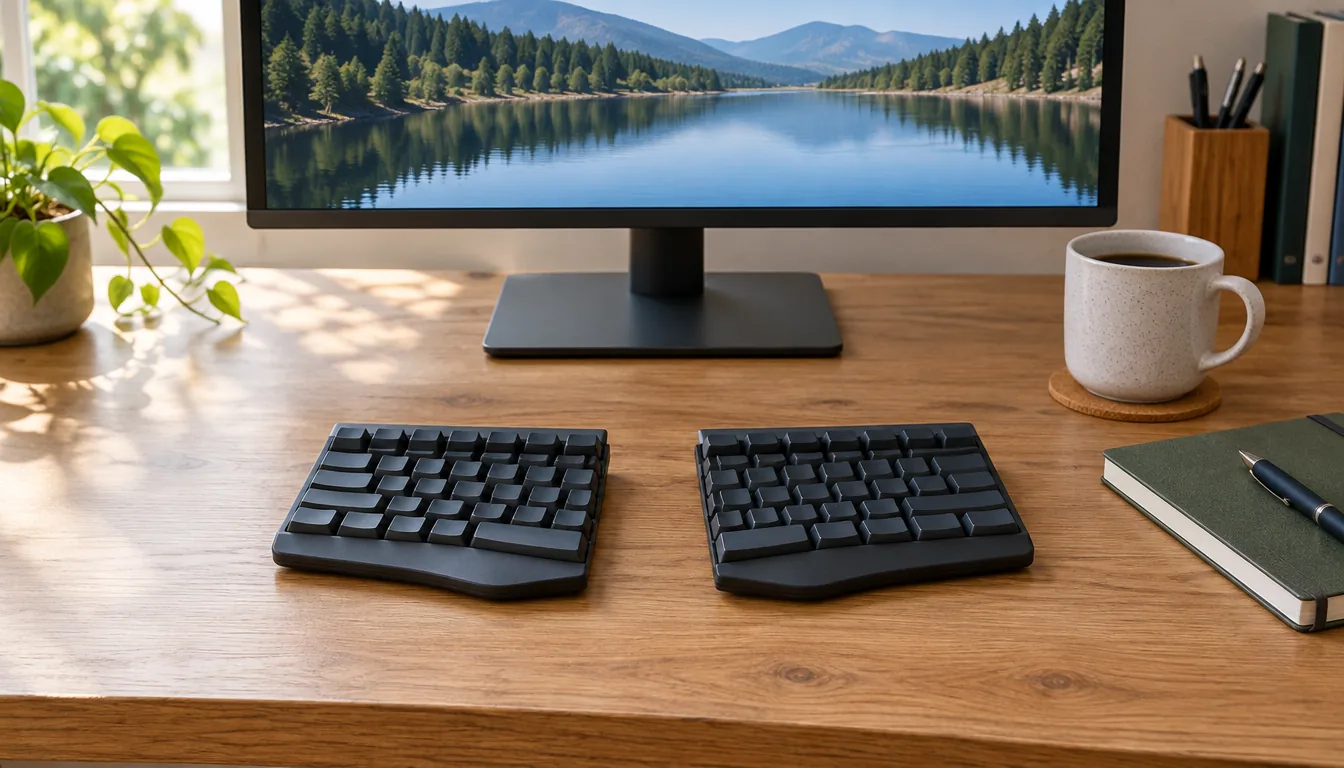
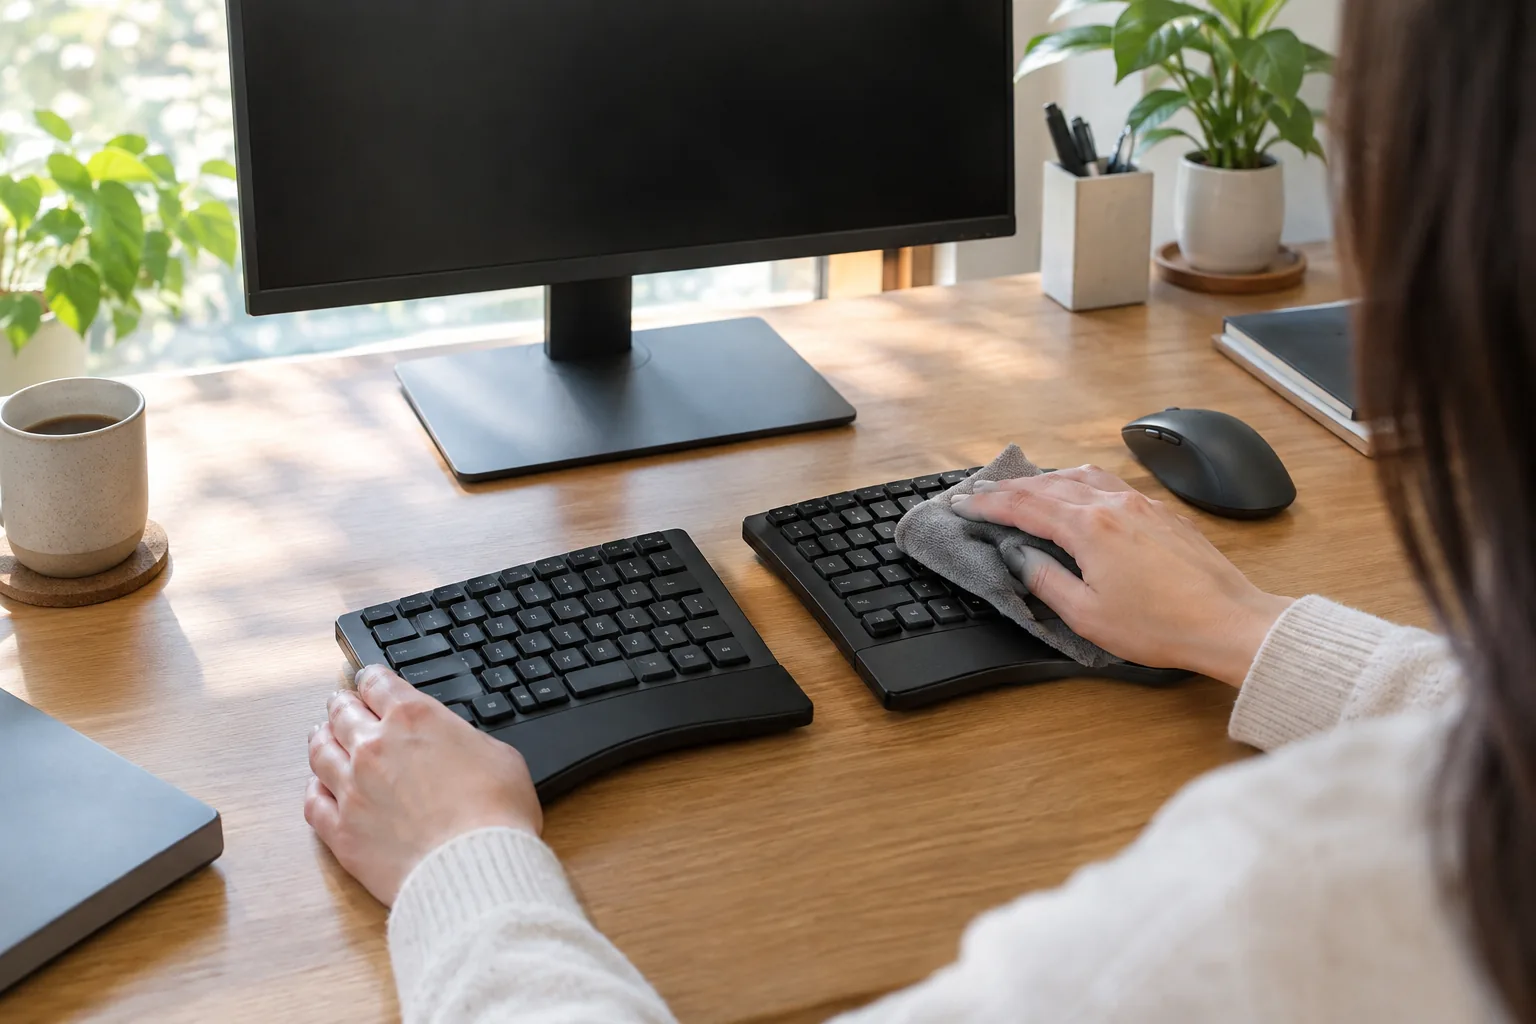
Standard guides picture one flat slab. A split ergonomic keyboard has two halves, raised inner edges, and keys set in a curve, so debris collects in different places. Crumbs slide toward the low outer edges, while dust settles in the dips of a sculpted layout.
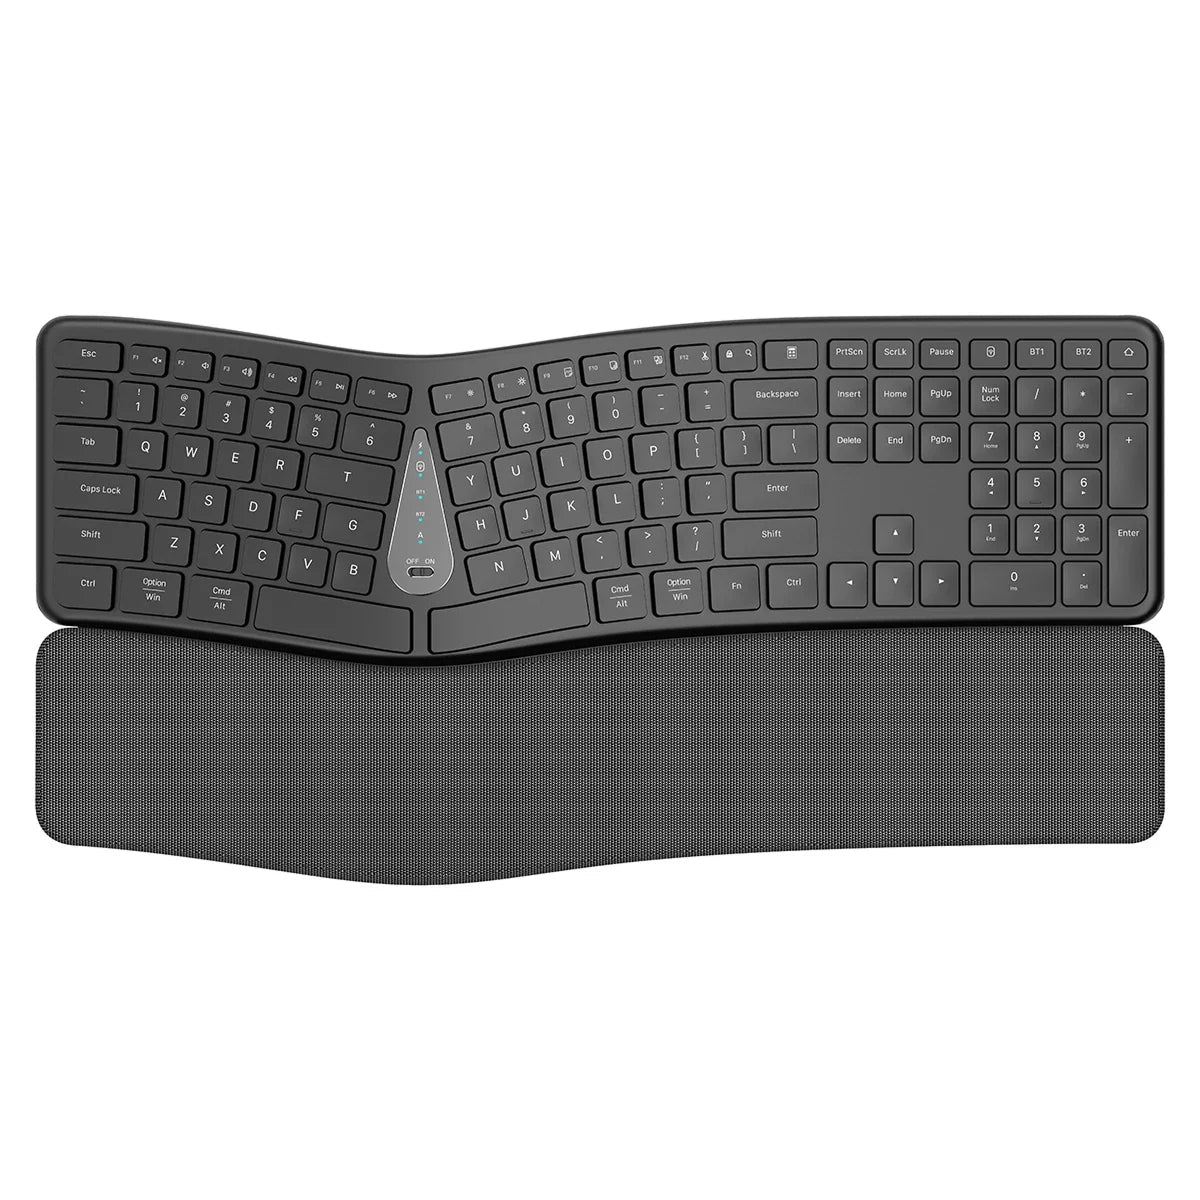
The FlexAxis is a split ergonomic keyboard with two separate halves, a tented inner edge, and a sculpted keywell layout. It connects through a 2.4G USB receiver or Bluetooth and charges with a USB cable. Here is how to adjust the routine for a board like it:
- Disconnect both halves: remove the receiver or switch off Bluetooth, and unplug the charging cable.
- Clean one half at a time. Tip each half toward its outer edge so loose debris falls away from the raised inner edge.
- Brush along the arc of each key row, following the curve of the keywell, so the bristles reach the low points.
- Wipe the tented inner edge and the gap between the halves with a barely damp cloth.
- Check the USB receiver and charging port for dust with a dry swab. Keep liquid out of both.
- Dry both halves fully before you reconnect them.
Check the manual about removing keycaps on any specific model before you pull one off. For a closer look at how this layout compares with a standard board, see Split Keyboard Ergonomic Layouts vs Standard Keyboards Compared.
 In this guideFlexAxis$139.99View
Keyboard cleaning schedule
A regular routine keeps buildup from turning into stuck keys. Adjust it to how much you eat at the desk and how many people share the board.
| Task | How often | Why |
|---|---|---|
| Dry brush and wipe | Weekly | Clears dust and fingerprints |
| Shake out and air burst | Every month | Moves crumbs out of key gaps |
| Damp-cloth wipe of keys and frame | Every month | Lifts oils and grime from the surface |
| Swab gaps and check ports | Every few months | Clears residue before it hardens |
| Mouse wipe-down | With each keyboard clean | Same oils, same cloth method |
Your mouse follows the same method. Unplug or switch it off, wipe the body with the barely damp cloth, and clean around the buttons with a swab.
Field note
Photograph your layout before lifting any keycap, and wring the cloth until no drop can fall from it. A cloth that feels almost dry is damp enough.
Common mistakes to avoid
- Spraying cleaner straight onto the keys, where it can run under the caps.
- Cleaning while the keyboard is plugged in or powered on.
- Holding the compressed air can sideways or too close, which can spray cold liquid propellant.
- Pulling keycaps on a model whose manual does not describe removal.
- Using abrasive pads that scuff the key legends.
- Reconnecting before the board has dried completely.
For a wireless board, a clean is a good moment to check the connection. If pairing drifts afterward, How to Connect Bluetooth Devices: Pairing Steps and Quick Fixes walks through the reset steps. For more desk gear, browse Office & Productivity Tech.
After a spill, the routine changes: switch the keyboard off at once, disconnect it, tip it upside down to drain, and follow the manual or ask a repair technician before you power it on again.