
Split Keyboard Ergonomic Layouts vs Standard Keyboards Compared
A split keyboard ergonomic layout puts each half in front of its own shoulder so your forearms point straight ahead. Here is how split, tented and standard boards compare, and how to set one up.
Ryan Kessler
October 14, 2026 · 8 min read
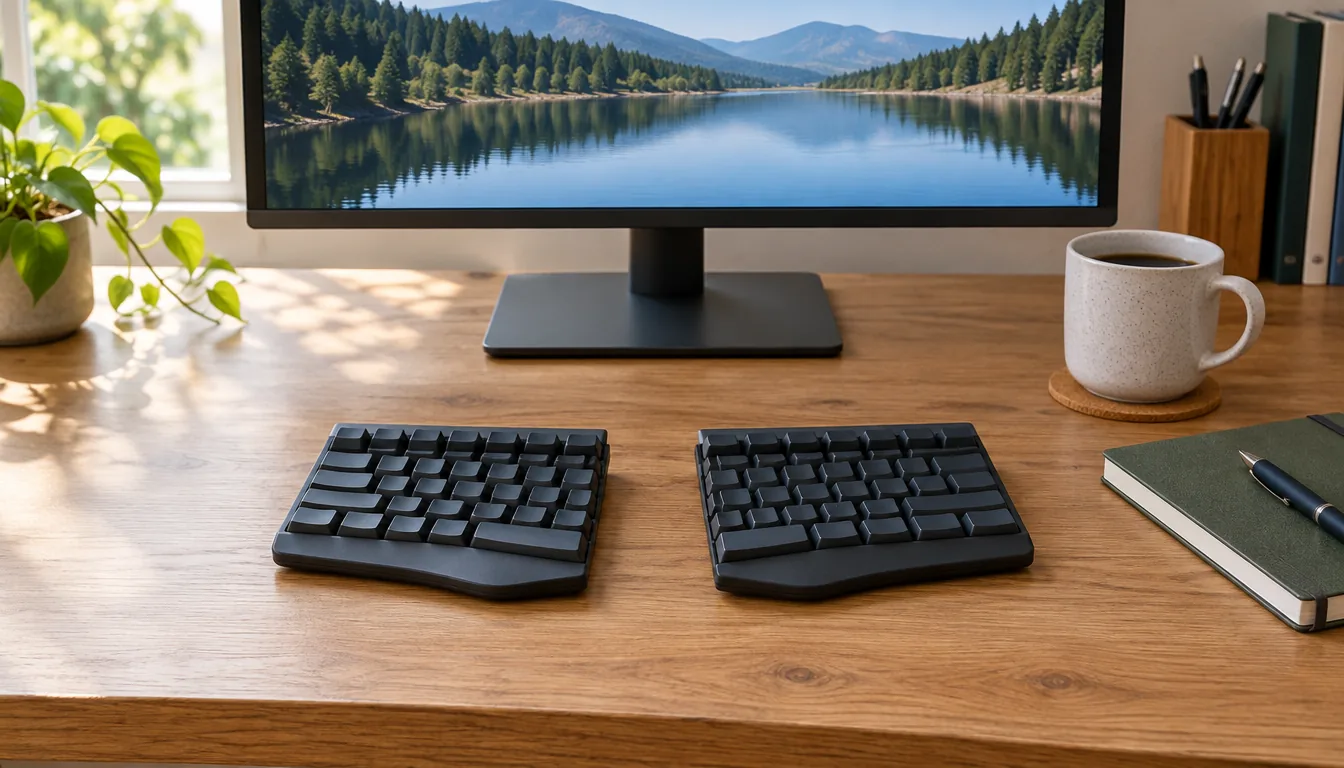
A split keyboard ergonomic layout divides the keys into two halves so you can place each one in front of its own shoulder. Your forearms point straight ahead instead of angling inward, and tenting the inner edges turns your palms toward each other. The trade-offs are a learning period and a wider footprint on the desk.
This guide compares split, tented and standard layouts side by side, explains the features worth weighing, then walks through a setup checklist. It covers layout, fit and routine only.
How a standard keyboard differs from a split design
A standard keyboard is one rigid slab. The keys sit in straight rows, your hands sit close together, and your palms face down. To reach the keys, many people angle their wrists outward and bring their elbows in.
A split design changes three things you can see and feel:
- Separation: two halves, so hand spacing matches your shoulder width.
- Tenting: the inner edges are raised, so palms turn toward a handshake position.
- Key shape: keys arranged in an arc or keywell around where your fingers rest.
You can find one of these features without the others, which is why comparing layouts matters before you buy. A keyboard ergonomic split design is a bundle of choices, not a single switch.
Split keyboard ergonomic layouts compared
Use this table to match a layout to your desk and your tolerance for adjustment. Each row adds one more change to the standard board.
| Layout | Learning curve | Desk space | Typing feel | Suits you if |
|---|---|---|---|---|
| Standard flat | None | Compact, one block | Familiar, palms face down | You switch between many shared computers |
| Fixed-angle ergonomic (one piece, angled) | Short | Moderate | Similar to standard with a gentle curve | You want a small change from your current board |
| Split, flat | Moderate | Wide, adjustable | Hands apart, forearms pointing straight ahead | You like to set hand spacing yourself |
| Split with tented inner edges | Moderate to longer | Wide, adjustable | Palms angled in, handshake position | You want to change hand spacing and angle |
| Split with sculpted keywell | Longest | Wide, adjustable | Keys follow finger arcs | You type a lot and will commit to the adjustment |
The further down the table you go, the more your posture changes and the more your typing habits have to adapt.
What changes when you type on a split board
Learning curve
Expect slower, less accurate typing at first. Your hands have learned where keys sit relative to each other, and splitting the board disrupts that. Keys you used to hit with the wrong hand, such as the middle of the number row or the B key, are the usual trouble spots.
Practice in short sessions on a typing trainer instead of switching all of your work on day one. Everyone adapts at a different pace, so judge progress by comfort and accuracy, not by a deadline.
Desk space
A split keyboard takes more width when the halves are spread to shoulder distance, but you decide how far apart they sit. You can also push them together on a small desk. The gap in the middle gives you room for a notebook, a tablet or a mouse placed closer to your body.
Typing feel
With the halves apart, your elbows can sit nearer your sides. A tented angle changes how your forearms rotate. A keywell layout arranges the keys in an arc around where your fingers rest. Tactile keycaps give each press a noticeable bump, which you will feel as you adjust to the new key positions.
What to look for in an ergonomic keyboard
Spec sheets for ergonomic keyboards list many features. These are the ones that change how you sit and type, so weigh them in this order.
Tenting and negative tilt
Tenting raises the inner edges so your palms face each other. Some boards offer a fixed tent, others use a lift kit or legs you adjust. Negative tilt is the opposite of a typical keyboard foot: the front edge sits higher than the back, so the keyboard slopes away from you. Both are about hand position, so start with a small change.
Staggered vs columnar keys
A standard board uses a staggered layout, with each row shifted sideways like a typewriter. A columnar layout lines the keys up in straight vertical columns that match how your fingers move. Staggered is familiar. Columnar takes longer to learn but suits a keywell shape.
Number pad and width
A full-size board with a number pad pushes the mouse farther to the right. A tenkeyless or compact split board frees that space, so the mouse sits closer to your body. If you enter numbers often, consider a separate keypad you can place on the left.
Wrist rest and palm rest
A wrist rest or palm rest is a pad in front of the keys. Use it to rest your hands during pauses, not as a base to drag your wrists across while typing. Some split boards ship without one, and a separate pad works if you want it.
Programmable keys and key switches
Some boards offer programmable keys that you can remap to move common shortcuts under your thumbs. This usually requires software on the computer. Key switches vary too: tactile switches give a bump, linear switches feel smooth, and clicky switches add sound that matters in a shared office.
Wireless and wired connections
A wireless ergonomic keyboard lets you place each half freely without a cable tying them to the monitor. Look for a USB receiver and Bluetooth, so you can use the board with a desktop or a laptop. Wired boards avoid charging but limit placement.
A split keyboard option from our shelves
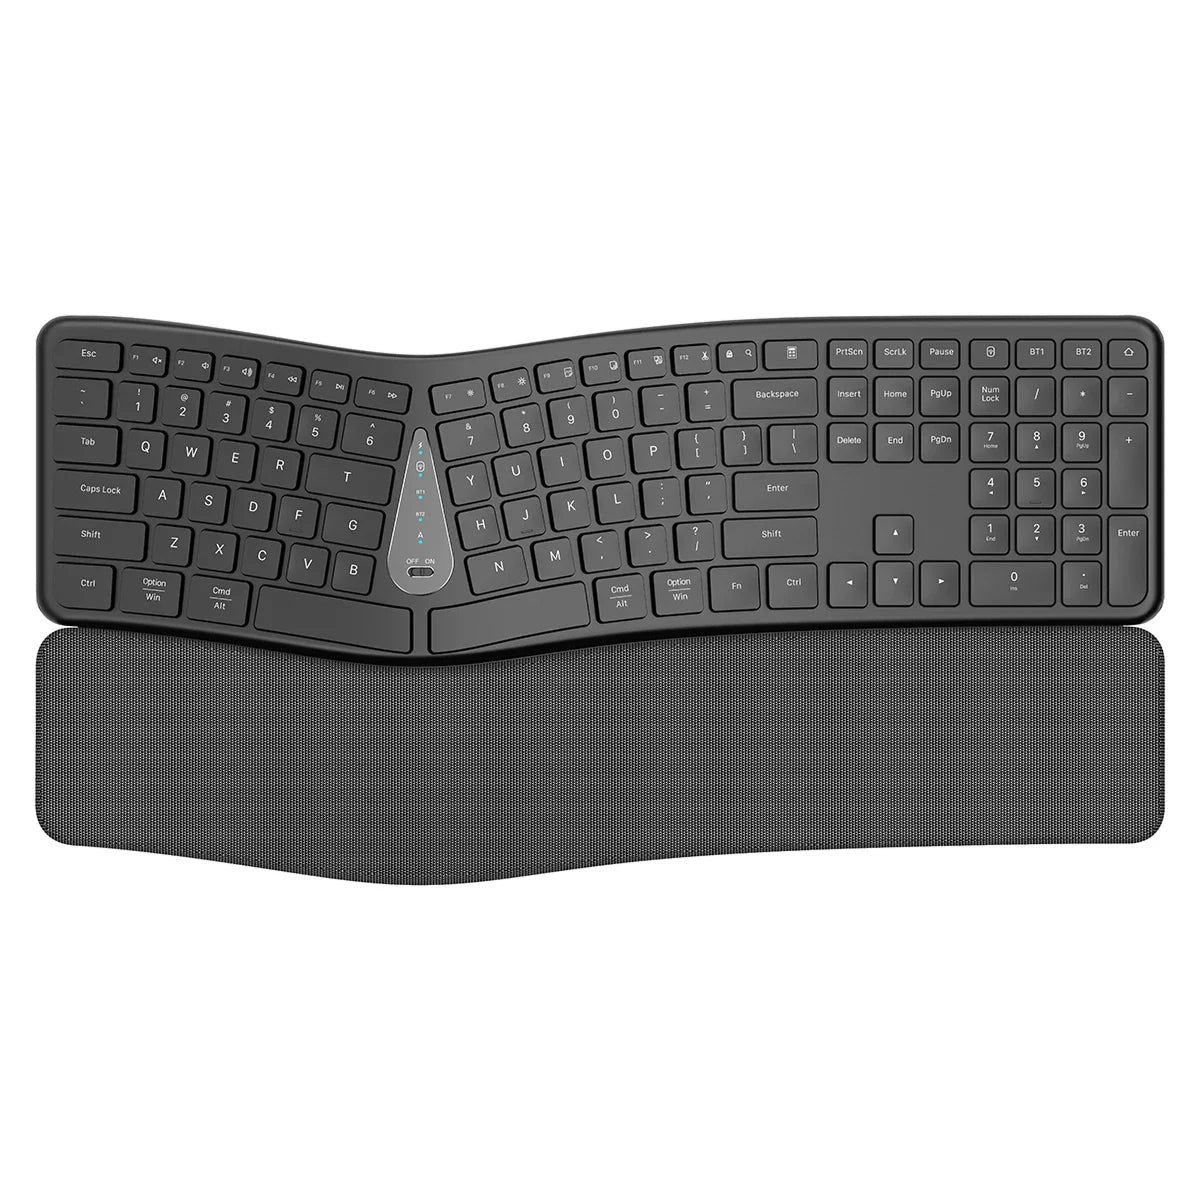
The FlexAxis is a split keyboard ergonomic design with two fully separate halves, tilted inner edges for a handshake hand angle, and a sculpted keywell key layout. You place each half in front of its own shoulder so your forearms point straight ahead, then raise the inner edge of each half so your palms angle toward each other.
It connects with a 2.4G USB receiver or Bluetooth and charges over a USB cable. It presents itself as a standard keyboard, so there is nothing extra to install: it does not need extra drivers or software. The box includes the keyboard, a USB charging cable, the 2.4G receiver and a quick-start manual.
 In this guideFlexAxis$149.99View
Computer keyboard ergonomic setup checklist
Even a well-chosen layout works against you if the rest of the desk is off. Work through this list in order.
- Set your chair first: feet resting on the floor or a footrest, with your back supported.
- Bring the desk to elbow height, so your upper arms hang relaxed and your elbows bend roughly at a right angle.
- Place each half in front of its own shoulder. Forearms should point straight ahead, not angle inward.
- Raise the inner edge of each half so your palms angle toward each other. If your keyboard has an adjustable tent angle, start with a small raise and change it only as the position feels natural.
- Keep wrists in line with forearms. Avoid resting them bent up or sideways while typing; hold your hands level and rest them during pauses.
- Set the monitor at eye level, with the top of the screen near eye height and about an arm's length away.
- Pair the connection: plug in the 2.4G receiver or start Bluetooth pairing, and confirm the keyboard responds before you start work.
- Place the mouse close, in the gap between the halves or just beside the right half.
Field note
Switch gradually. Type on the split board for short stretches each day and go back to your old keyboard for deadline work until your accuracy feels steady.
Pairing the keyboard with an ergonomic mouse
If you are building an ergonomic keyboard and mouse setup, the mouse matters as much as the layout. A split layout places your hands at shoulder width, so reaching far to one side works against it.
- Keep the mouse at the same height and just outside the edge of the right half.
- Move the mouse with your whole forearm, not just your wrist.
- Consider a vertical or angled mouse if you want your hand in the same handshake position as the tented keyboard.
- Learn keyboard shortcuts for common actions so the mouse stays out of the way.
Shopping for an ergonomic computer keyboard and mouse as a bundle is fine, but check that each piece fits your hand and desk on its own. You can browse more desk gear in our Office & Productivity Tech collection.
A note on wrist concerns
Many people search for an ergonomic keyboard for carpal tunnel. A keyboard changes layout and posture options; it is not intended to address any condition. If your wrists or hands bother you while typing, talk to a licensed clinician or an occupational specialist, and bring your desk setup into that conversation.
Common mistakes and how to decide
- Going full tilt on day one. A large tent angle plus a new layout is a lot at once, so change one thing at a time where you can.
- Leaving the halves too close. If they touch, you lose most of the point of splitting them.
- Ignoring chair and desk height. A split board on a desk that is too high still pushes your shoulders up.
- Typing with bent wrists. Watch your wrist angle during the first sessions, when you are focused on key positions.
- Skipping breaks. Stand, stretch and look away from the screen regularly, whatever keyboard you use.
To decide, choose a standard keyboard if you move between many computers and want no adjustment. Choose a fixed-angle ergonomic board if you want a mild change. Choose a split keyboard ergonomic design with a tented, keywell layout if you spend long hours typing, have a desk with room to spread out, and are willing to retrain your hands.
Whatever you pick, fit it to your body: shoulder width, elbow height, and a mouse within easy reach. The layout supplies the options, and the setup decides how well you use them.

Frequently asked questions
Keep reading
 Digital Notebooks & Drawing TabletsDrawing on a Drawing Tablet: A Beginner's Setup and Practice Guide9 min read
 Smart Locks & TrackersSmart Lock for Homes: How It Works and Whether It Fits Your Door8 min read
 Speakers & Sound SystemsPortable Bluetooth Speaker Wireless Guide: How to Choose One9 min read