Drawing on a Drawing Tablet: A Beginner's Setup and Practice Guide
Install the driver, map the tablet to your screen, set a pressure curve you can control, then practice hand-eye drills. This guide walks through each step for screenless tablets.
Ryan Kessler
October 14, 2026 · 9 min read
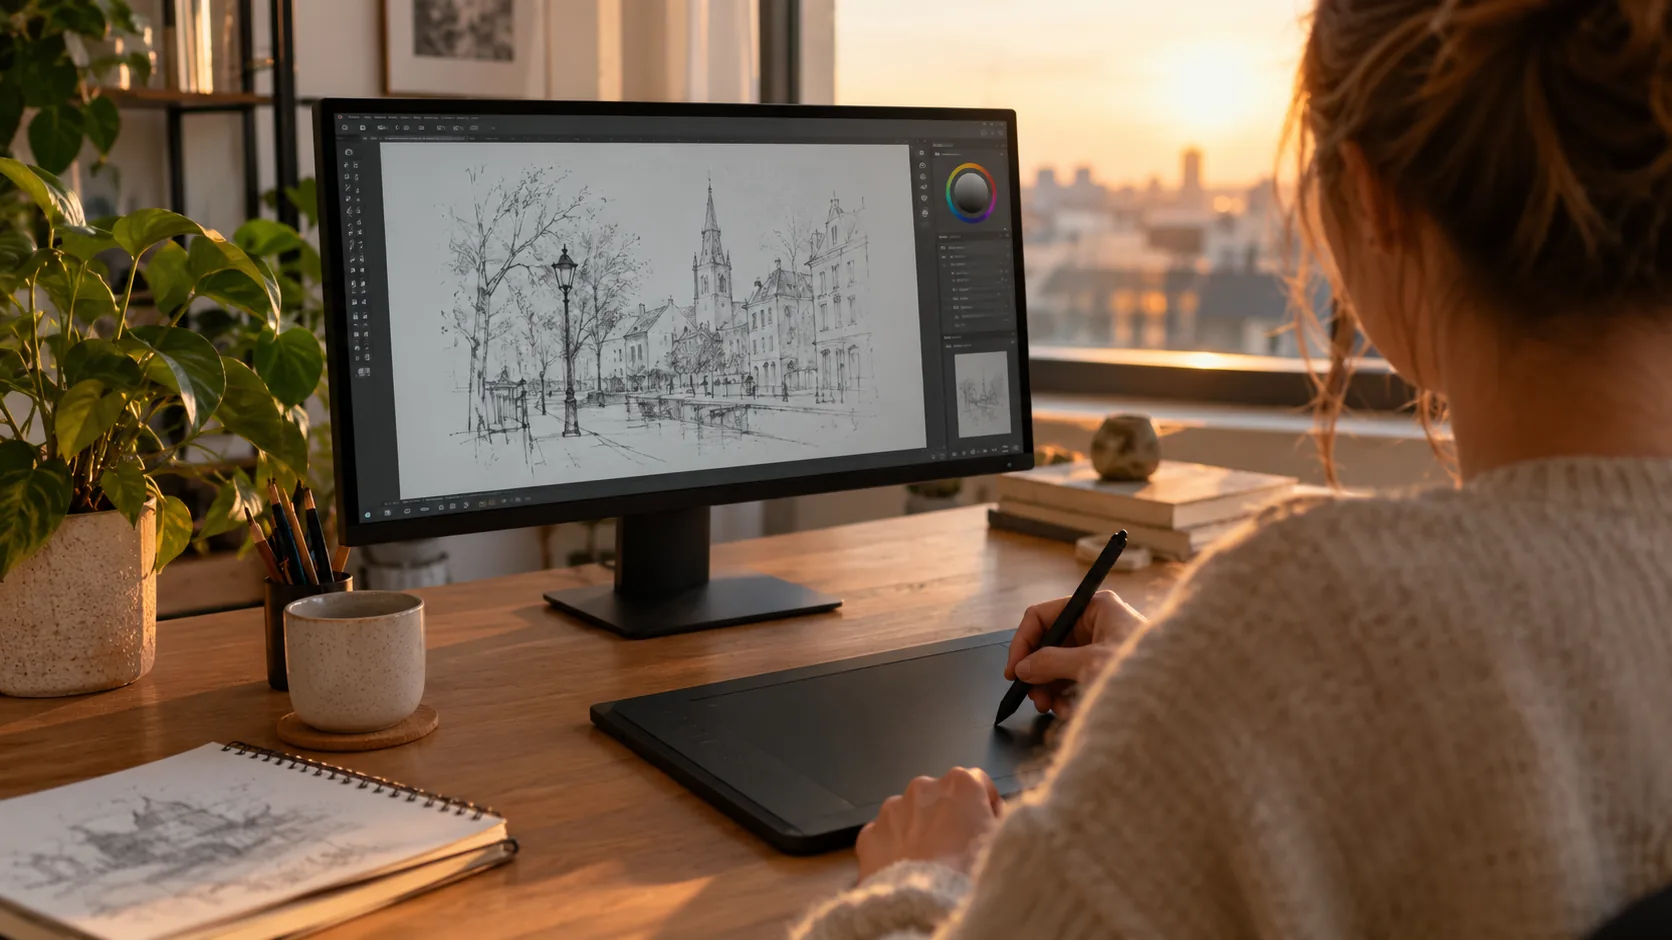
Drawing on a drawing tablet means moving a pen over a flat pad while the marks appear on your computer monitor. To get comfortable, install the driver, connect the tablet, map the pad to your screen, set a pressure curve that matches your hand, and repeat a few hand-eye drills.
The first sessions feel odd because your hand and your eyes are in different places. That is normal for a screenless tablet, and the setup and routine below give you a structured way to adjust.
Screenless tablet, pen display or tablet computer?
Three different devices get called a drawing tablet, and mixing them up is an easy mistake to make. Before you set anything up, confirm which one you own or plan to buy.
| Type | Where you see the line | Needs a computer? | Good to know |
|---|---|---|---|
| Screenless drawing tablet (also called a drawing pad, pen tablet or graphics tablet) | On your monitor | Yes | Flat surface, no display, so hand-eye practice matters |
| Pen display (drawing display) | On the tablet itself | Yes | You draw directly under the pen |
| Tablet computer with a stylus | On the tablet itself | No | Runs its own apps, works as a standalone device |
So the difference between a drawing pad and a drawing tablet is mostly vocabulary. In everyday shopping, both words usually mean the same screenless pad that plugs into a computer. A pen display adds a screen, and a tablet computer is a complete device of its own. This guide focuses on the screenless type, an input device that works like a pen-shaped mouse.
Drawing tablet for PC: what to check first
Before buying, confirm that the tablet supports your computer's operating system and that your drawing program accepts pen input. Check that your computer has a free USB port, and keep the cable in mind when you decide where the pad sits on the desk. Digital artists who work in several programs should also confirm that each one reads pressure data from the driver.
Setting up for drawing on a drawing tablet
A clean setup helps you avoid issues such as a pen that moves the cursor but ignores pressure. Work through these steps in order.
- Unpack and check the box. You should have the tablet, a pen, a spare nib, a USB cable and a quick-start guide.
- Install the driver or companion app first. Download it from the maker's support page for your operating system, then connect the tablet. Installing before plugging in helps the software detect the device cleanly.
- Plug in the USB cable. Connect the tablet directly to your computer rather than through a crowded hub when you can.
- Restart your drawing program. Open it after the driver is running, so it can pick up pressure data.
- Map the work area. In the companion app, set the active area to match the proportions of your monitor. If the proportions differ, circles will draw as ovals.
- Choose your hand orientation. Rotate the tablet or change the orientation setting so the cable sits where it does not drag across your drawing hand.
- Assign the express keys. Start with undo, brush and eraser, then add more as you notice what you reach for.
- Draw a trial stroke. Draw a line pressing lightly, then harder. The line should get thicker or darker as you press.
If pressure does not register, close the program, check that the driver is running, and reopen the program. Also look for a pen-input option in the program's settings, since some programs have it switched off by default. Outdated or duplicate tablet drivers can also cause odd behavior, so remove old ones before installing a new one and follow the maker's instructions.
A screenless tablet that covers the basics
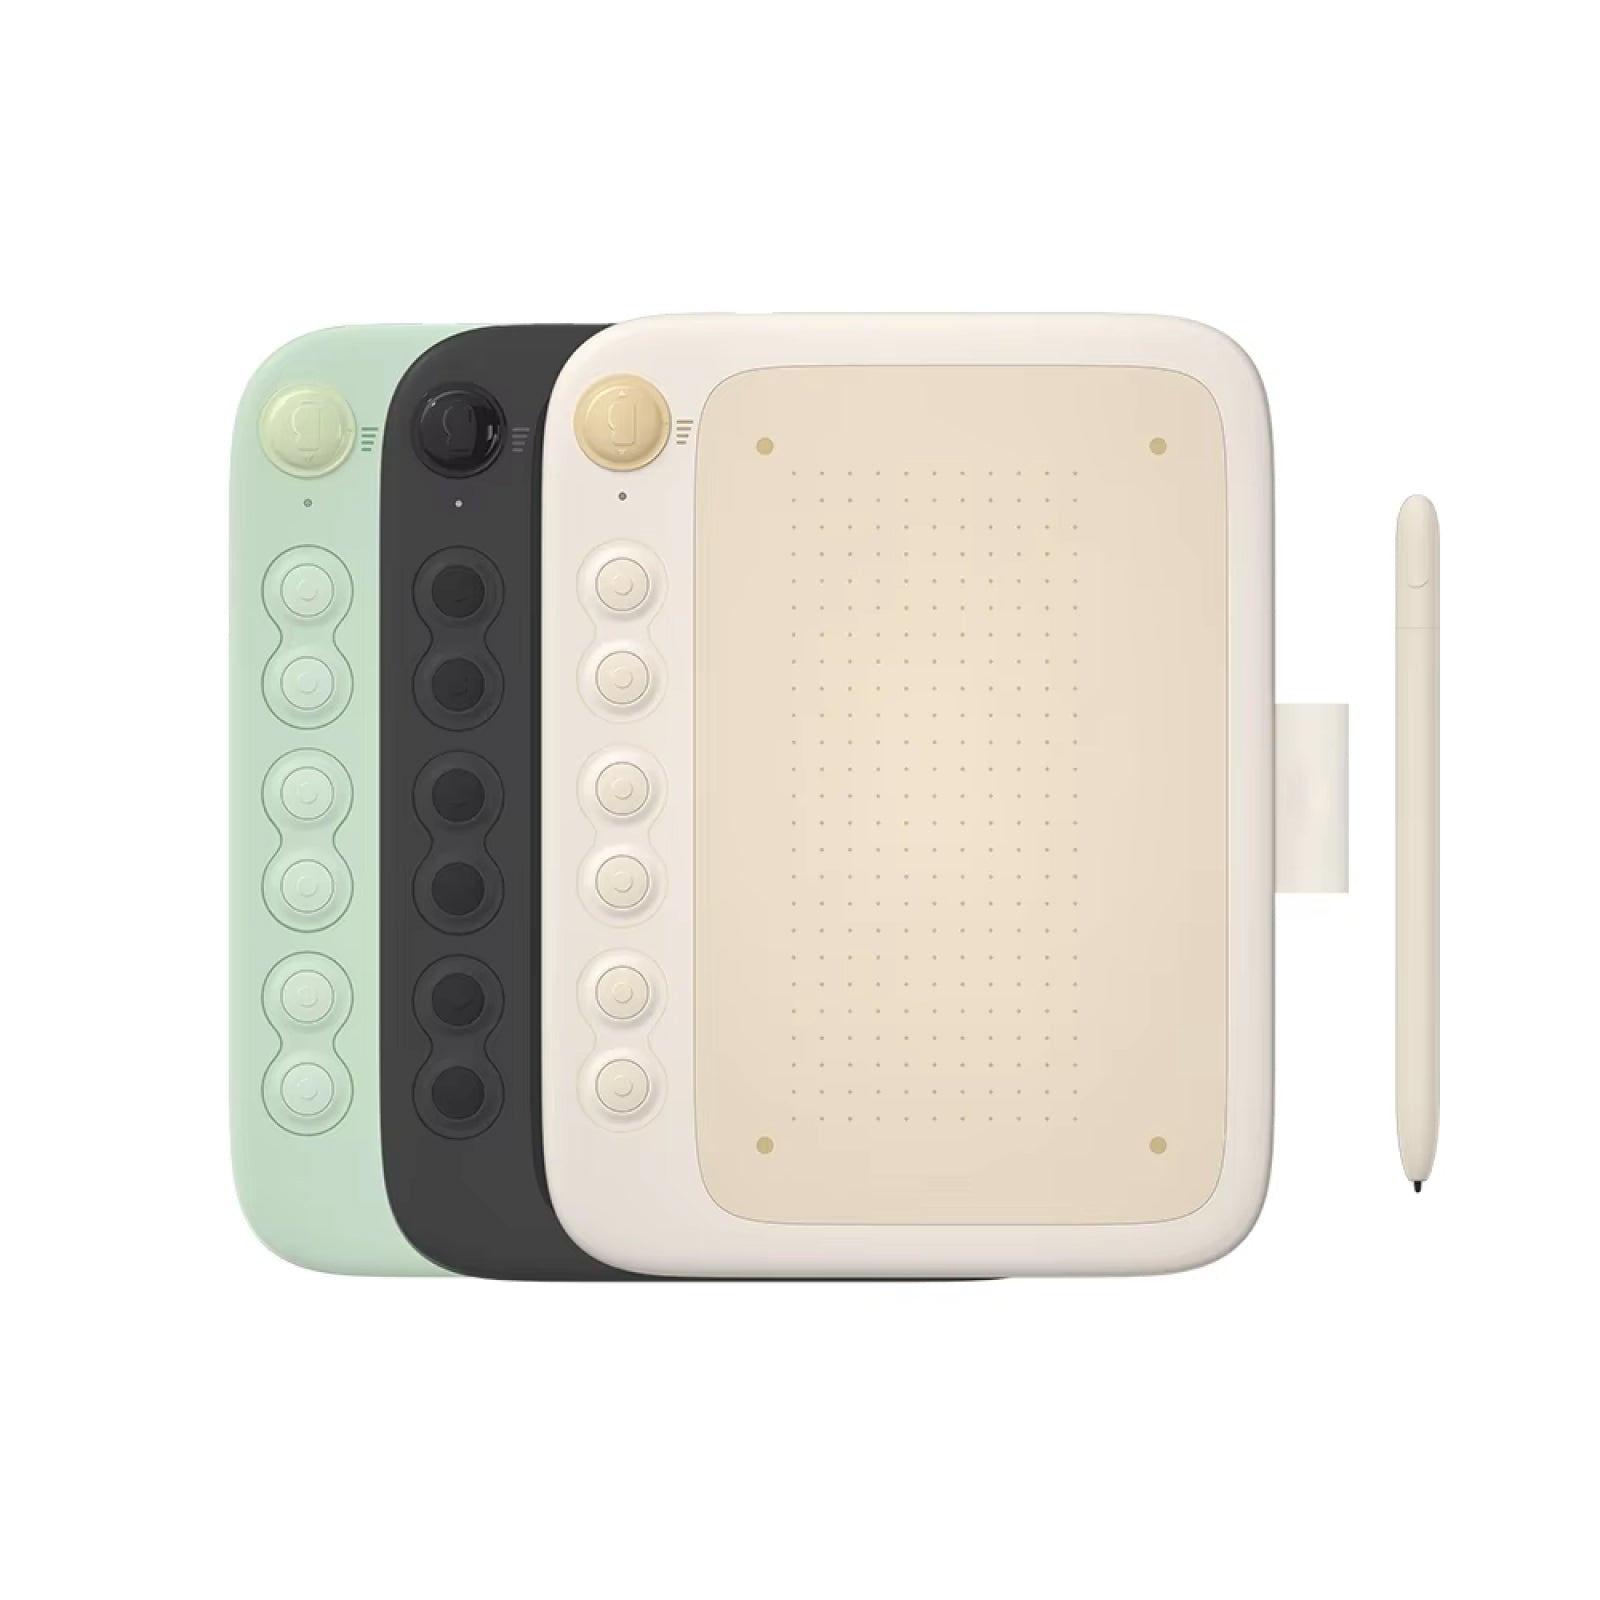
CanvaForge is a screenless drawing tablet that connects to a computer by USB cable. It has an anti-glare drawing surface and a battery-free stylus, so there is nothing to charge or swap. The stylus reports 8192 pressure levels, and tilt and pressure are sent to your software.
Six programmable express keys sit beside the drawing area, and you assign commands or shortcuts through the companion app. The layout is designed for both left- and right-handed users. It works with drawing, illustration and photo-editing software on the major desktop operating systems. The box includes a replacement pen nib and a quick-start guide.
 In this guideCanvaForge$119.99View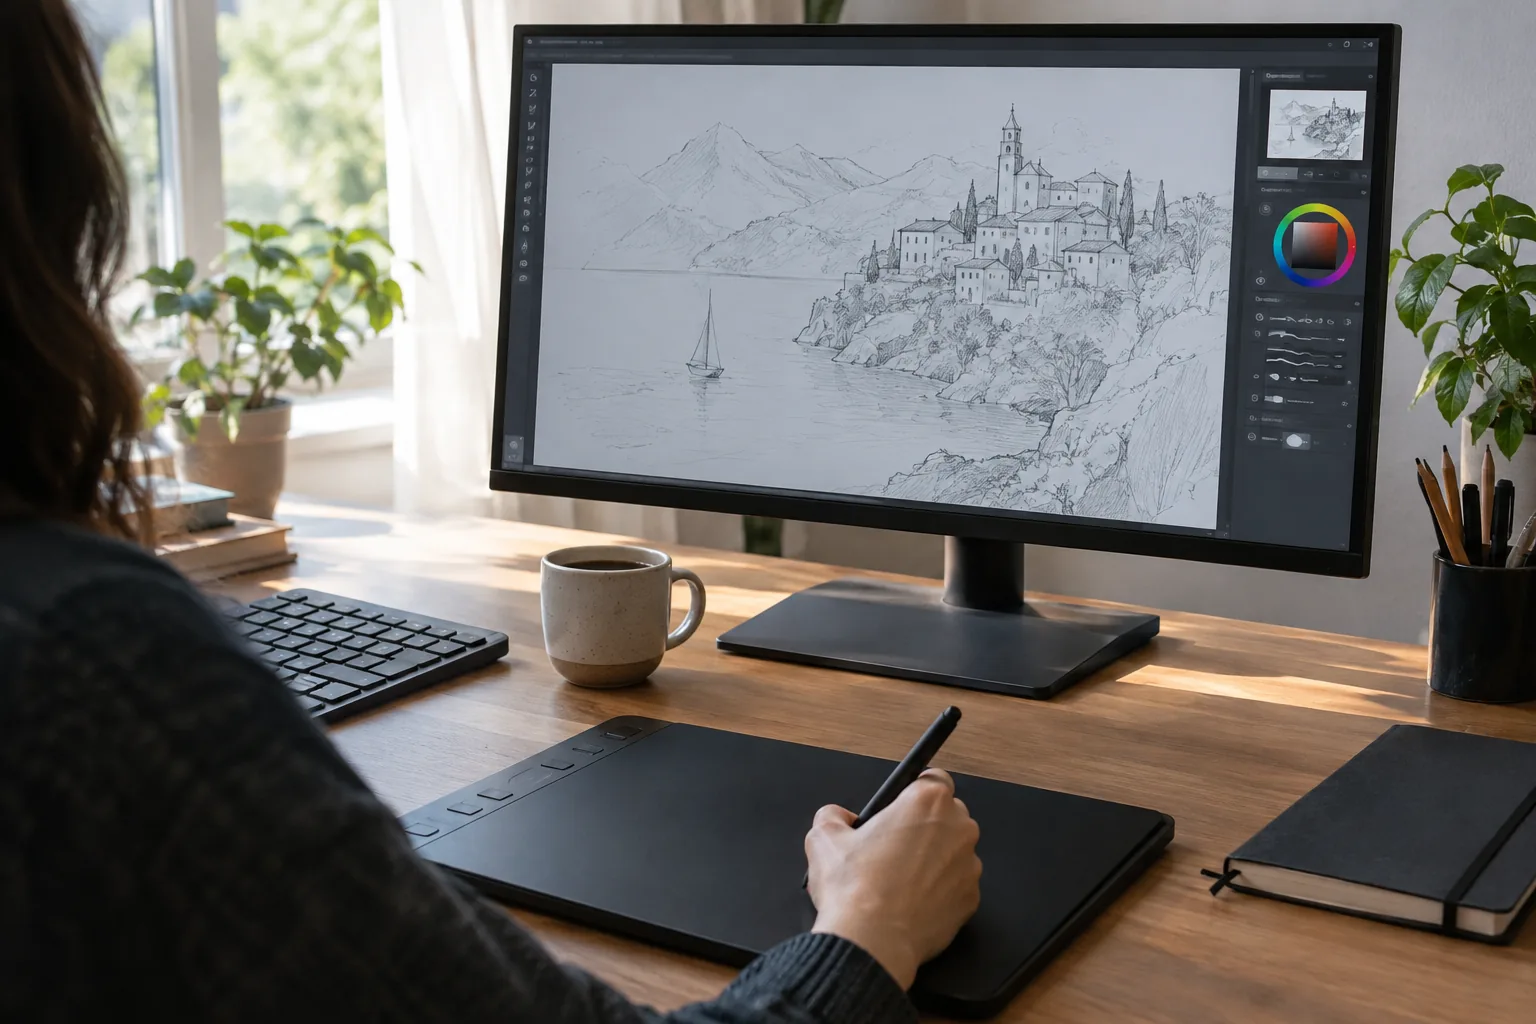
Arrange your desk and grip before you draw
Small physical choices change how drawing with a tablet feels. Set these up once, then leave them alone while you learn.
- Monitor straight ahead. Your eyes stay on the screen, so place it where you do not need to turn your head.
- Tablet centered below it. Angle the pad so its edge lines up with your forearm.
- Loose pen grip. Hold the pen as you would a pencil, and rest your palm on the surface without pressing down.
- Cable out of the way. Route the USB cable behind the pad, away from your drawing hand.
- Breaks built in. Pause often, stretch your hand and shoulders, and stop if anything feels uncomfortable.
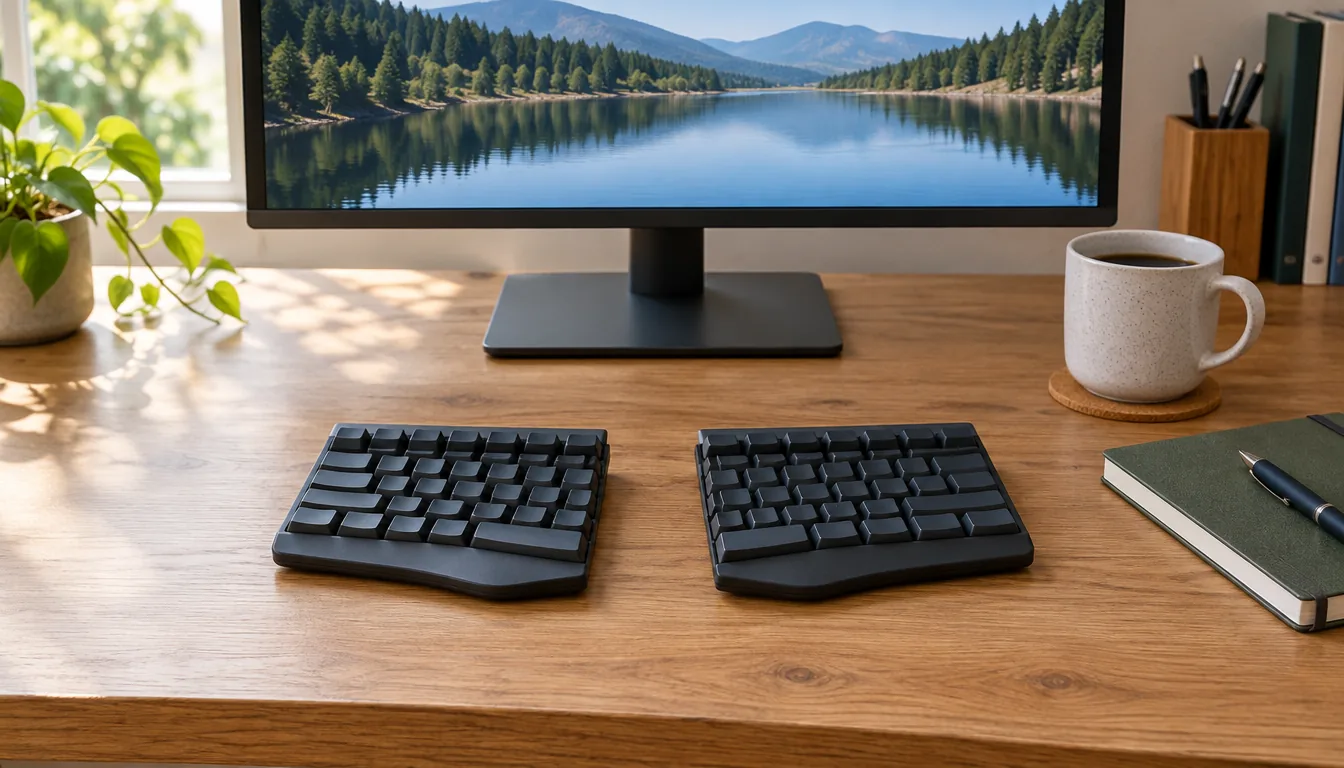
If you split time between drawing and typing, our guide to split keyboard layouts may help you plan the rest of the desk. A drawing glove or a clean sheet of paper under your palm can also help the hand glide, though neither is required.
Set a pressure curve you can control
The pressure curve decides how hard you press to get a thick or dark line. A default curve works for many people, but it is worth adjusting once you have drawn for a few sessions. Look for a curve graph in the companion app or in your drawing program's brush settings.
| If you notice | Try this curve change | Why |
|---|---|---|
| Lines come out thin unless you press hard | Make the curve softer, so light pressure reaches thicker lines sooner | Less force needed for bold strokes |
| Lines jump to full thickness too fast | Make the curve firmer | Gives you more room between light and heavy |
| Light sketching leaves no mark | Lower the initial activation force, if your driver offers it | The pen starts registering sooner |
| Tapered line ends look choppy | Check the brush's own pressure settings as well as the tablet curve | Both layers shape the final line |
Change one setting at a time, then draw a pressure ramp: a single stroke that starts faint and ends bold. If the ramp looks smooth from end to end, the curve suits you.
Pressure in the brush versus pressure in the driver
The driver curve shapes the raw pen signal. The brush settings then decide what that signal does, such as changing size, opacity or both. This is why pressure sensitivity can feel different from one program to the next. If a line feels wrong, adjust the driver first and the brush second, so you always know which layer you changed.
Field note
Draw the same pressure ramp after every settings change and save a screenshot. Comparing a few ramps side by side shows you which curve feels most natural.
Hand-eye drills for screenless tablets
With a screenless tablet, your hand moves on the pad while you watch the monitor. The drills below train that hand-eye coordination. Keep sessions short and relaxed, and stop if your hand feels tired.
Drill 1: Lines between dots
Place two dots on the canvas, then draw a straight line from one to the other in one stroke. Do not look at the pad. Repeat with dots in different directions. Your aim is to land on the second dot without correcting.
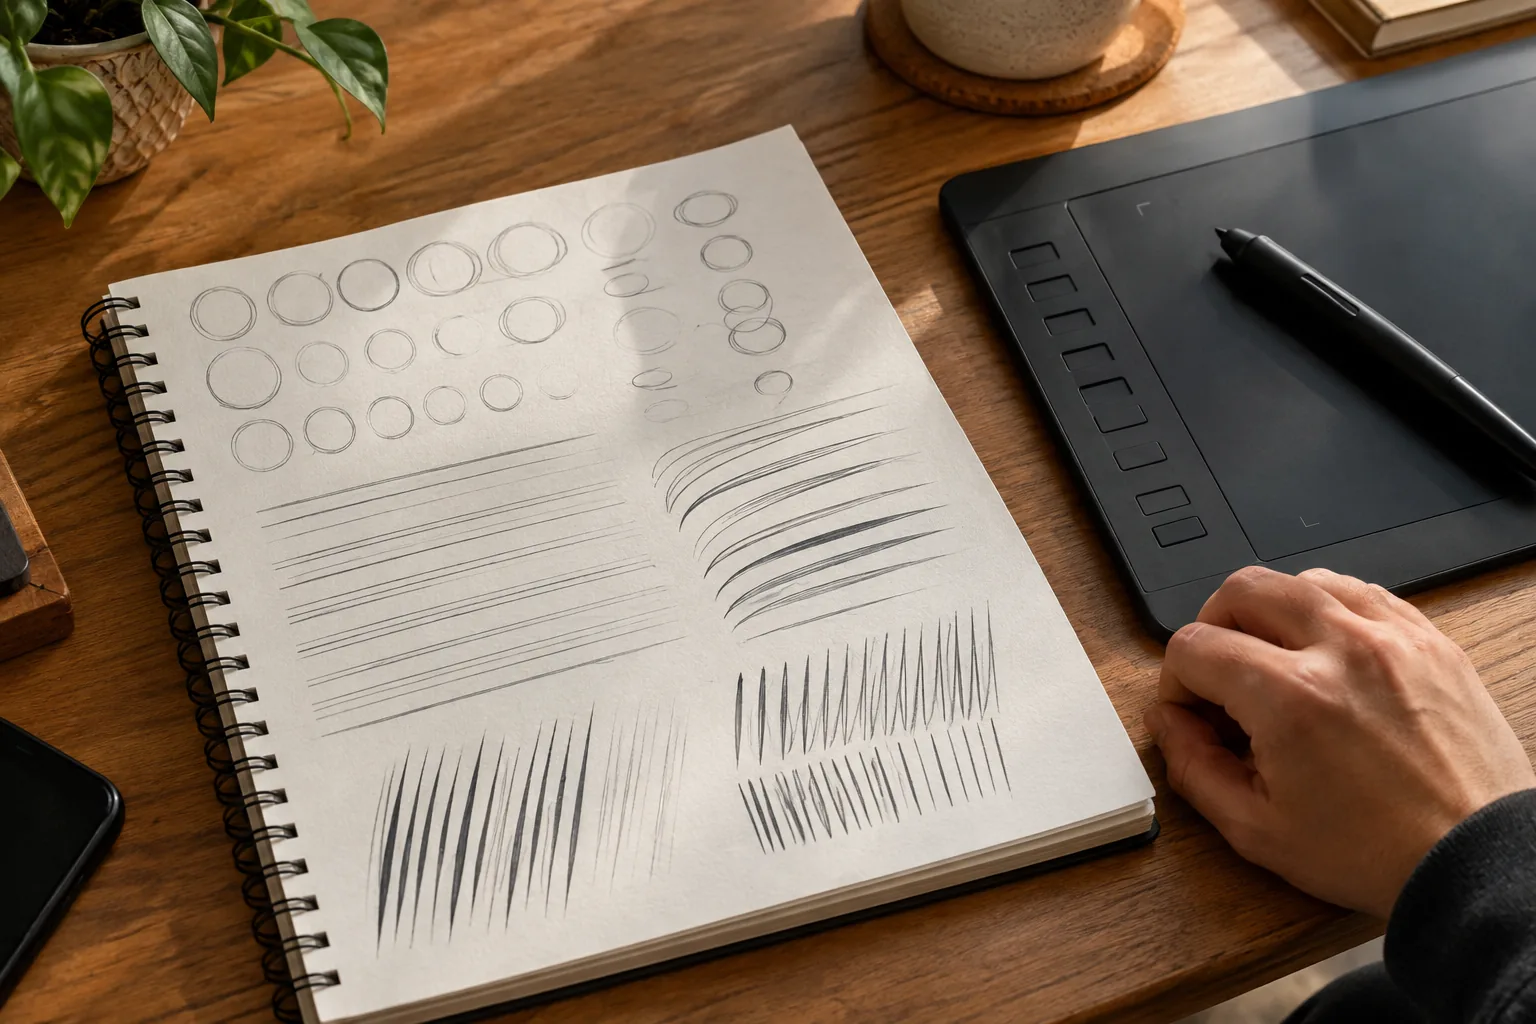
Drill 2: Circles and ellipses
Draw loose circles in a single motion, then ellipses. If circles look flat, check that your active area matches your monitor's proportions. If they still look off, try drawing from the elbow instead of only the wrist.
Drill 3: Parallel lines and hatching
Fill a block with evenly spaced parallel lines. Then add a second layer at a different angle. This builds steady spacing and consistent pressure.
Drill 4: Trace, then copy
Place a simple reference shape, such as a leaf or a mug, on one layer. Trace it on a new layer, then hide the reference and copy it freehand. Compare the two at the end.
Drill 5: Pressure ramps and tapers
Draw strokes that begin light, grow heavy and fade out again. Tapered lines are the base of inking, so they reward repeated practice.
A simple practice routine
Consistency matters more than long sessions. Use this checklist as a repeatable structure for tablet drawing, whether you are sketching characters, inking or working on digital art for fun.
- Warm up: a page of lines, circles and pressure ramps.
- Skill block: pick one drill from the list above and repeat it.
- Real subject: sketch an everyday object from life or a photo you have the right to use.
- Look back: zoom out, note one thing that improved and one to fix next time.
- Tidy up: save your file, name it with the date, and keep the practice pages together to track progress.
Once drawing on a tablet feels natural, add shortcuts to the express keys. Keeping commands under your fingertips lets your drawing hand stay on the pad and your attention stay on the canvas.
Common mistakes to avoid
- Skipping the driver. The cursor may move, but pressure and keys will not work as expected.
- Stretched mapping. If the active area does not match your monitor, shapes distort.
- Pressing too hard. A heavy grip wears down the nib. Soften the pressure curve instead.
- Looking at the pad. Keep your eyes on the monitor so the hand-eye link can form.
- Changing everything at once. Adjust one setting per session so you can tell what helped.
- Ignoring the nib. A worn nib feels scratchy, so swap it for a spare when the pen stops gliding smoothly.
Is a drawing tablet worth buying, and what should a beginner look for?
A drawing tablet is worth buying if you plan to draw, paint or edit images digitally on a computer and prefer drawing with a pen to drawing with a mouse. If you only want to doodle occasionally, a tablet computer you already own may be enough. Artists who want to see the image under the pen should look at a pen display instead.
For a first screenless tablet, check these points:
- It connects to your computer's operating system and your drawing program.
- The stylus is battery-free or easy to power, so it does not interrupt a session.
- It lists its pressure levels, and the driver lets you edit the curve.
- It has programmable keys for undo, brush and eraser.
- The layout suits your drawing hand.
- A spare nib comes in the box.
You can browse more options in our Digital Notebooks & Drawing Tablets collection. Whichever you choose, give yourself a few sessions before judging it. Drawing on a drawing tablet builds the hand-eye link through repetition, and a tidy setup gives you a steady place to repeat it.