Gaming on External SSD: How to Install and Play Games
Connect the drive to a matching USB port, add it as a library, and install there. This guide covers PC and console steps, port needs, and load times.
The Folio & Current Team
October 28, 2026 · 7 min read
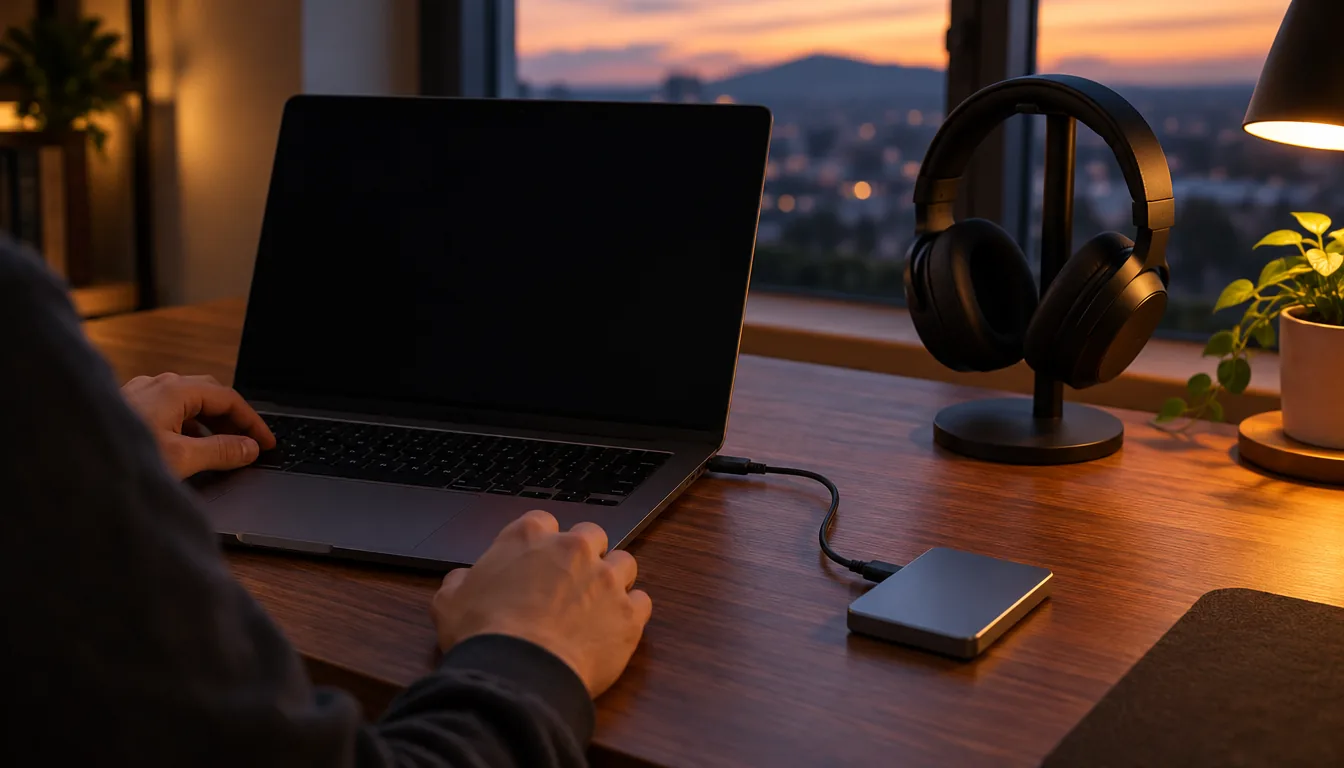
Gaming on external SSD works when the drive connects to a USB port that matches its interface and the game launcher points its library at that drive. On a PC, you add the drive as a library folder and install or move games there. On a console, support depends on the game generation, so check the manual before you buy.
This guide covers the port requirements, the steps for PC and console, what shapes load times, and the mistakes that cause stutter or missing libraries.
What you need before you start
Three things decide whether games on external SSD run well: the drive, the cable, and the port. Check each one before you move a single file.
| Item | What to check | Why it matters |
|---|---|---|
| Drive interface | Look for a USB 3.2 Gen2 or USB-C external SSD | The interface sets the ceiling for transfer and load behavior |
| Cable | Use the cable in the box | A different cable can limit the connection |
| Port | Match the drive's USB standard on your PC or console | A port with a lower USB standard sets the ceiling |
| Capacity | Compare install sizes with free space | Large titles fill a drive quickly |
| Format | Follow your platform's manual for formatting | Some platforms reformat the drive for game use |
Plug the drive straight into the device when you can. A hub or unpowered extender adds another link that can limit the connection.
Gaming on external SSD with a PC: step by step
A PC is the most flexible platform, because game launchers let you create more than one library location. The steps below apply to most launchers and storefronts, though menu names differ.
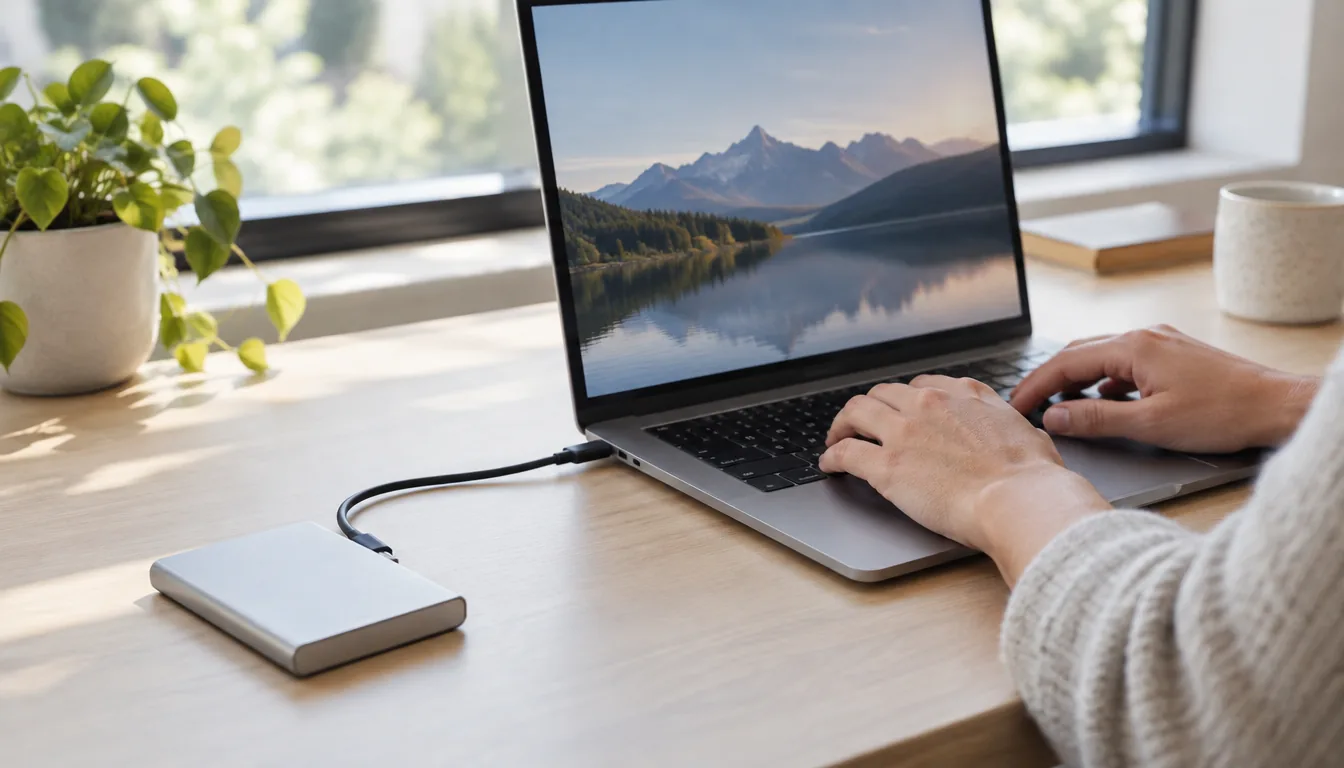
- Connect the drive with its included cable to a USB port that matches its standard.
- Open the drive in your file manager and confirm it appears with the expected capacity.
- Create a folder for games, such as one named after your launcher, so libraries stay separate from photos or project files.
- In the launcher's storage or download settings, add a new library folder and select that folder on the external drive.
- Choose that library as the install location for new games, or use the launcher's move option for games you already own.
- Launch one game and confirm it opens from the new location before moving others.
When you finish a session, use the eject option in your system menu before unplugging. Pulling the cable during a write can corrupt game files and force a repair or reinstall.
Moving an installed game
Do not drag a game folder to the drive in your file manager. The launcher tracks install locations, so use its built-in move or relocate option. If you already dragged a folder, add the drive as a library and use the launcher's verify or locate function to let it find the files.
Using the drive on more than one PC
You can unplug the drive and carry it to another computer, but each launcher must be told where the library lives. Add the folder as a library on the second machine and sign in. Saves stored in the cloud follow your account, while local saves may stay on the original machine.
Console setup and what to check first
Consoles are stricter than PCs. Many support external USB drives for storage, yet some limit what can run from them. In general, older-generation titles can run from a USB drive, while current-generation titles may need the internal drive or a manufacturer expansion card. Check your console's manual or support page for the exact rule on your model.
- Connect the drive to a USB port on the console, using the drive's own cable.
- Open the console's storage settings and select the option to format the drive for games. This erases everything on it, so copy off any files first.
- Set the drive as the default install location if the console offers that choice.
- Install or move a title that your console allows to run from external storage.
- Leave the drive connected while you play, and use the console's eject option before unplugging.
If you play on both a console and a PC, plan on a separate drive for each.
Platform comparison at a glance
| Platform | Port to use | How the library is set | Watch for |
|---|---|---|---|
| Desktop PC | USB 3.2 Gen2 or USB-C port | Add a library folder in the launcher | Use the launcher's move option |
| Laptop | USB-C or USB-A, matching the drive | Add a library folder in the launcher | Keep the laptop plugged in during long installs |
| Console | Port the manual lists for storage | Format the drive in console settings | Some titles must stay on internal storage |
| Handheld PC | USB-C port | Add a library folder in the launcher | Cable strain when held |
Load times: what to expect from an external SSD
An SSD has no moving parts, so it avoids the seek delays of a spinning hard drive. Load behavior depends on the game, your processor, and the port. An external drive passes data through its bridge and cable, while an internal NVMe drive sits on the motherboard. Open-world games that stream large amounts of data are where you may notice a difference between the two.
What causes stutter or long loads
- A port with a lower USB standard than the drive.
- A hub or extender between the drive and the device.
- A cable that is not the one in the box.
- Background transfers, such as a large update or a file copy running at the same time.
- A drive that is nearly full.
Measure your own setup instead of relying on a chart. Time the same load screen with a phone stopwatch before and after the move, using the same save file. If the result is not what you want, work through the list above, starting with the port and cable.
External SSD versus an internal hard drive
An external SSD and an internal hard drive are different tools. The hard drive offers capacity inside the case, while the external SSD adds portable storage you can plug into a laptop, desktop, or compatible console. If your games sit on a spinning drive now, moving the ones you play most to an SSD is the change to try first.
Choosing a drive for games on external SSD
Start with the interface, then capacity, then build. Both drives we stock are plug-in external SSDs that use the cable in the box.
VeloxDrive is an external SSD with a USB 3.2 Gen2 interface and an aluminum alloy shell. It ships with a 2-in-1 cable that reaches different kinds of ports depending on the device, and it handles files by drag and drop.
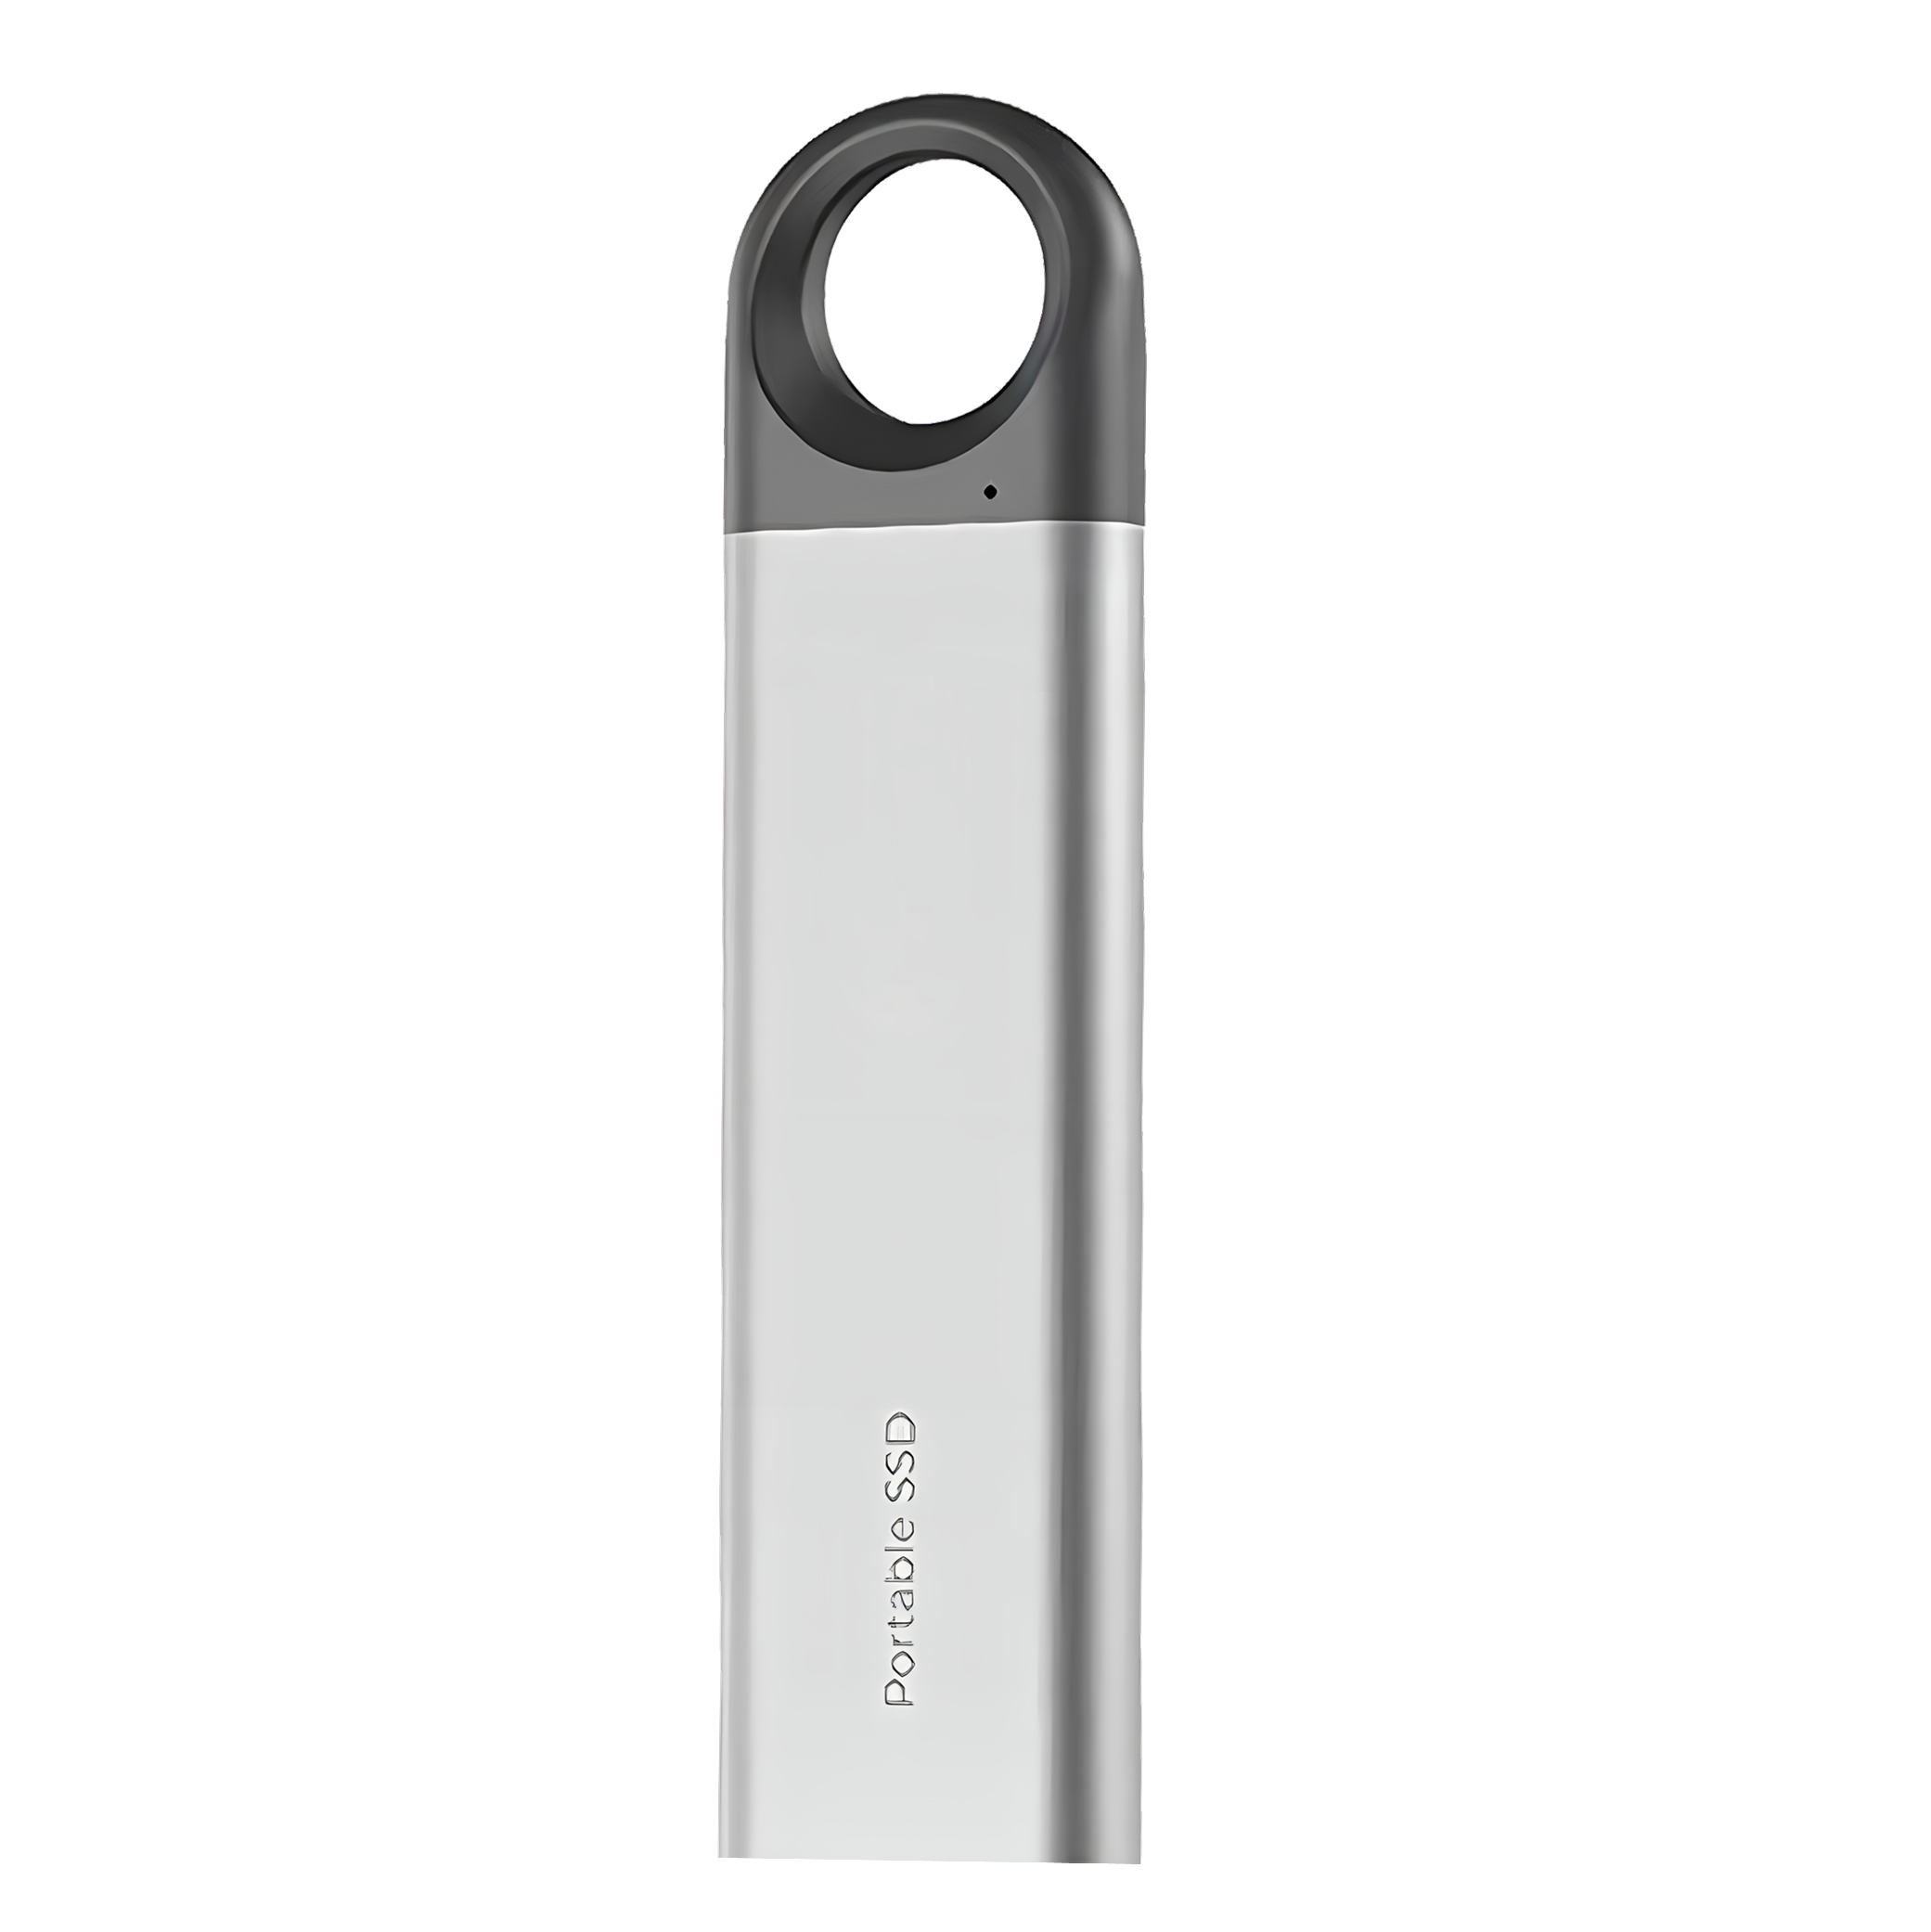 In this guideVeloxDrive$119.99View
ZenithDrive is a portable SSD with a precision-milled honeycomb aluminum shell and no moving parts. It weighs 38g, connects with the included USB-C cable, and needs no drivers.
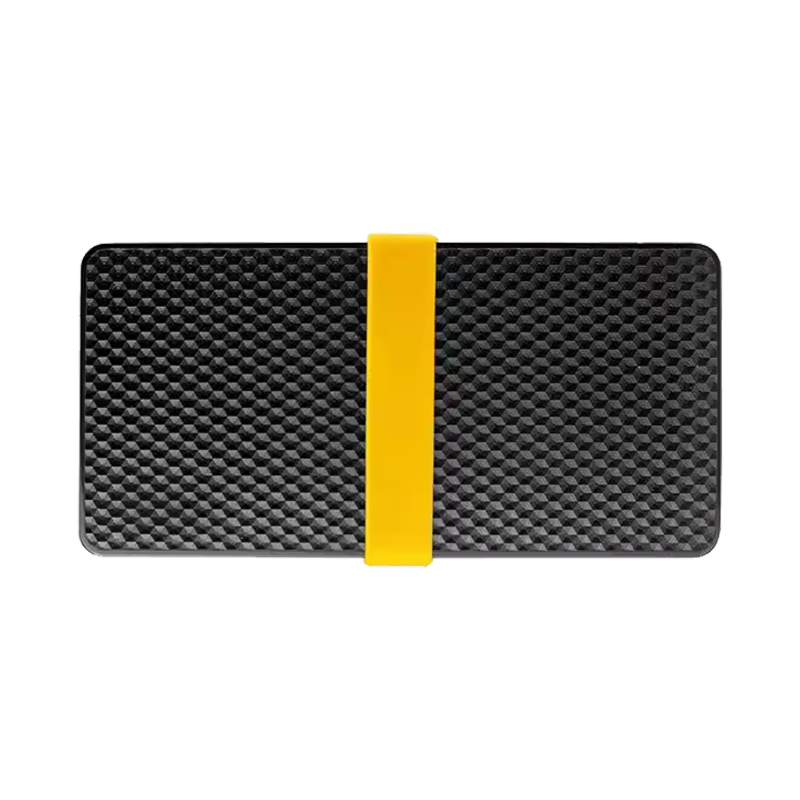 In this guideZenithDrive$99.99View
For more on picking a size, read 1TB External SSD Drive: How to Pick the Right One. You can also browse the Chargers, Docks & Storage collection for related gear.
Field note
Keep one folder per launcher on the drive and write the launcher name in the folder title. When you reconnect the drive to a new machine, you can point the library at the right place in one step.
How much capacity do you need?
Install size varies a great deal between games. Some titles take a modest slice of a drive, and large releases can take a big share of 1TB once patches and optional packs are added. Add up the games you play now, then leave room for updates and new installs.
A 2TB drive holds more installed titles at once, so you can keep more of your library ready to play. If you only rotate a few current games, a smaller drive can be enough. The drive also holds your photos or project files if you share it, which uses the same space.
Playing a game does not consume storage as time passes, so there is no gigabyte figure to count per session. Storage is used by the install, patches, saves, and any recorded clips. Online play uses internet data, which is separate from drive space.
Common mistakes and a simple care routine
- Plugging into a port with a lower USB standard than the drive, which sets the ceiling for the whole connection.
- Using a different cable than the one in the box, or a long extension.
- Dragging game folders by hand instead of using the launcher's move option.
- Unplugging without ejecting first.
- Leaving the drive as the only copy of files you cannot replace.
Build a small routine. Eject the drive after each session, store it in a bag pocket or sleeve, and keep the cable with it. Check for launcher and firmware updates, and follow the drive's manual when it lists steps. For laptops that run warm during long sessions, see Laptop Cooling Pad for Gaming for airflow setup.