Affordable DSLR Camera for Beginners: What to Look For
An affordable DSLR camera for beginners needs a crop sensor, a usable kit lens, manual mode and guided menus. This guide explains each and ends with a starter-kit checklist.
The Folio & Current Team
October 30, 2026 · 6 min read
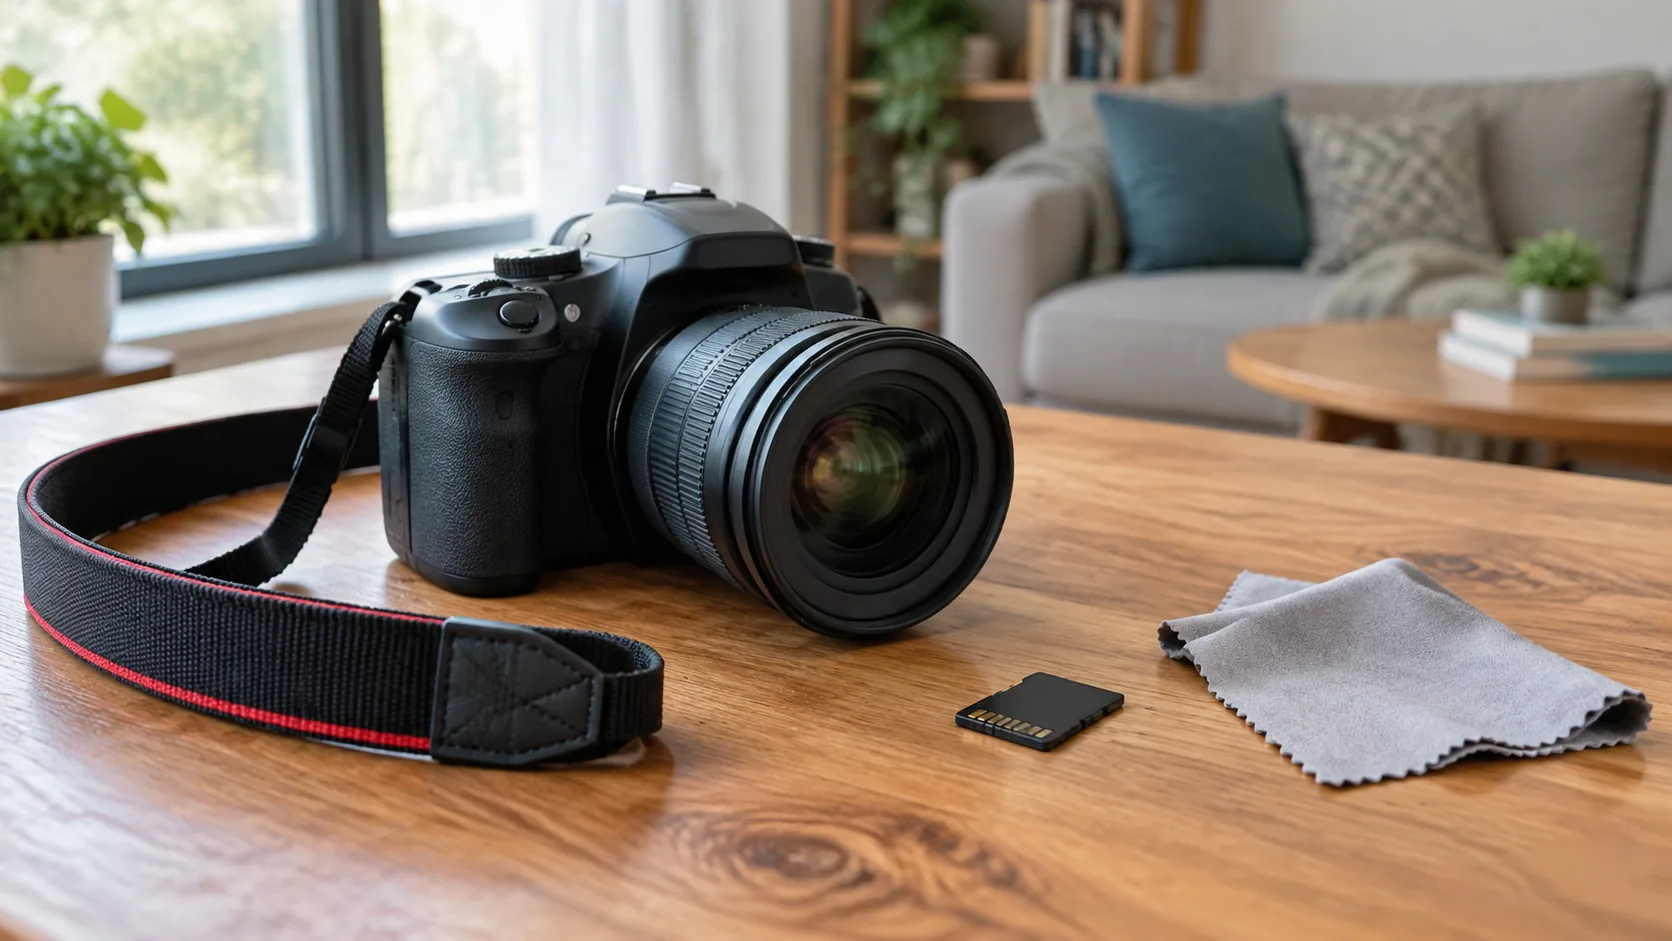
An affordable DSLR camera for beginners should have a crop sensor, a kit lens that covers everyday focal lengths, a manual mode you can grow into, and menus that explain themselves. Everything else, from megapixel counts to video modes, is secondary. This guide walks through what each part means, how a DSLR differs from mirrorless, and what to put in your starter kit.
What an affordable DSLR camera for beginners needs
A first camera has one job: to let you practice the basics of exposure, focus and framing without fighting the controls. Price matters, but the parts that carry the learning matter more. Use the table below as a filter before you compare models.
| Feature | Why it matters for a first camera |
|---|---|
| Crop sensor | Entry level bodies often use smaller sensors, which keep camera and lens size manageable |
| Kit lens | A zoom lens included with the body lets you start shooting right away |
| Manual mode | Lets you set aperture, shutter speed and ISO yourself as you learn |
| Guided menus or auto modes | Help while you learn what each setting does |
| Flip or tilting screen | Useful for low angles, selfies and video |
| Memory card slot | Standard SD cards are easy to replace |
| Wireless transfer | WiFi lets you move photos to a phone or computer |
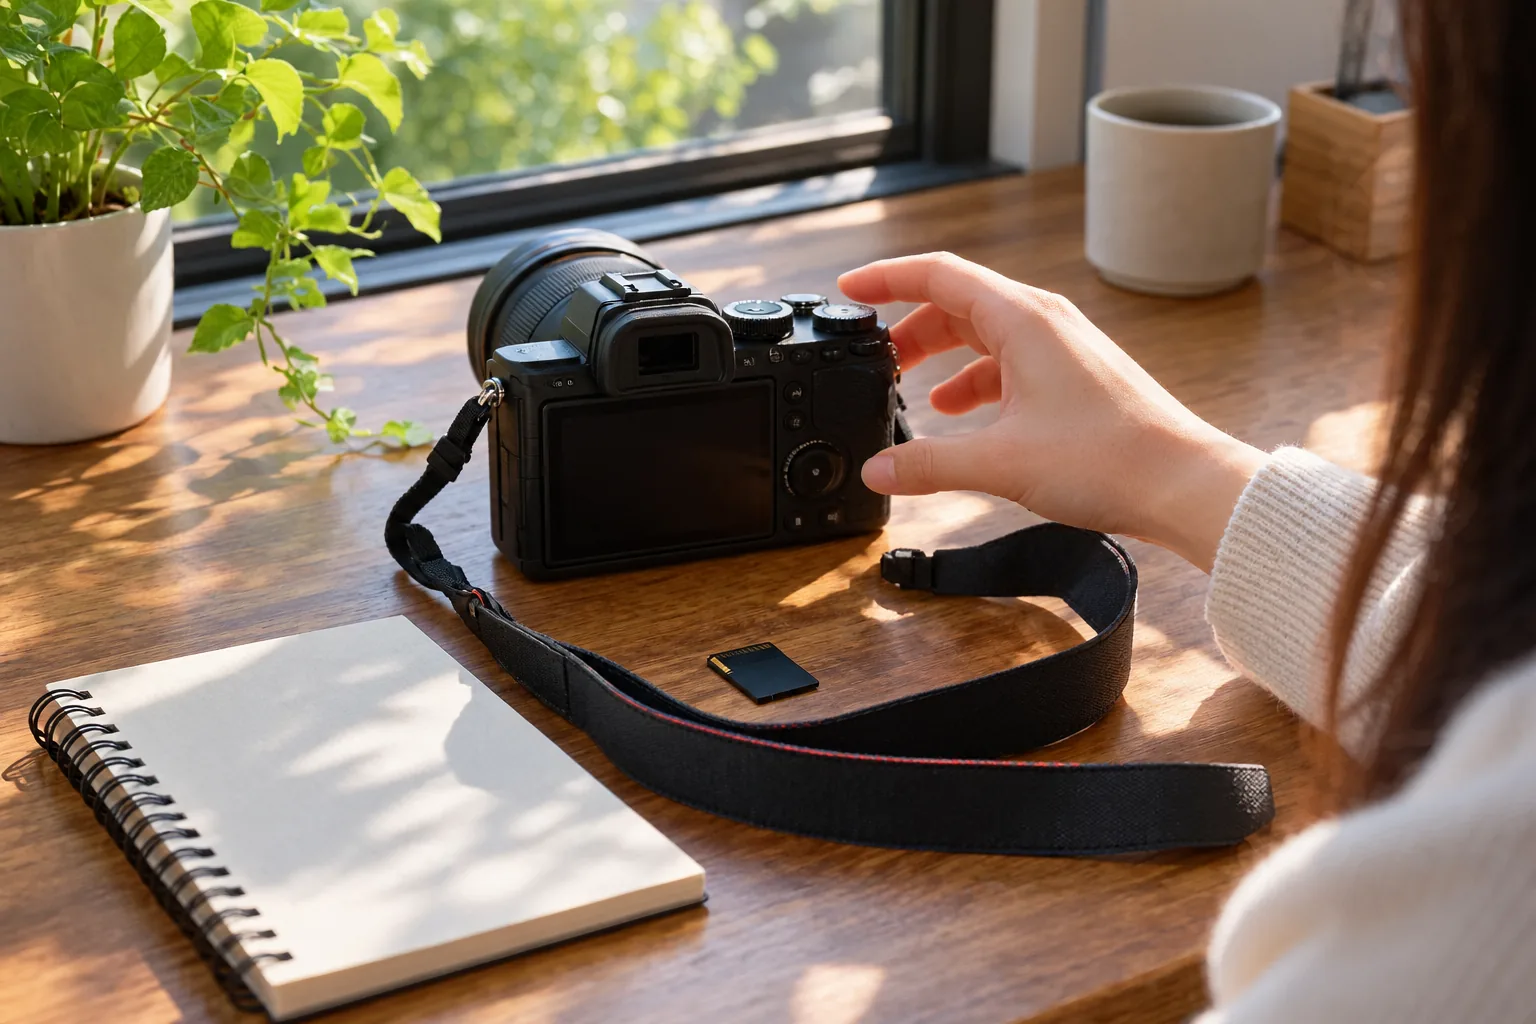
Sensor size and kit lenses
Crop sensor vs full frame
The sensor is the part that records the image, and its physical size changes how much of a scene the lens captures. A full frame sensor matches the size of a 35mm film frame. A crop sensor is smaller, so the same lens frames a tighter view.
Full frame bodies and their lenses cost more and weigh more, which is why they are not the usual starting point. For learning composition, light and timing, a crop sensor camera is enough. You can move up later once you know which limits you run into.
Megapixels are not the whole story
A higher megapixel count means a larger file with more pixels to crop into. It does not tell you how the lens, light or your technique will shape the picture. Think of image quality as the result of sensor, lens and the way you shoot together.
What a kit lens covers
A kit lens is the zoom lens sold with the body. A kit zoom starts at a wide focal length for rooms and landscapes and reaches a modest telephoto for portraits and street scenes. Check the numbers on the lens barrel or product page, and favor a kit that includes one so you are not buying a separate lens on day one.
Once you know what you shoot, a second lens can fill the gap. Wide lenses suit group shots and scenery, macro lenses suit small subjects such as flowers, and longer lenses help with sports or wildlife at a distance. Learn the kit lens first, because it shows you which focal lengths you reach for most.
DSLR vs mirrorless for first-timers
A DSLR uses a mirror and an optical viewfinder, so you see the scene directly through the lens. A mirrorless camera has no mirror and shows the scene on an electronic viewfinder or the rear screen. Both can shoot in manual mode and both accept different lenses.
| Point | DSLR | Mirrorless |
|---|---|---|
| Viewfinder | Optical, a direct view through the lens | Electronic, shows a preview of the exposure |
| Body size | Often larger | Often more compact |
| Lens choice | Large range of used lenses available | Growing range of newer lenses |
| Used market | Plentiful bodies and lenses | Fewer older bodies |
Manufacturers have shifted most of their new lens and body development to mirrorless, which is why DSLRs are described as being discontinued. A DSLR still takes photos the same way it did before, and used lenses remain easy to find. If you want the newest system with ongoing lens growth, look at mirrorless. If you want a low entry price and an optical viewfinder, a DSLR is a reasonable start.
A beginner DSLR with guided menus
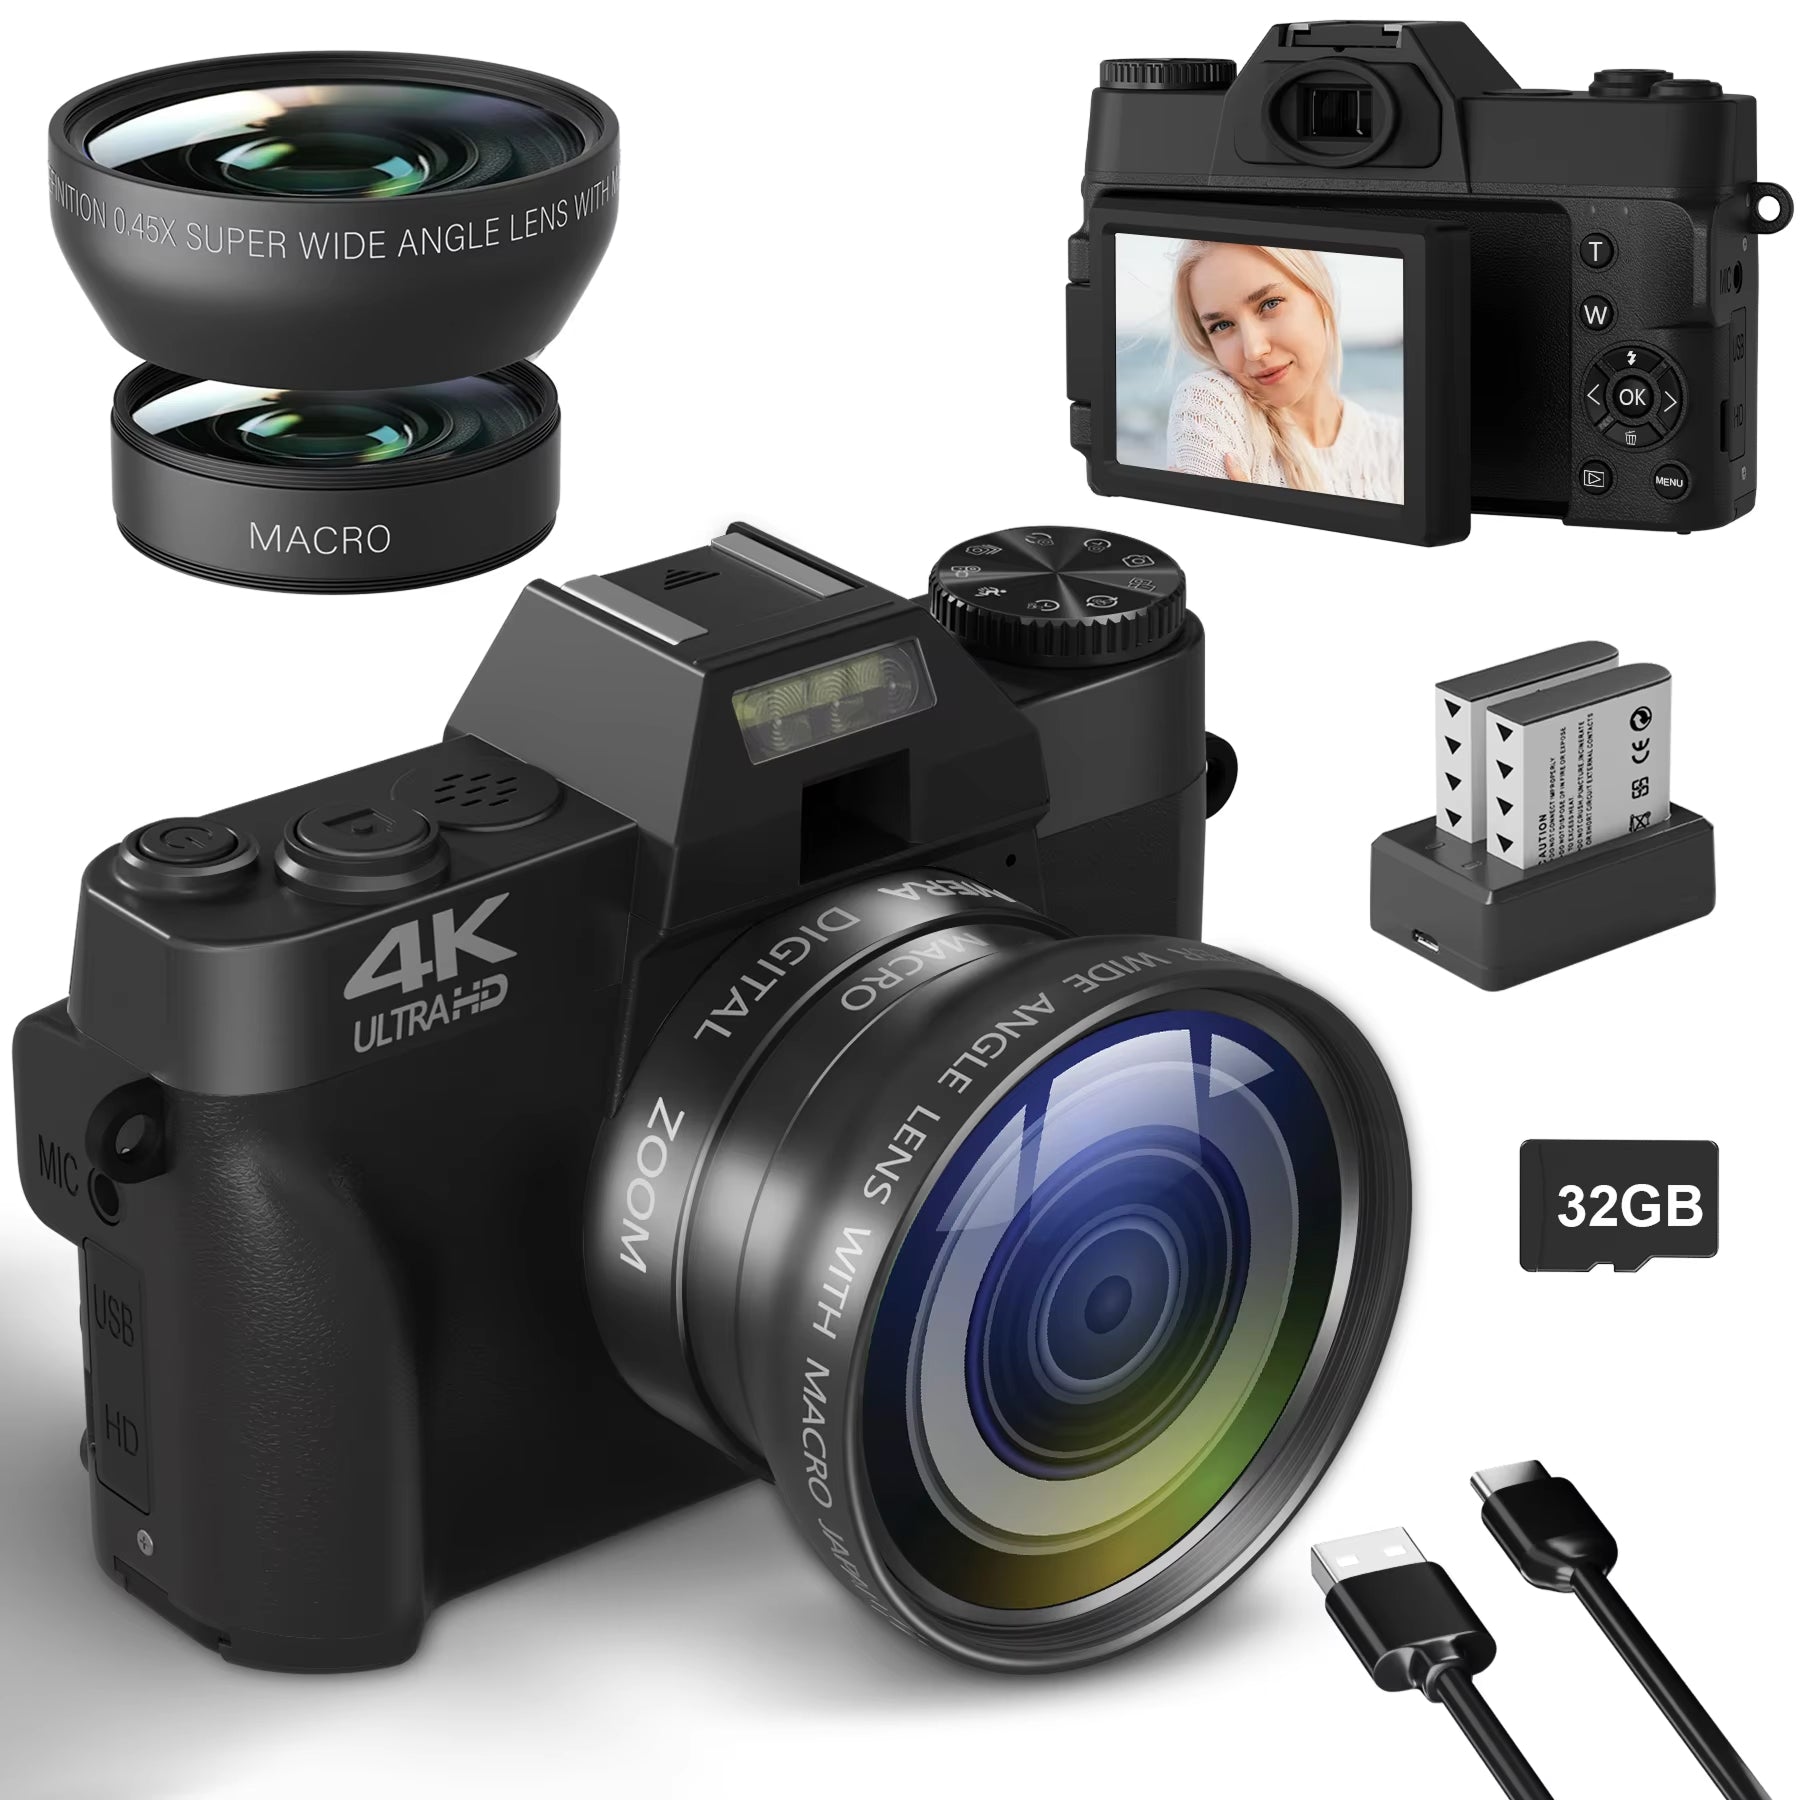
If you want a body that explains itself, look at PixelVerve. It is a DSLR camera for beginners with a 56MP CMOS sensor and 4K video recording. On-screen menus describe each setting in plain language, so you can learn the controls as you shoot.
It also has a flip screen, a built-in fill light for indoor scenes and a WiFi connection for sharing and webcam use. Video modes include 4K video, time-lapse and slow motion. The wide-angle and macro lens attachments in the box give you two more ways to frame a subject.
 In this guidePixelVerve$219.99View
PixelVerve is a compact body with a carrying strap already attached, and it fits in a daypack or diaper bag. To start, insert a standard SD memory card, power it on, follow the guided menu, then choose photo or video mode. The box also holds a USB charging cable and a quick start guide.
Starter-kit checklist
The camera body is only part of what you need on shoot day. Run through this list before you buy so nothing is missing when the box arrives.
| Item | What to check |
|---|---|
| Body | Crop sensor, manual mode, flip or tilting screen |
| Lens | Kit zoom or included attachments, plus the focal lengths they cover |
| Memory card | A standard SD card in the size the manual lists |
| Power | Charging cable included, plus a spare battery if the model allows one |
| Strap and bag | Strap attached, and a padded bag or daypack pocket |
| Cleaning | Lens cloth and blower for dust |
| Support | A small tripod for low light and time-lapse |
You can browse more gear in the Cameras & Camera Accessories collection.
Field note
Shoot in the auto or guided mode for your first week, then change one setting at a time in manual mode. Changing aperture, shutter speed and ISO together makes it hard to see what each one does.
Common mistakes and a first-month practice plan
Mistakes to avoid
- Chasing megapixels while ignoring the lens and the light you shoot in.
- Buying a full frame body before you know what you shoot.
- Skipping a memory card and a spare battery, then being unable to shoot on day one.
- Staying in auto indefinitely. Manual mode is where the learning happens.
- Comparing brands before you handle the cameras. Grip, button layout and menus matter, so hold a few in a shop if you can.
Practice plan
Gear does not teach exposure, so give yourself small assignments. Week one, shoot in auto and study what the camera chooses. Week two, shoot in aperture priority and watch how background blur changes. Week three, try shutter speed with moving subjects. Week four, switch to manual mode and review the files at full size to see what worked.
Buy a second lens only after you can say which focal length you wish you had. That answer comes from your own photos, not from a list.
How to transfer photos from a camera
There are three routes. Check the manual for the exact steps on your model.
- Remove the SD card and use a card reader or the computer's card slot, then copy the files to a folder.
- Connect the camera to a computer with a USB cable and copy the files.
- Use the camera's WiFi connection to send photos to a smartphone through its app.
Back up important photos to a second drive after each shoot. Format the card in the camera, not on the computer, once the files are copied and backed up.
Compact cameras and other options
If a DSLR feels like more than you need, a fixed-lens compact camera is a lighter route into photography. Our guide to a compact point and shoot digital camera explains what to look for. If video is your main goal, see how to pick a good vlogging camera without overspending.