TV Sound Setting: Fix Muffled Dialogue Step by Step
Muffled dialogue often starts with one TV sound setting. Work through six steps in order, then decide whether a sound bar or TV headphones is the fix.
The Folio & Current Team
November 2, 2026 · 8 min read
To fix muffled dialogue, open the TV sound setting menu and work in this order: switch the sound mode to Standard or a speech-focused option, turn on dialogue boost or clear voice, turn off virtual surround, check night mode, adjust the equalizer, then confirm the audio output format. If voices are still hard to follow, the cause is likely the thin built-in speakers, and an external sound bar or TV headphones is the real fix.
This guide gives you the order, what each option does, and how to tell when settings have run out of room.
Why TV dialogue sounds muffled
Flat-panel TVs are thin, so the speakers are small and often face down or backward. Voices sit in the midrange, and small drivers struggle to project that range clearly while music and effects play over it.
Content adds to it. Movie mixes are built for surround rooms, and when a TV folds them down to two channels, speech can end up quieter than the score. Room surfaces matter too: a TV on a media console with a wall behind it, or a TV recessed in a cabinet, can blur speech.
That is why the fix starts with settings that favor the voice range, and moves to hardware only if needed.
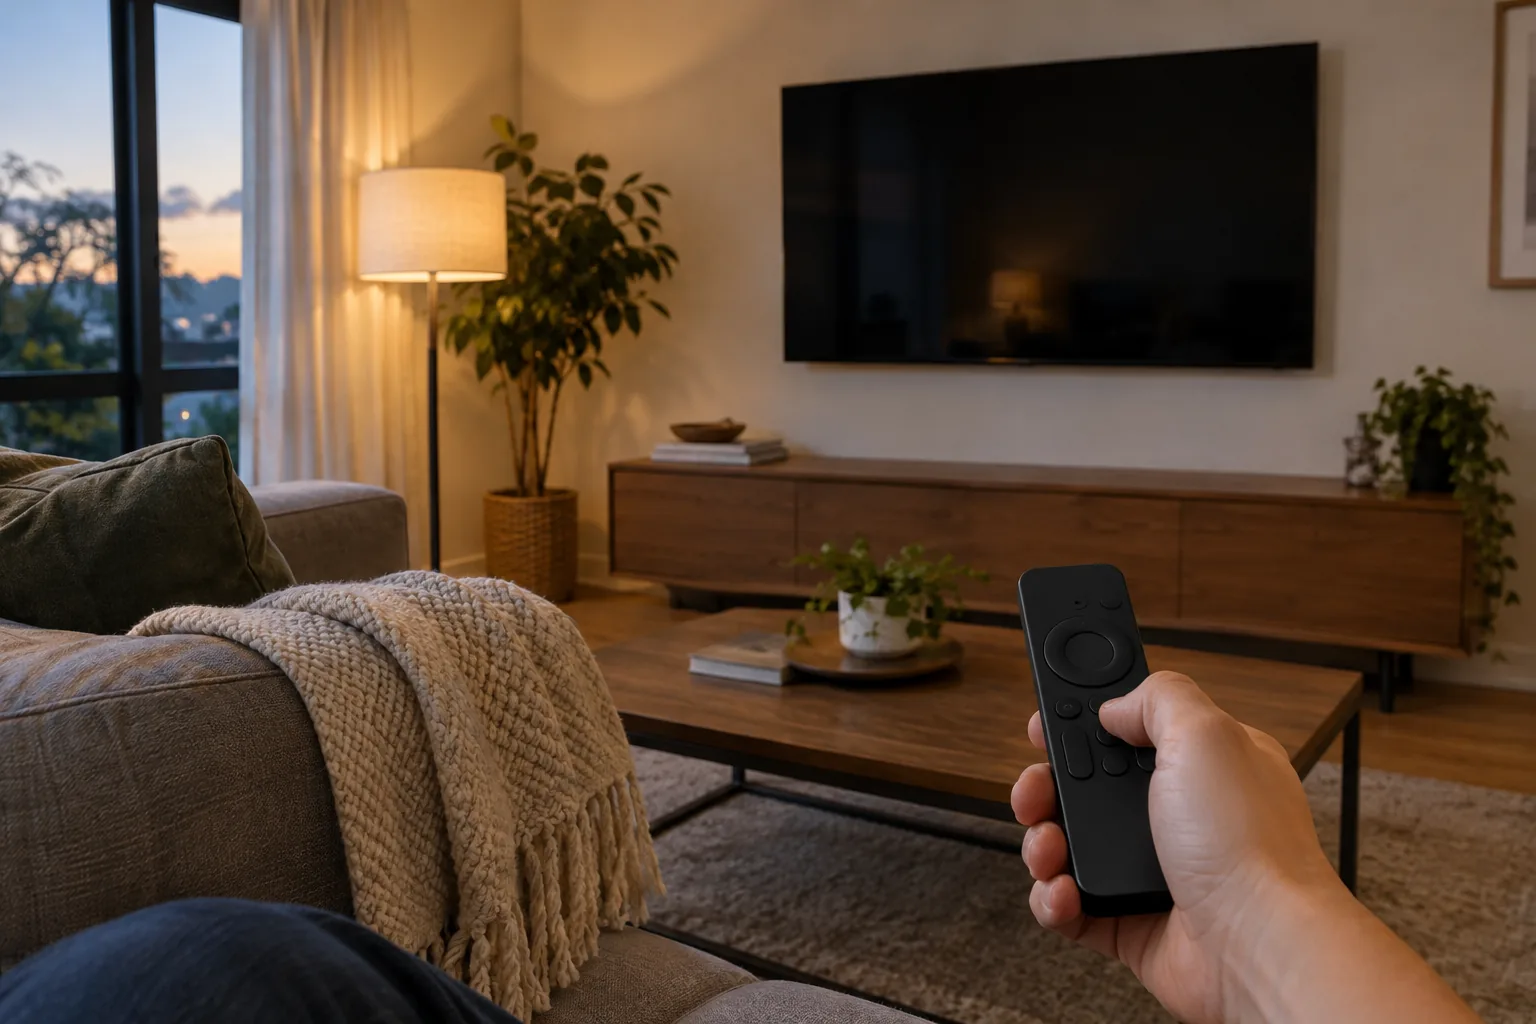
Open the TV sound setting menu
Press the settings or gear button on the remote, then look for Sound, Audio, or Sound Mode. On smart TVs the path is often Settings, then Sound, then an Expert or Advanced section. Menu names differ by maker, so look for words that match the options below. Some TVs and remote apps on smartphones let you change audio options from the phone, and the menu names match the TV's own.
Streaming apps, cable boxes, and game consoles can also have their own audio options, such as a stereo or night output. Set the TV first, then check the source device if one input still sounds wrong.
Play a test scene first
Pick a scene you know well, with two people talking over background noise or music. Use the same scene after each change so you can tell what changed. Keep the volume where you normally listen.
Fix muffled sound on TV in the right order
Change one setting at a time. If a change does not help, return it to its previous value before moving on, so the settings do not pile up.
| Step | Setting to find | What to do |
|---|---|---|
| 1 | Sound mode | Choose Standard, or a Voice, Speech, or Clear option. Avoid Cinema, Music, or Stadium while testing speech. |
| 2 | Dialogue boost or clear voice | Turn it on and step through its levels. |
| 3 | Virtual surround or spatial sound | Turn it off and compare, since it can spread voices across the room. |
| 4 | Night mode or volume leveling | Turn it on to narrow the gap between loud and soft parts. |
| 5 | Equalizer | Lower the bass band, raise the middle bands a little. |
| 6 | Audio output and format | Check that the TV output matches what is plugged in, such as PCM for a stereo setup. |
Step 1: Sound mode
Sound modes are presets that shape bass, treble, and processing together. A cinema or movie mode may add bass and a wide effect that pushes voices back, while Standard is a neutral starting point. Try each mode on your test scene and keep the one where the words sound distinct.
Step 2: Dialogue boost and clear voice
Clear voice, dialogue enhancer, and speech mode are names for the same idea: processing that emphasizes the frequencies where speech sits. If your TV offers levels such as Low, Medium, and High, start low and raise one level at a time. Very high levels can make hissing consonants harsh.
Step 3: Virtual surround or spatial sound
Virtual surround and spatial sound try to widen the sound beyond the TV's two small speakers. The side effect is that voices can drift away from the center of the screen and sound distant. Switch the option off, replay your test scene, and keep it off if the speech sounds more direct.
Step 4: Night mode and volume leveling
Night mode, auto volume, and dynamic range control narrow the gap between quiet speech and loud effects. That helps when you keep the volume low and still lose lines of dialogue. Turn it off if the audio sounds flat during music or action.
Step 5: Equalizer settings for clearer dialogue
If your TV has an equalizer, it often shows five to ten bands from low to high frequency. You do not need exact numbers, and the layout varies, but the direction is consistent: pull down the lowest bands and lift the middle ones.
| Band (approx.) | Adjustment | Why |
|---|---|---|
| 100 Hz and below | Lower a little | Bass can mask voices on small speakers. |
| 300 to 500 Hz | Lower slightly or leave flat | Too much here can sound boxy. |
| 1 kHz to 3 kHz | Raise a little | This is the core speech range. |
| 5 kHz and above | Raise slightly or leave flat | Adds consonant detail, but too much sounds harsh. |
Make small moves, a notch or two at a time. If an equalizer slider is already at its edge and the voice still sounds thin, that points to a hardware limit.
Step 6: Audio output and format
The TV can send sound as PCM, which is a plain decoded stereo signal, or as bitstream, which passes the original encoded surround track to another device to decode. PCM suits the TV speakers and most stereo setups. Bitstream only makes sense when the connected device can decode that format, so check the manual for the device you plug in.
If the output format does not match, dialogue can come out quiet or missing. When in doubt, set PCM and test again.
What reduce noise and clear voice mean
Clear voice is the speech-emphasis feature from Step 2. It is a processing option, so on some TVs it can be switched on and off per input.
Reduce noise is trickier because the same words appear in two places. In the picture menu, it softens video grain and compression artifacts and has nothing to do with sound. If you find a noise reduction option under audio, it filters background hiss or ambient sound in the signal. Turn it off while you test, then on again only if it does not dull the voices.
Check each source and the room
If only one app or device sounds muffled, the issue is probably that source rather than the TV sound settings. Look for an audio language or track menu in the streaming app, and set the output to stereo if surround downmixing seems to bury the voices. On a cable or satellite box, check the audio format setting in its own menu. On a game console, look for a TV speaker or stereo option in its sound settings.
Then look at the room. Move the TV a few inches away from the wall behind it, clear anything that blocks the speaker openings, and keep tall stacks of items away from the screen. Soft furnishings absorb sound and bare floors reflect it, so a rug or curtains change how speech sounds.
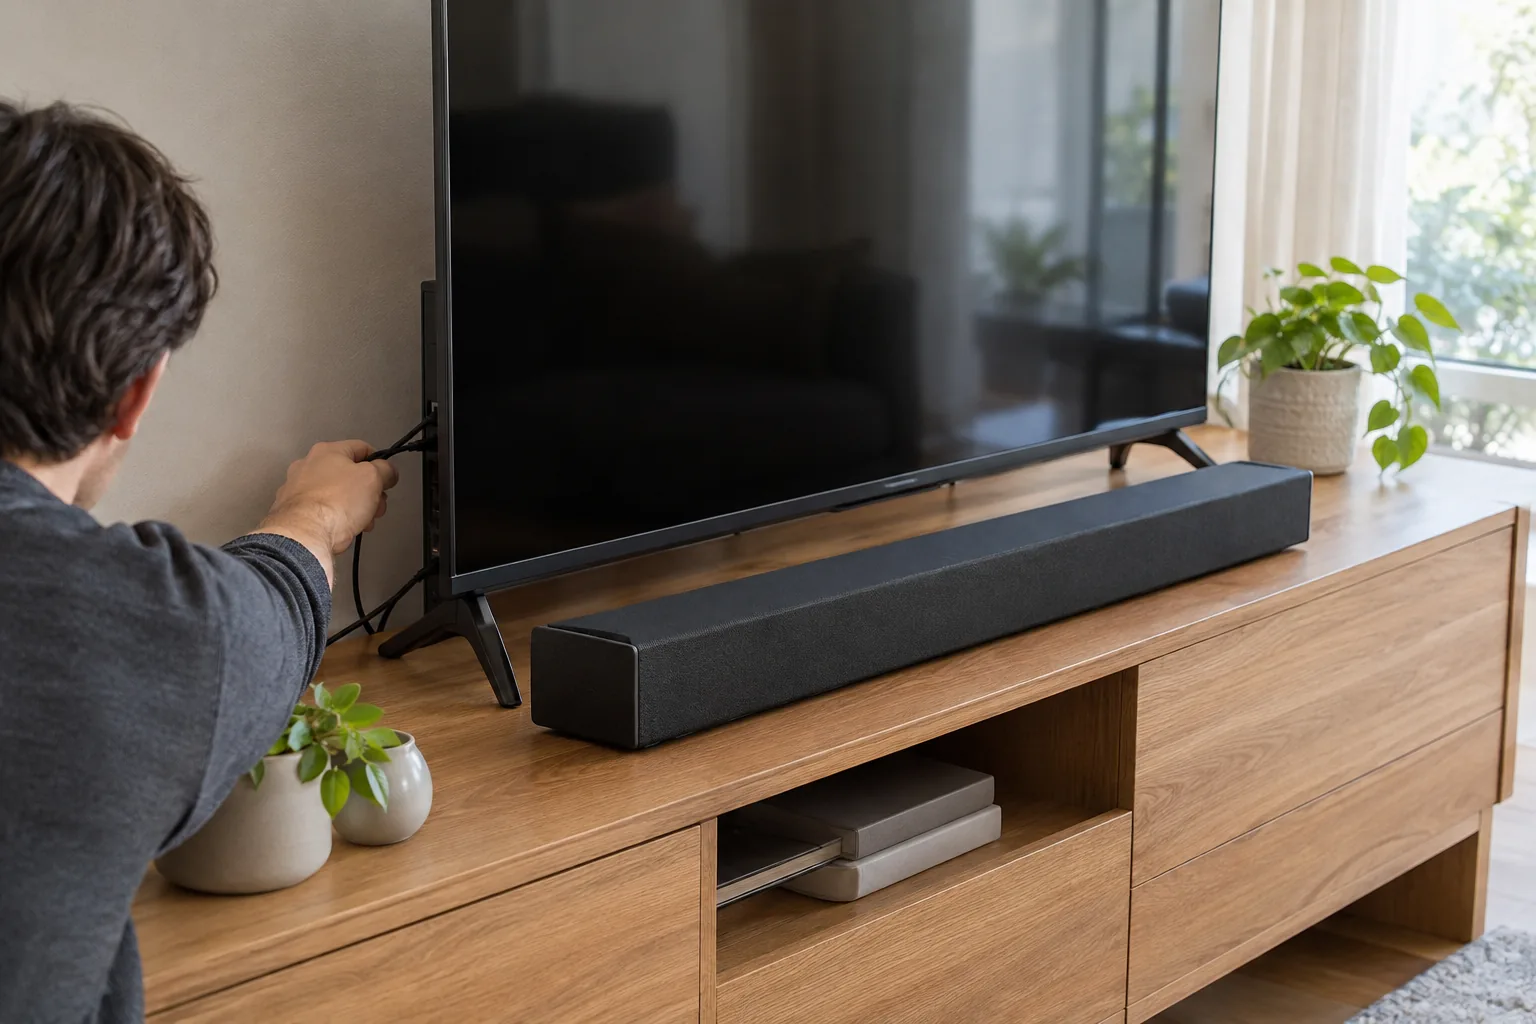
When a sound bar or TV headphones is the real fix
If you have worked through every step and speech is still muddy, the limit is likely the built-in speakers. Two options address it in different ways, depending on who is listening.
A sound bar for shared rooms
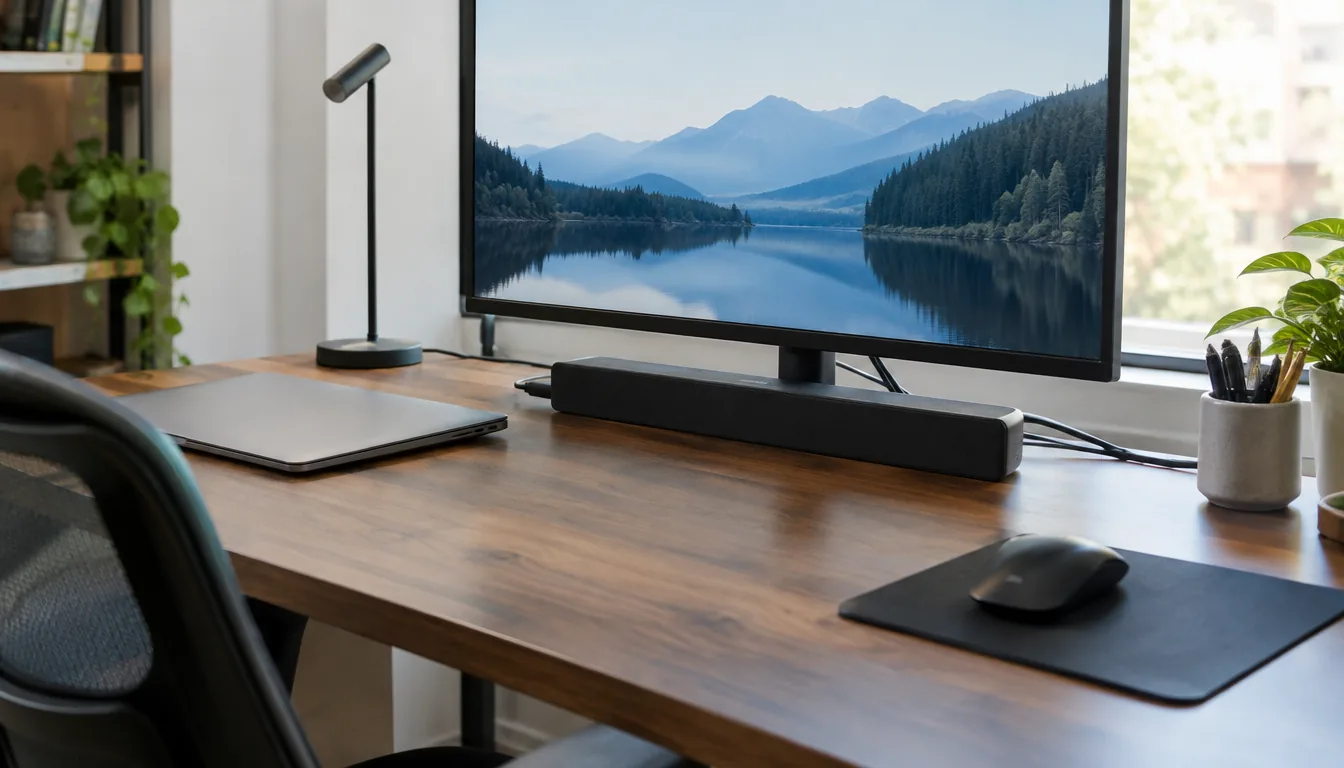
A sound bar adds a separate speaker unit with its own amplifier. SonicForge is a 2.1 system with a bass channel and a built-in amplifier, so a separate receiver is not part of the setup. It has Bluetooth 5.3, USB, optical, FM, and aux inputs, and HDMI is not required. Match the input to what your TV offers: optical is a wired choice, and Bluetooth works when the TV has a matching wireless output. For how each wired connection works, see PC to Soundbar, which covers USB, optical, and AUX.
The two speakers detach, so you can keep it as one bar when space is tight or place the speakers apart using the wired connectors. After connecting, select the matching input, start playback, and set the volume. Then go back to the TV's audio output and sound mode settings, since some options apply only to the built-in speakers; setting the TV to Standard is a sensible start. To see what comes after a bar, Surround Sound Explained covers 5.1 and 7.1 options.
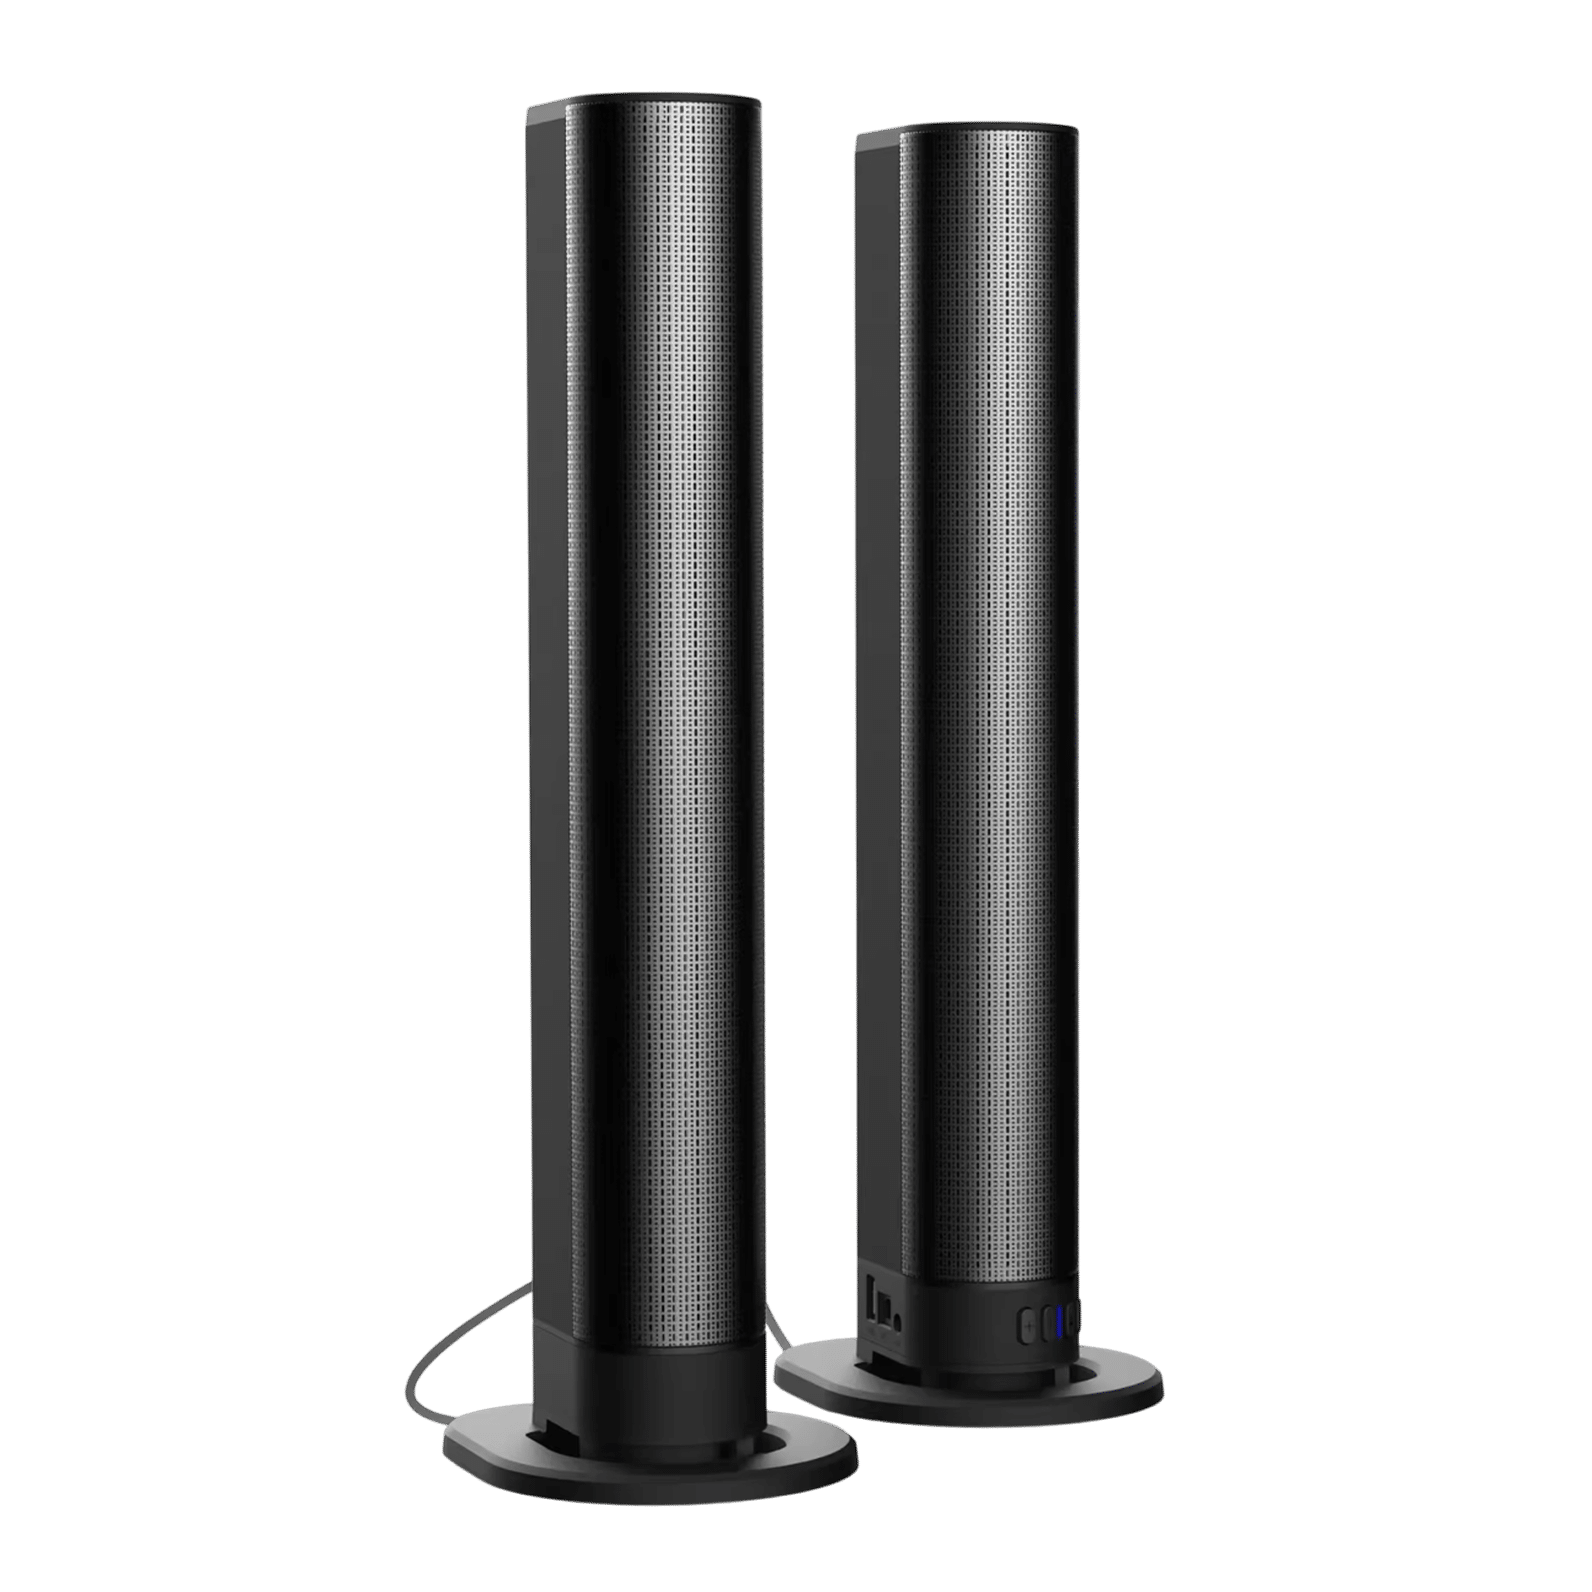 In this guideSonicForge$239.99View
TV headphones for one listener
If one person needs a closer, private sound while others want the room at a normal level, wireless TV headphones suit a single listener. ClariTone uses a transmitter base that connects to the TV by optical, RCA, or 3.5mm AUX cable, and all three cables are in the box. Look at the audio outputs on the back of your TV and choose the one that matches.
Pass-through audio keeps the TV speakers playing while the headphones run at their own volume, so the wearer sets a private level. The over-ear design has memory-foam cushions, and the transmitter base doubles as a charging dock where the headphones rest on contact pins. More options are in the Headphones & Earbuds collection.
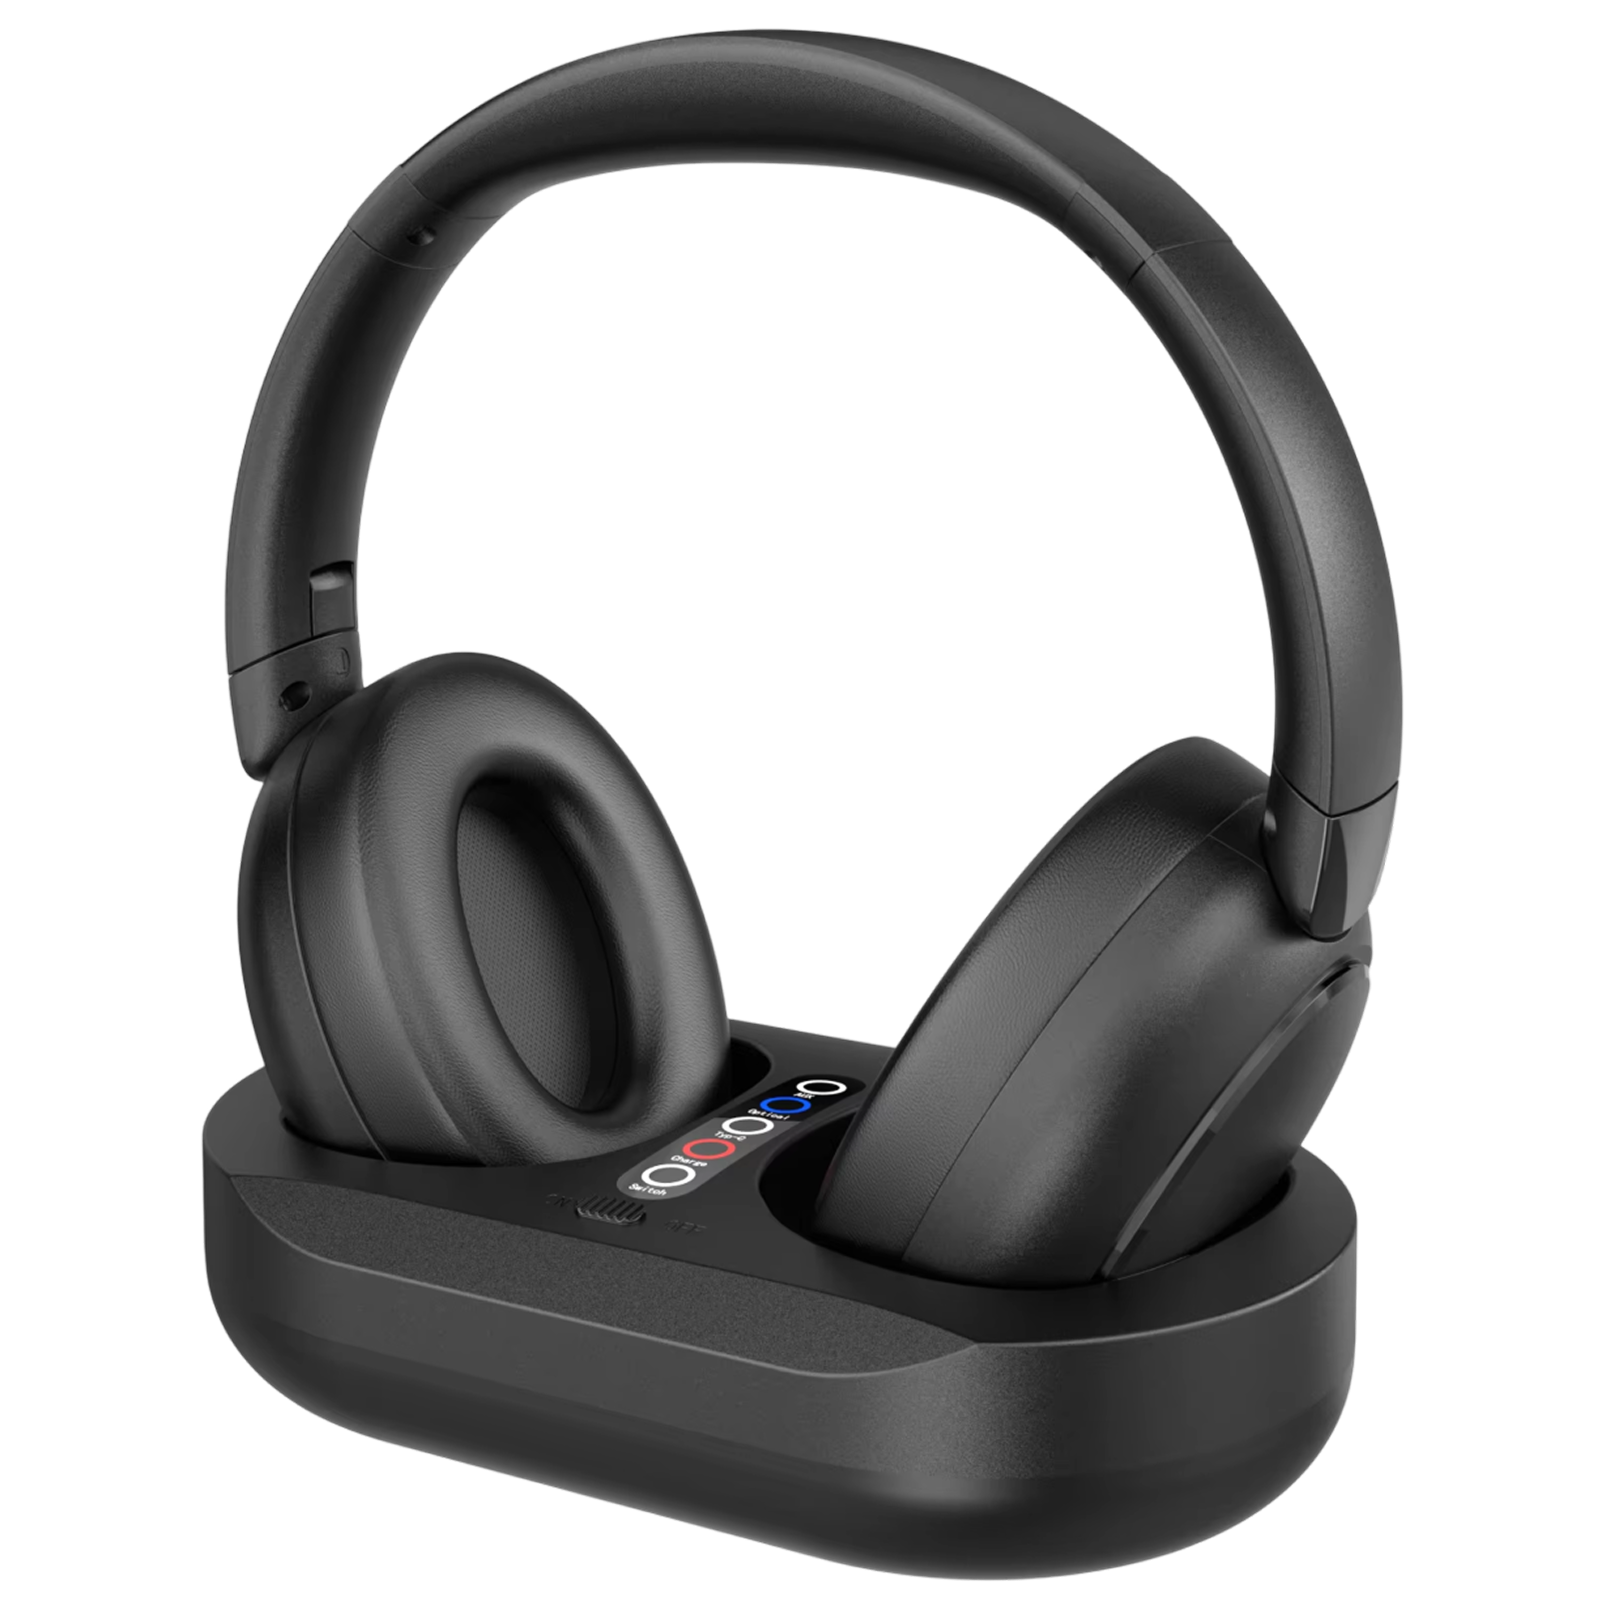 In this guideClariTone$144.99View
Field note
Change one setting, replay the same short scene, then decide. If you cannot hear a difference after two changes, reset that option and move on.
Common mistakes to avoid
- Stacking several voice and surround effects at once, which can leave speech sounding processed.
- Leaving a cinema preset on for news, talk shows, and sports.
- Raising the treble slider far to compensate for weak mids.
- Forgetting that the TV's output setting must match what is plugged in after adding a sound bar.
- Changing the volume on the TV and the bar at once, then judging clarity before levels are settled.
If you are choosing audio gear, browse the Speakers & Sound Systems collection for sound bars and speakers.