Practice Drum Pads: Rubber vs Electronic Pads and What to Practice
Rubber pads train stick control with low noise; electronic pads add sounds, headphones and more drums to play. Compare both in a table, then follow a beginner routine.
The Folio & Current Team
November 18, 2026 · 6 min read
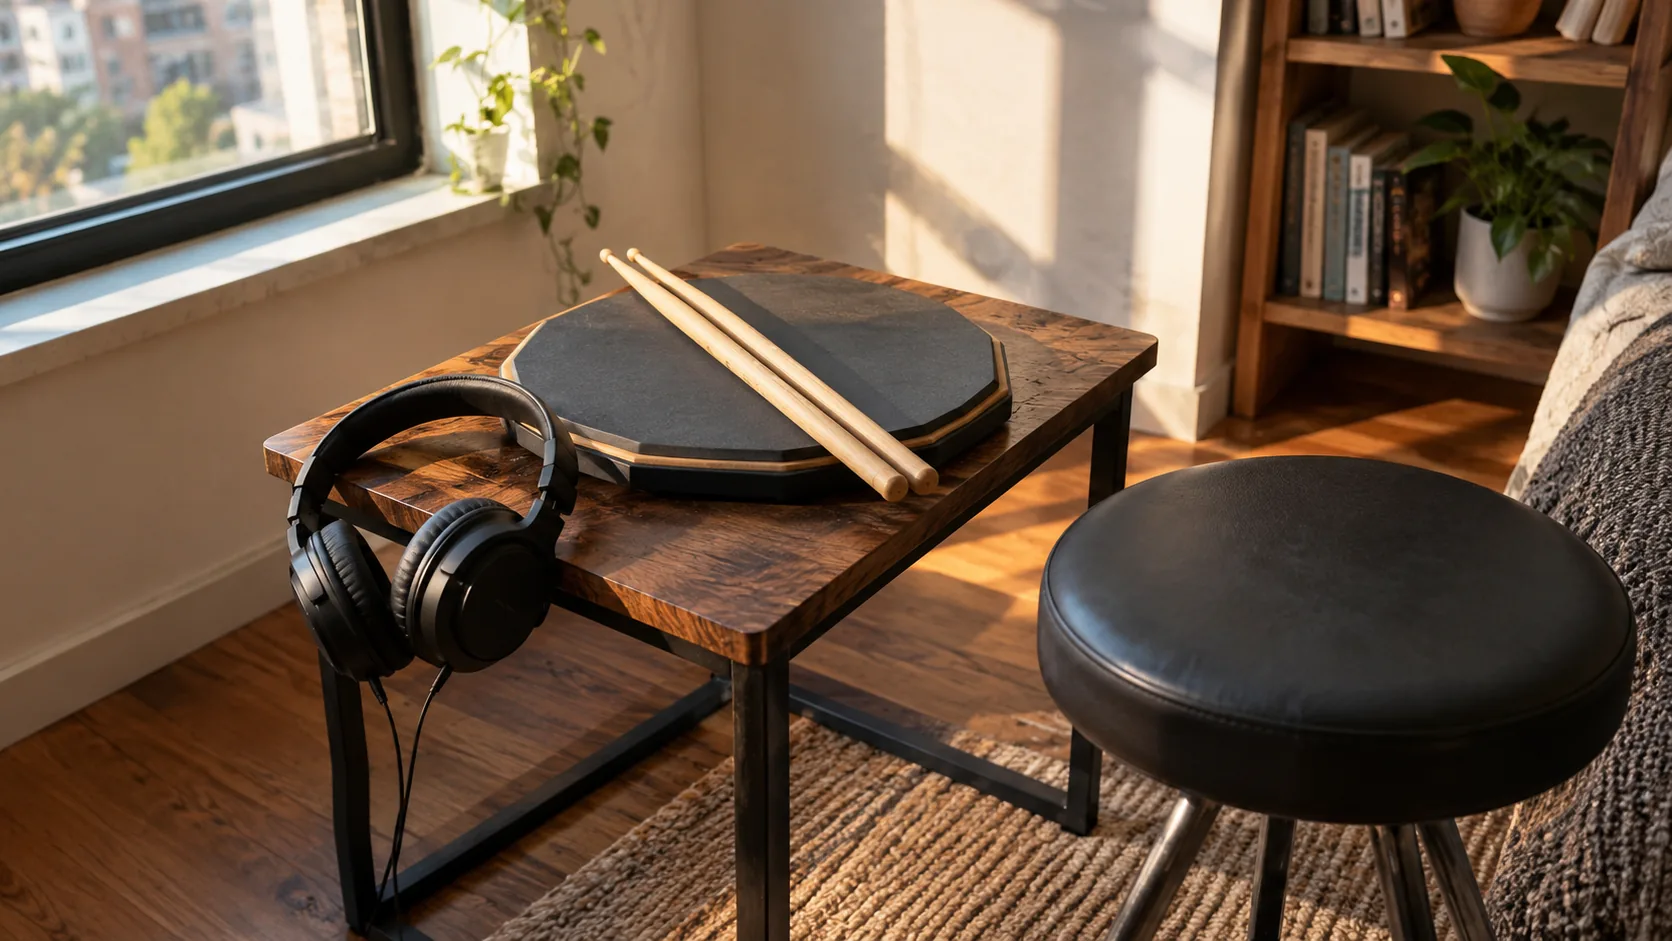
Practice drum pads are compact surfaces you hit with sticks so you can build technique without a full acoustic kit. Rubber pads give you a low-volume surface for rudiments and stick control, while electronic pads add drum sounds, headphone output and several pads to move between. Pick rubber if you want a single surface for your hands, and electronic if you want to practice kit patterns and hear them.
This guide compares the two types side by side, helps you choose, and ends with a beginner routine you can repeat every day.
Rubber vs electronic practice drum pads at a glance
Both types let you play at home, but they train different things. A rubber pad is a single surface that returns the stick to your hand, so it shows you how even your strokes are. An electronic set adds sound and several playing zones, so it works more like a small kit.
| Feature | Rubber pad | Electronic pad set |
|---|---|---|
| Noise | Low stick noise, no amplified sound | Stick taps remain; the drum sound goes to headphones or speakers |
| Feel | Firm surface with stick rebound | Silicone pads; feel varies by model, so try the response before you commit to a routine |
| Feedback | You judge evenness by ear and by eye | You hear each hit as a drum tone |
| Number of surfaces | One | Several pads for snare, hi-hat and toms |
| Power | None | Needed (USB or batteries on some models) |
| Suited to | Rudiments, grip, stick control | Kit patterns, coordination, headphone practice |
Neither replaces the other. You can keep a rubber pad for technique and add an electronic set when you want to play grooves.
How to choose between rubber and electronic pads
Work through these steps before you buy.
- Decide what you want to train. If it is hand technique only, a single rubber pad covers it. If you want to play a beat with a foot on a pedal, you need an electronic set or a kit.
- Check where you will play. A shared wall or a late-evening schedule points to headphone practice. Check the space too, since a set with a frame needs floor or table room.
- Think about power. Electronic sets need USB power or batteries, so confirm you have a port or spare cells.
- Look at storage. Check whether the frame folds flat or stays fixed.
- List what is included. Sticks, a pedal and cables decide whether you can start on day one.
What to look for in a rubber pad
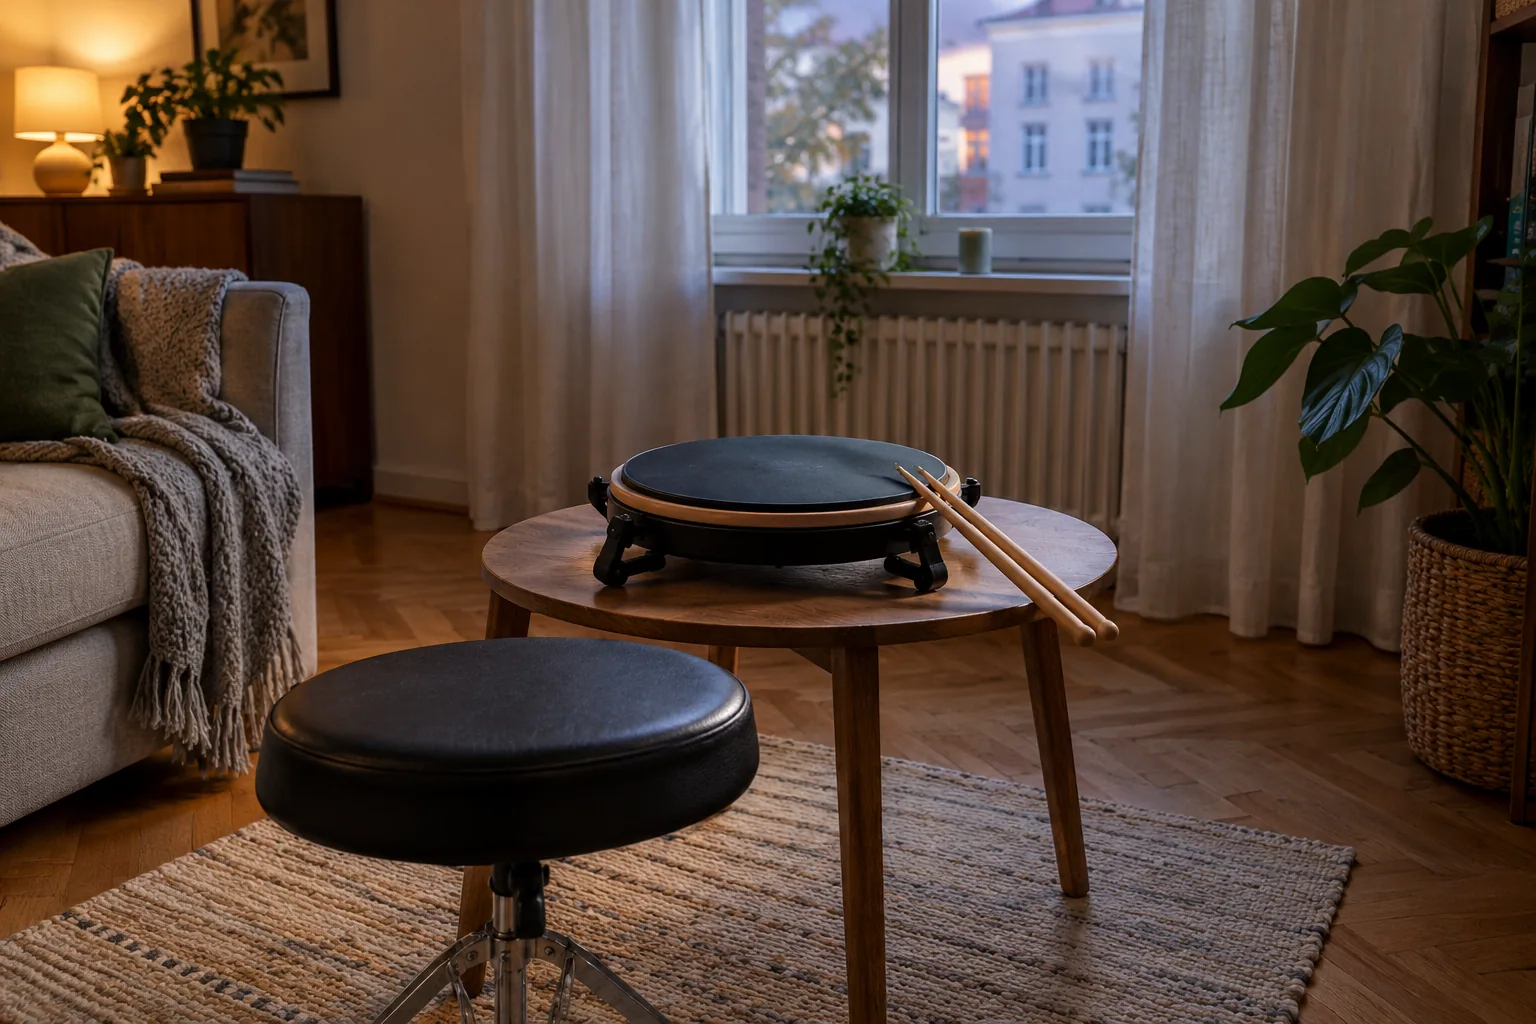
Check the pad diameter, since a larger face gives your sticks more room to move. Press the surface to judge its firmness, and note whether the pad sits on a table or mounts on a stand. A pad that slides around is hard to practice on, so look for a base that stays put.
If you are building a wider home setup, browse the Music Making Gear collection for related tools.
An electronic option for drum kit practice pads
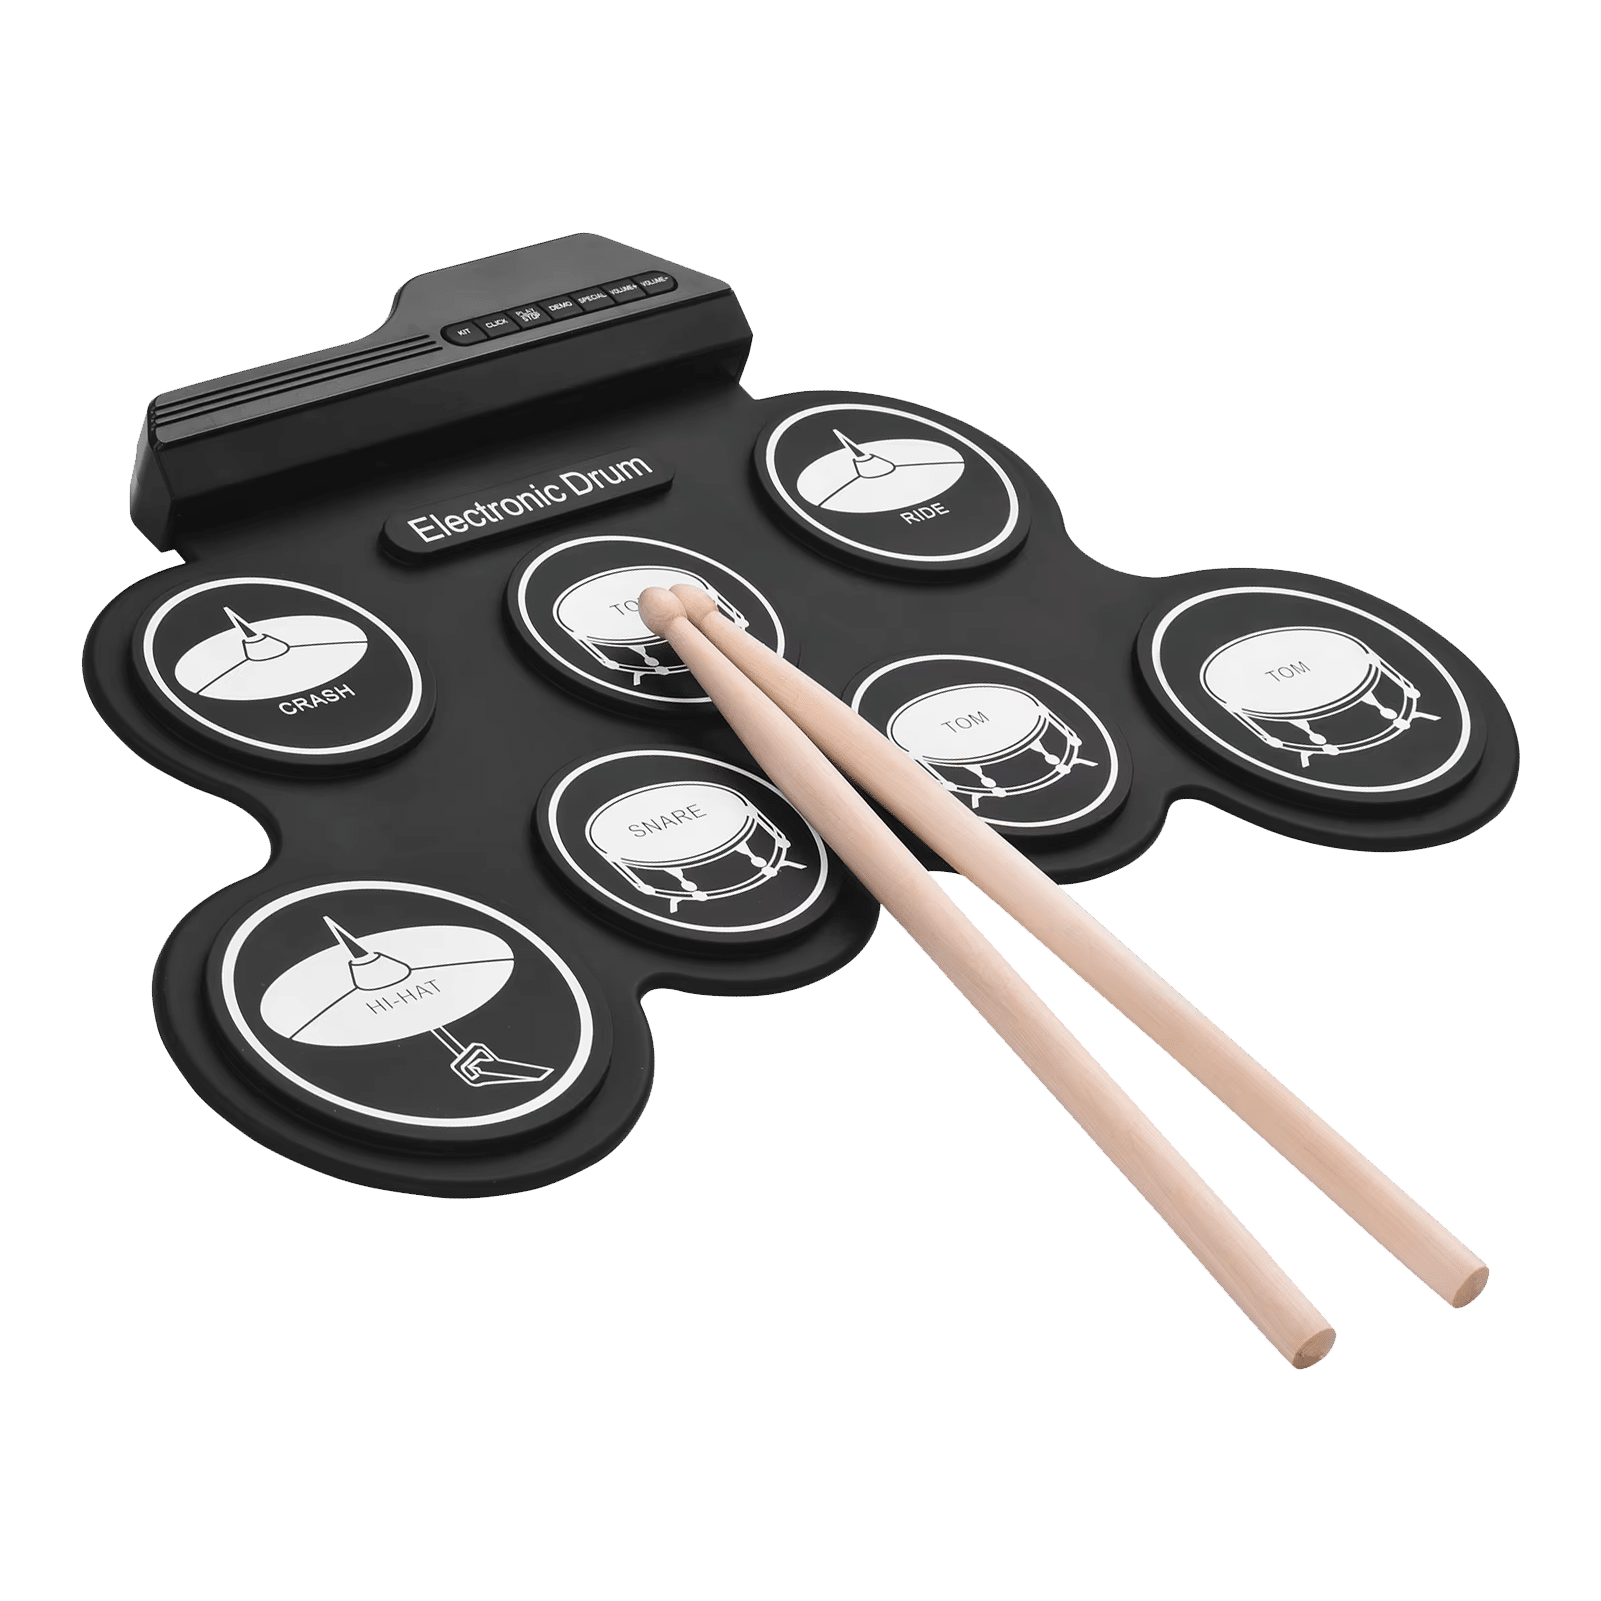
If you want drum kit practice pads that make sound, CadenceStrike is a set of drum pads with seven silicone pads on a foldable frame. The pads cover snare, hi-hat and tom parts, and you choose from five drum tones. You play it with sticks and a foot pedal.
It has a 3.5mm headphone output, so the sound goes to your ears instead of the room, or you can listen through speakers. Power comes from USB or batteries. You can rearrange the pads on the frame to match how you hold sticks and sit, and the lightweight frame folds flat to store or carry.
 In this guideCadenceStrike$99.99View
Setup checklist for your first session
Whichever type you use, a steady setup makes practice repeatable. Start with the basics.
- Set the pad at a height where your forearms sit roughly level with the playing surface while you are seated.
- Keep your feet flat on the floor; if you use a pedal, place it where your foot lands without reaching.
- Hold the sticks loosely so they can rebound after each stroke.
- Place a towel or mat under the stand or frame if you are on a hard floor.
For the electronic set above, unfold the pad and connect power by USB or batteries. Pick a drum tone, plug in your headphones, then rearrange the pads until the layout suits your reach. The set includes 2 drum sticks, a foot pedal set, a USB charging cable, a 3.5mm audio cable and a user manual, so read it for connection details.
What to practice on practice drum pads
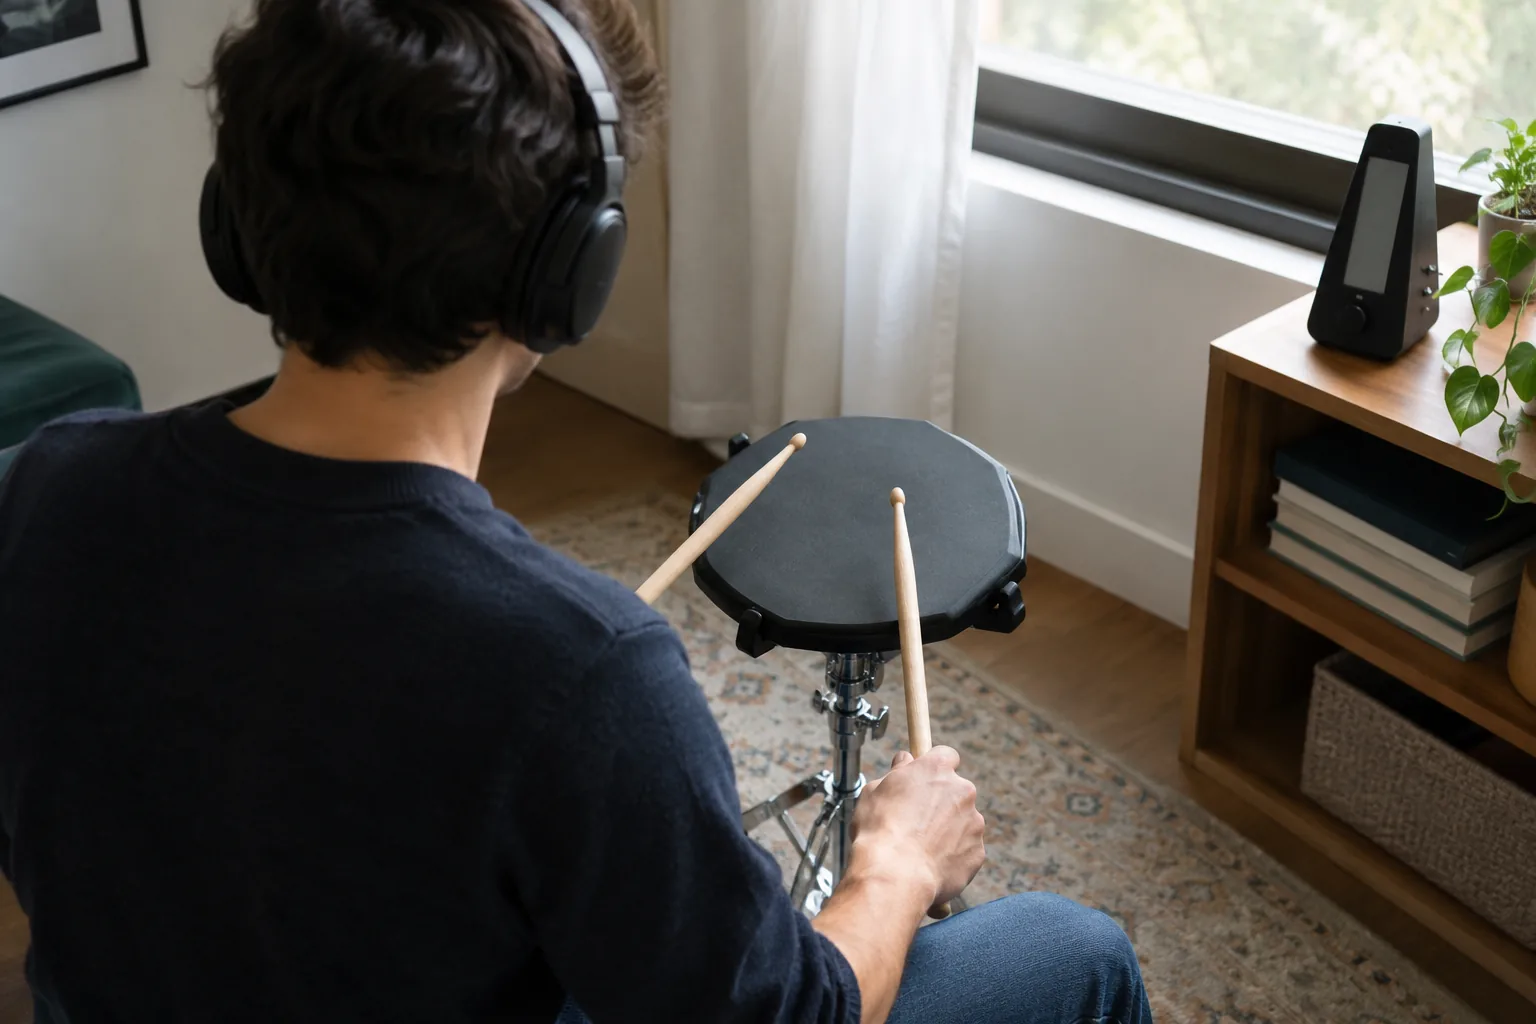
Keep each session short and focused, following the five steps below. Use a metronome throughout, starting at a slow tempo you can play cleanly. Raise the tempo only when the strokes sound even.
| Step | Exercise | What to listen for |
|---|---|---|
| 1. Warm-up (a few minutes) | Slow single strokes, alternating hands | Equal volume from both hands |
| 2. Rudiments (the longest block) | Double strokes, paradiddles, then rolls | Even spacing between notes |
| 3. Dynamics (a few minutes) | Soft, medium and loud strokes on the same pattern | Clear volume differences, steady tempo |
| 4. Patterns (a medium block) | A basic rock beat: hi-hat eighth notes, snare on beats 2 and 4, pedal on 1 and 3 | Hands and foot landing together |
| 5. Cool-down (a minute or two) | Slow single strokes again | Relaxed grip |
Steps 1 to 3 work on either pad type and build stick control. Step 4 needs several surfaces and a pedal, so it fits an electronic set. If you only own a rubber pad, play the pattern as a hand sticking exercise and tap the foot part on the floor.
Use the demo songs
The CadenceStrike set lets you play along with demo songs. Use them after your rudiments, once the metronome work feels steady.
Field note
Record a short phone clip of each session. Watching your stick heights lets you spot one hand lifting higher than the other.
Common mistakes with practice drum pads
- Gripping too tightly. A tight grip blocks rebound, so let the stick bounce back.
- Skipping the metronome. Without a click, uneven timing goes unnoticed.
- Starting too fast. Speed built on sloppy strokes carries into your kit playing.
- Ignoring the weak hand. Spend equal time leading with each hand.
- Practicing without a plan. Choose two or three exercises per session and write them down.
If you practice on a rubber pad near others, the tapping can still carry through a table or a floor. A mat under the pad helps.
Moving from a pad to a full drum kit
A pad builds hands, timing and reading. A full drum kit adds the larger motions of moving between drums and cymbals, so plan for some time on a real kit when you can. Lessons, a rehearsal room or a friend's kit all work. Around a loud kit, you can read how to choose noise cancelling earplugs for ear protection options.
Electronic practice drum set pads sit between the two. They let you rehearse where each part falls, such as snare, hi-hat and toms, before you face a bigger layout. Keep the rudiment work from the table above going alongside, because those strokes carry over to every drum.