How to Use a Record Player: First Spin to Clean Playback
Place the player level, pick the speed, brush the record, and lower the tonearm onto the outer edge. This guide gives the steps in order, plus fixes for skips and hum.
The Folio & Current Team
November 7, 2026 · 6 min read
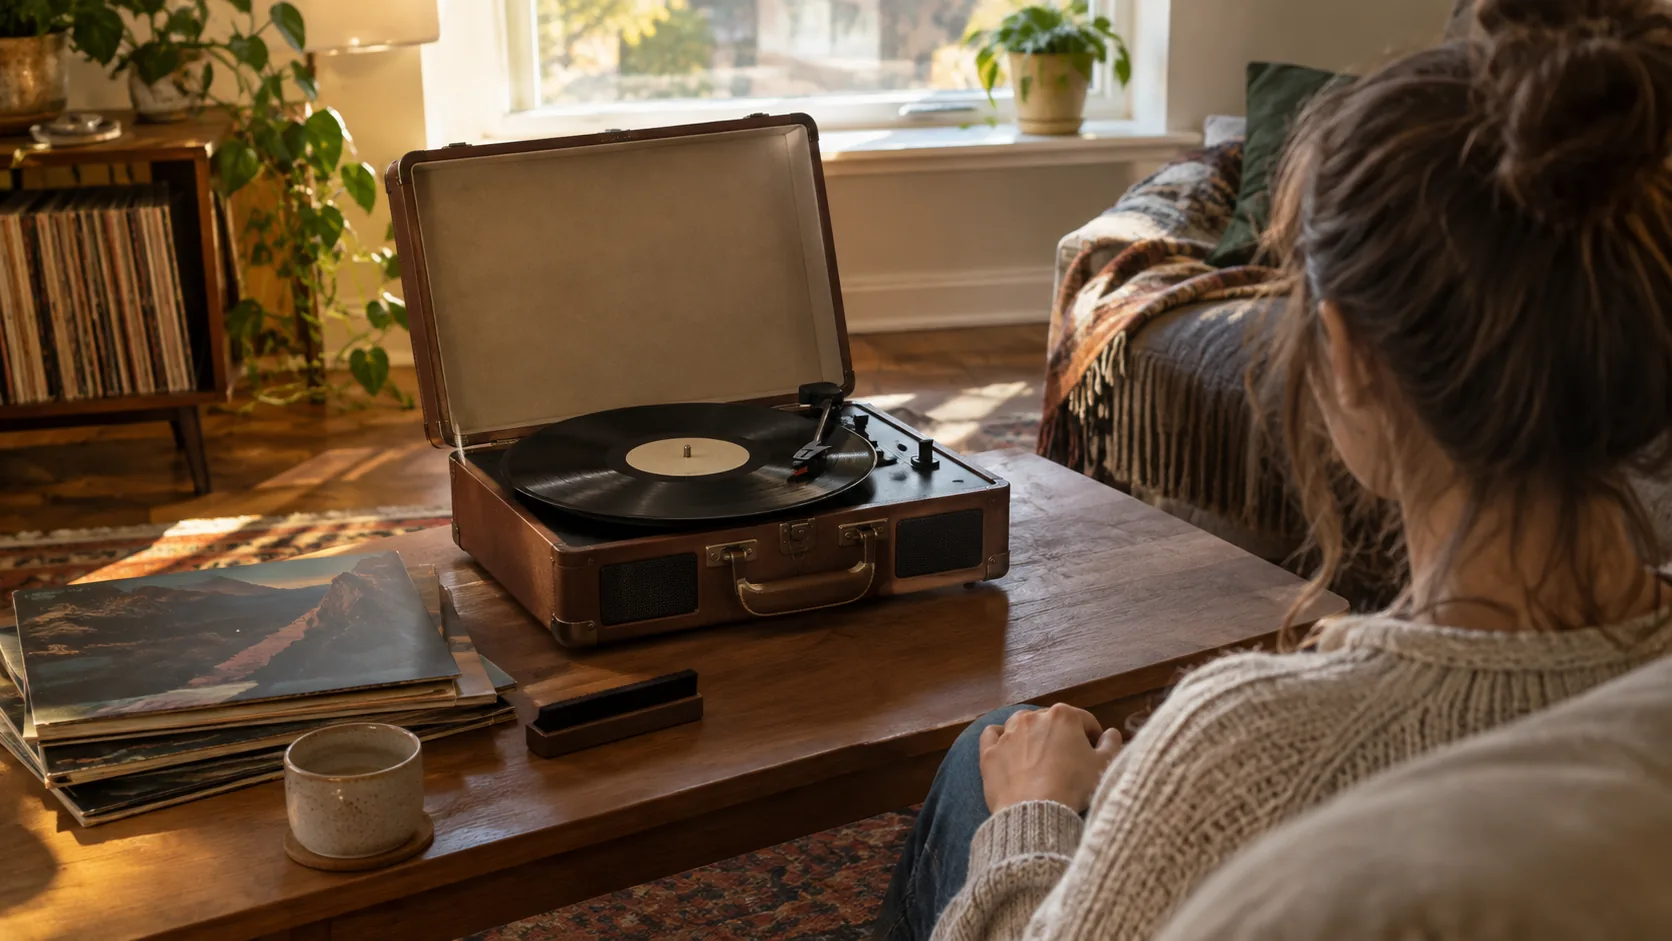
To use a record player, set it on a flat, steady surface, connect power and speakers, choose the speed that matches the record, place the record on the platter, and lower the tonearm onto the outer edge. When the side ends, lift the tonearm and flip the record. The checklist below covers each step in order, plus fixes for skips and hum.
It works for any belt-drive turntable, whether you play through built-in speakers, an amplifier, or headphones. Where a step depends on your model, the manual for your player has the final say.
What to Have Ready Before the First Spin
A few minutes of preparation keeps the first record from becoming a troubleshooting session. Set everything out on the table where the player will live.
| Item | Why it matters |
|---|---|
| Flat, level surface | A tilted or wobbly shelf can make the tonearm drift or skip |
| Power adapter and outlet | The platter needs power to turn |
| Speakers or headphones | Built-in speakers, external speakers, or a headphone jack |
| Anti-static brush | Clears loose dust before each play |
| Clean inner sleeve | A place to rest the record while you play the other side |
Keep the player away from the speaker cabinet if you use separate speakers. Sound vibrating through the shelf can come back through the needle as a low rumble or feedback.
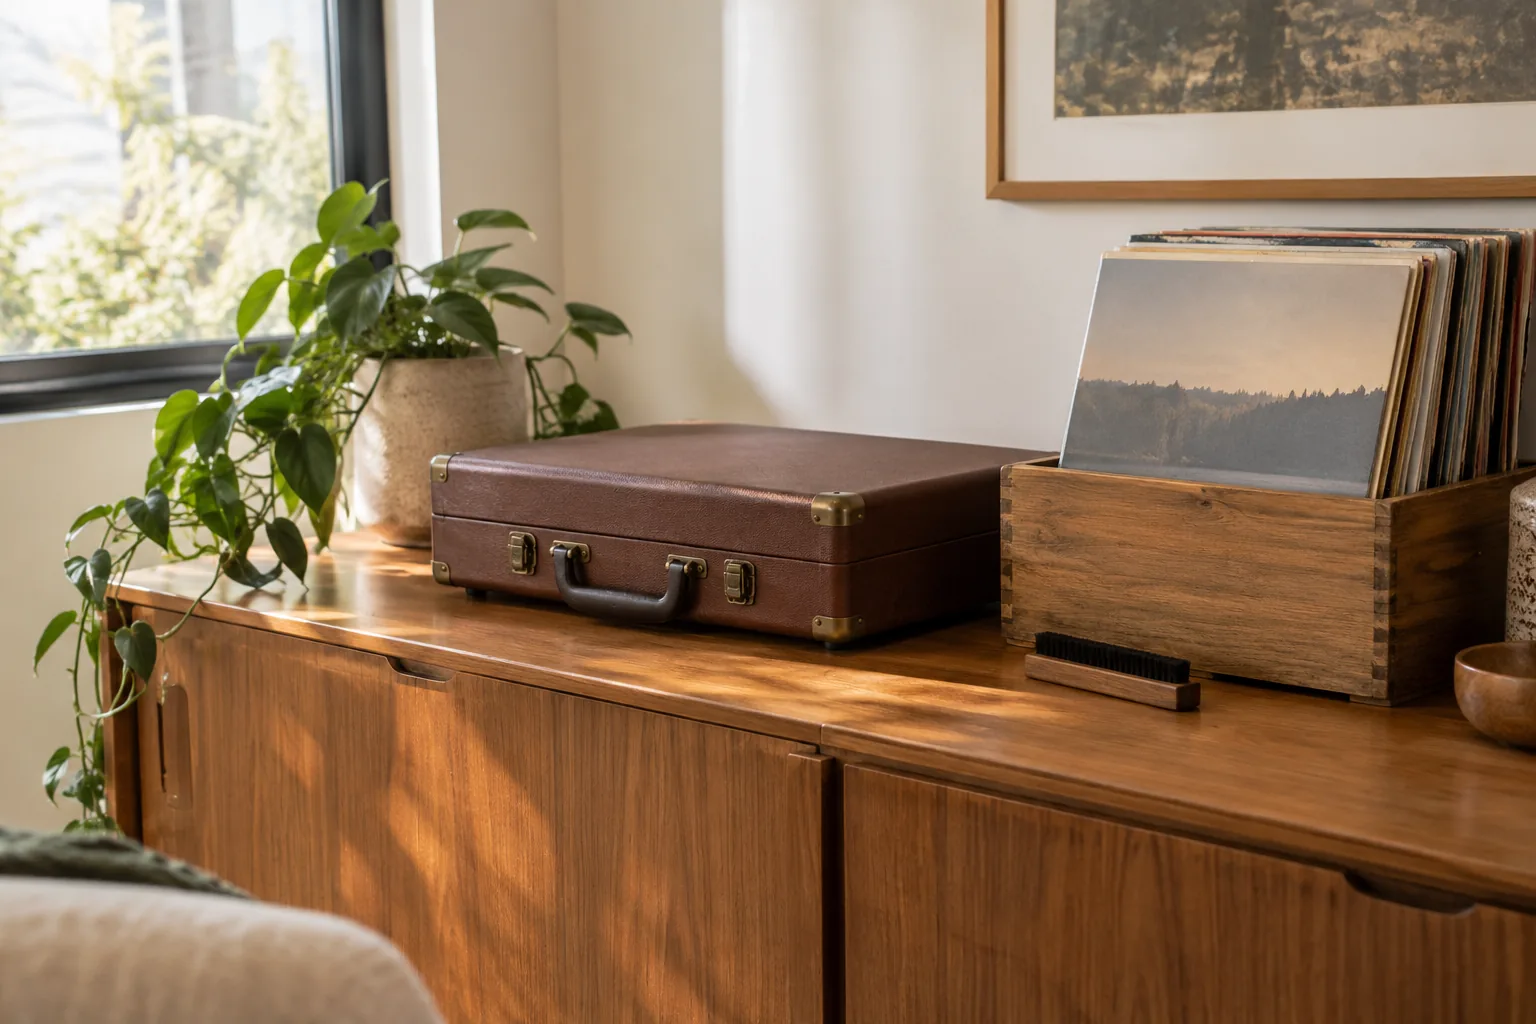
How to Use a Record Player: The First-Play Checklist
Follow these steps in order the first few times. After that they become routine.
- Place the player on a flat surface, away from the speakers and out of direct sun.
- Remove any transit clip, tonearm tie, or stylus guard the manual mentions, and fit the platter and belt as shown if they are packed separately.
- Connect the power adapter, then choose your output: built-in speakers, Bluetooth, RCA outputs, or a headphone jack.
- Take the record out of its sleeve by the edges, with your fingertips on the rim and label only.
- Brush the surface lightly, following the grooves, and set the record over the spindle so it sits flat on the platter.
- Select the speed (33⅓, 45, or 78 RPM) shown on the label or sleeve.
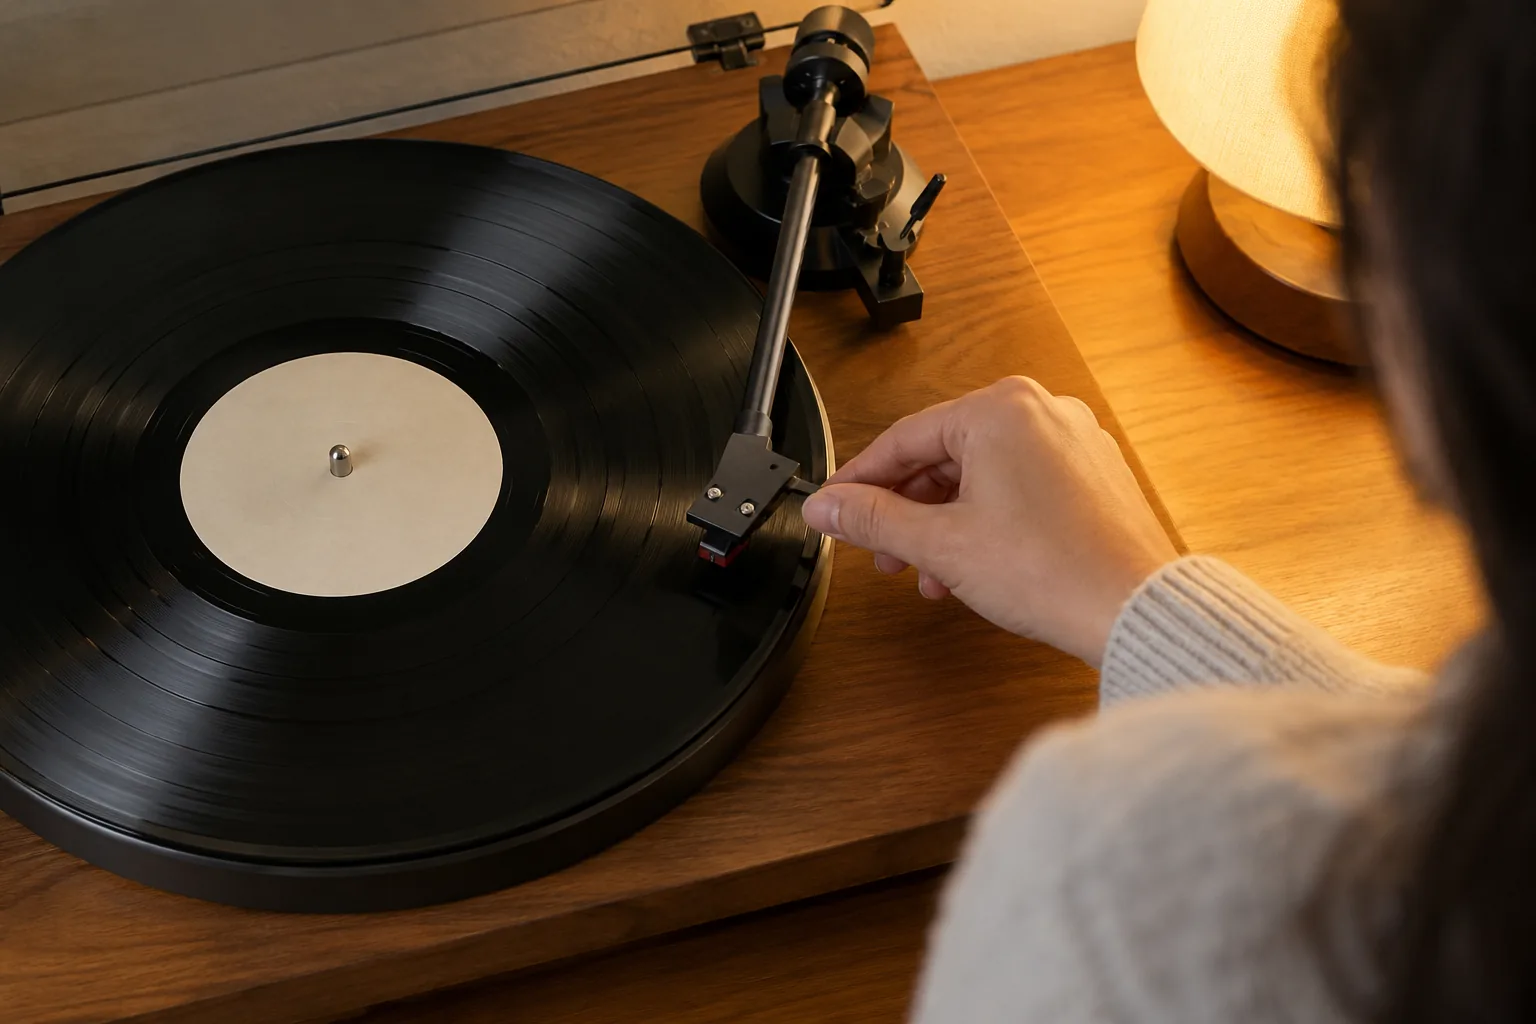
- Release the tonearm clip, lift the arm with the cue lever or by the finger lift, and move it over the lead-in edge at the outer rim of the record. Lower it into the first groove to play from the beginning.
- Set the volume low, then raise it once music plays.
- When the side ends, lift the tonearm, return it to its rest, and clip it in place.
A tonearm that is lowered gently onto the lead-in groove, rather than dropped, is the most important habit to build. Use the cue lever if your player has one, or a steady hand on the finger lift if it does not.
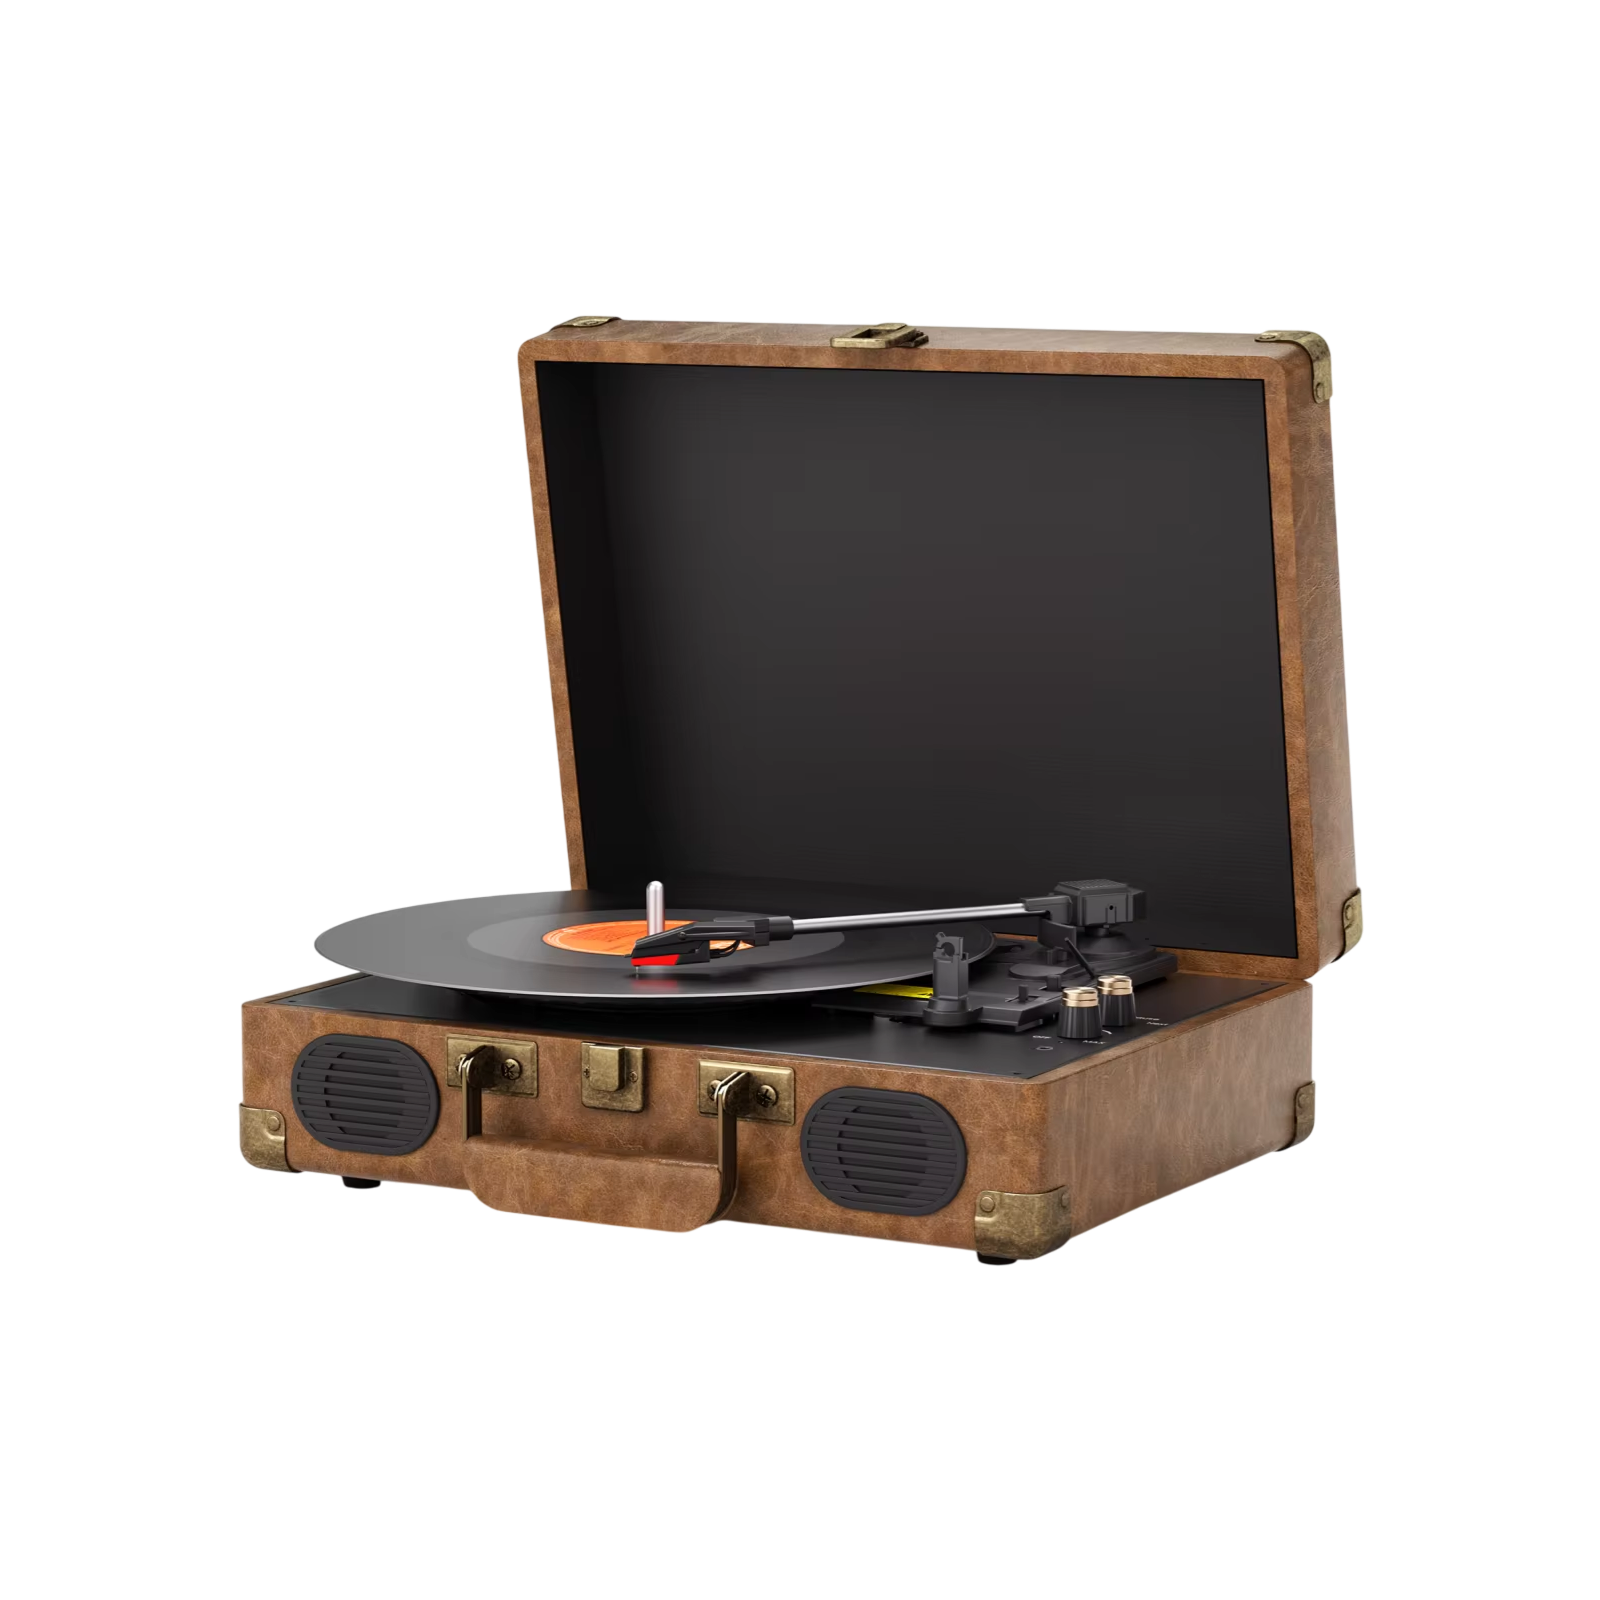 In this guideVinylHaven$199.99View
Using a Suitcase-Style Player With Built-In Speakers
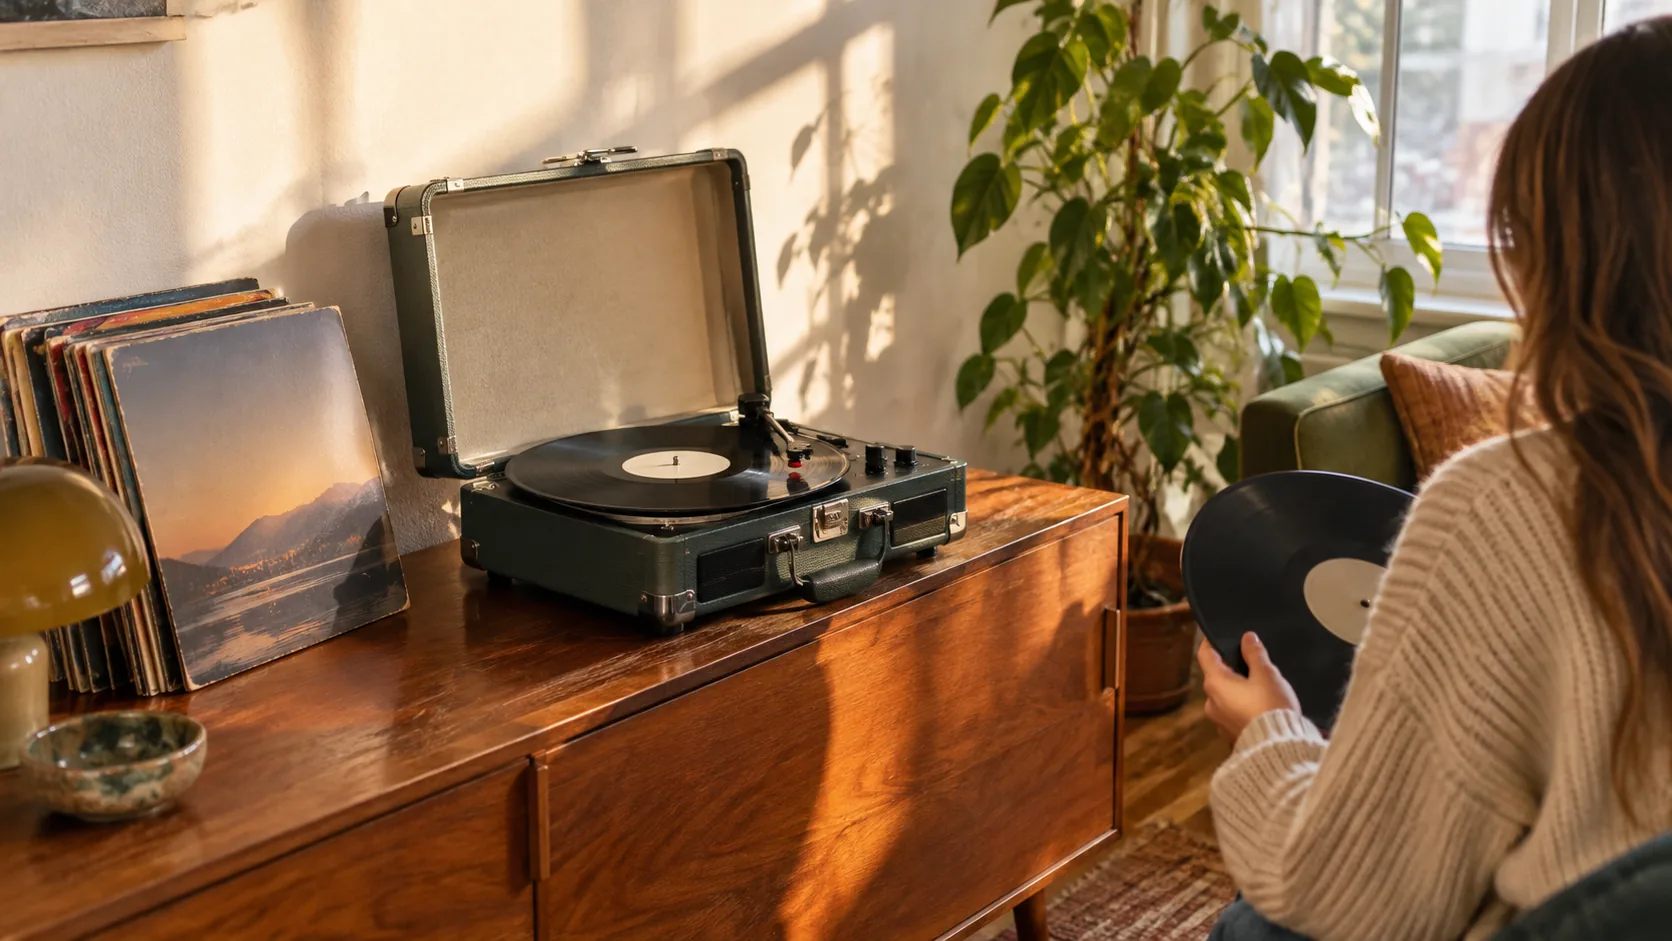
VinylHaven follows the same steps and is a good example of an all-in-one setup. You unpack it, plug in the power adapter, and place a record on the platter. No tools are required. Pick the speed, lower the tonearm onto the record, and choose how you listen.
The platter sits on a suspended plinth, separate from the speakers, and the player has a belt drive and an adjustable cartridge. An auto-stop function halts the platter when a side finishes, so you lift the tonearm and turn the record over. The suitcase shape includes a carry handle, which lets you move it from room to room.
If you are still comparing models, Record Players With Built In Speakers: What to Check Before Buying lists what to look at first.
Choose the Right Speed
Playing a record at the wrong speed makes it sound too slow and low, or too fast and high. The speed setting is a switch or dial near the platter.
| Speed | Typical record | Where to check |
|---|---|---|
| 33⅓ RPM | LPs (12-inch albums) | Label or back cover |
| 45 RPM | 7-inch singles | Label, often marked 45 |
| 78 RPM | Older 78 records | Label or sleeve |
VinylHaven has a speed setting for all three, so LPs, 7-inch singles, and older 78 records can share one turntable. Some players only offer 33⅓ and 45, so check yours before loading an older record.
Connect Speakers, Bluetooth, or Headphones
Built-in speakers need no extra gear. For more control, you have a few routes.
- Bluetooth: pair a smartphone with the player if the model supports it, as VinylHaven does. Our guide on how to connect Bluetooth devices covers pairing steps.
- RCA outputs: connect an amplifier or powered speakers with an RCA cable.
- Headphone jack: plug in a 3.5mm headphone cable for private listening.
Some turntables send a very weak signal and need a phono preamp before an amplifier or powered speakers. Check the manual for a built-in preamp or a phono switch. If you are building a larger system, Stereo System Basics explains how amp, speakers, and sources fit together, and the Speakers & Sound Systems collection has matching gear.
Field note
Start with the volume low every time you change the output. Moving from built-in speakers to an amplifier or headphones can change the loudness a lot.
Handle Records and the Needle With Care
Grooves collect fingerprints, dust, and static. Good habits cost nothing and keep playback clean.
Record handling
- Hold records by the edge and label, never across the grooves.
- Brush with an anti-static brush before each play.
- Return each record to its inner sleeve, then to the cover, after playing.
- Store records upright rather than stacked flat, away from heat and direct sun.
Needle care
The needle, also called the stylus, tracks the groove. Wipe it only as the manual describes, and do not touch it with your fingers. Lift the tonearm before you move the player, and use the tonearm clip when you carry it.
Fix Skips, Hum, and Other Problems
Most first-play problems come from placement, dust, or a loose connection. Work down this table from the top.
| Problem | Likely cause | What to check |
|---|---|---|
| Record skips or repeats | Dust, scratch, or a tilted surface | Brush the record, confirm the surface is level, and follow the manual for tracking settings on an adjustable cartridge |
| Sound too slow or too fast | Wrong speed | Match the setting to 33⅓, 45, or 78 RPM |
| Platter does not turn | Belt off, adapter unplugged | Check the power adapter, then the belt as the manual shows |
| Low hum | Loose RCA cable, or a ground wire left unconnected | Reseat cables, connect the ground wire if your player has one, and move the player away from other electronics |
| Rumble or feedback | Speakers sharing the surface | Move the speakers off the shelf or use a separate stand |
| Very quiet sound | Missing phono preamp or low volume | Check the phono switch and the amplifier input |
| Distorted sound | Dirty needle or worn record | Clean the stylus as the manual describes and try another record |
Unplug the player before you inspect the belt or any internal part, and ask a qualified repair person if something still seems wrong.
Playing Records Without a Record Player
A record needs a turntable to play. Its grooves are read by a needle on a spinning platter, so a makeshift setup using household items can damage the record. If you do not own a player, a compact model with built-in speakers is the simplest way to start, since it needs no separate amplifier. If you want digital copies, VinylHaven includes USB recording.
A Simple Routine for Every Session
- Before: brush the record, check the speed, set the volume low.
- During: stay near the player for the first minute to confirm the sound is steady.
- After: lift the tonearm, clip it, sleeve the record, and cover the player if it has a lid.
- Monthly: wipe dust from the plinth and lid with a dry cloth and check cable connections.
Repeat this routine and you will know how to use a record player without checking the steps each time.